krakin’ kraken lights
Since the renovation journey I had with the flat, it has left me with a creative DIY confidence that I want to continue to use. Since moving in with my partner we have made a few changes to the house which included re-plastering the front lounge. This has left a blank canvas for the creative DIY juices to get going again!
This time the focus is wall lights. Before the plastering was redone there used to be two wall lights, one either side of the fireplace. The wiring for these lights was left in place but we couldn’t find any lights that we liked to replace them with. We also intended to put some shelves up either side of the fire place which would probably interfere with having lights on the wall, so what to do!
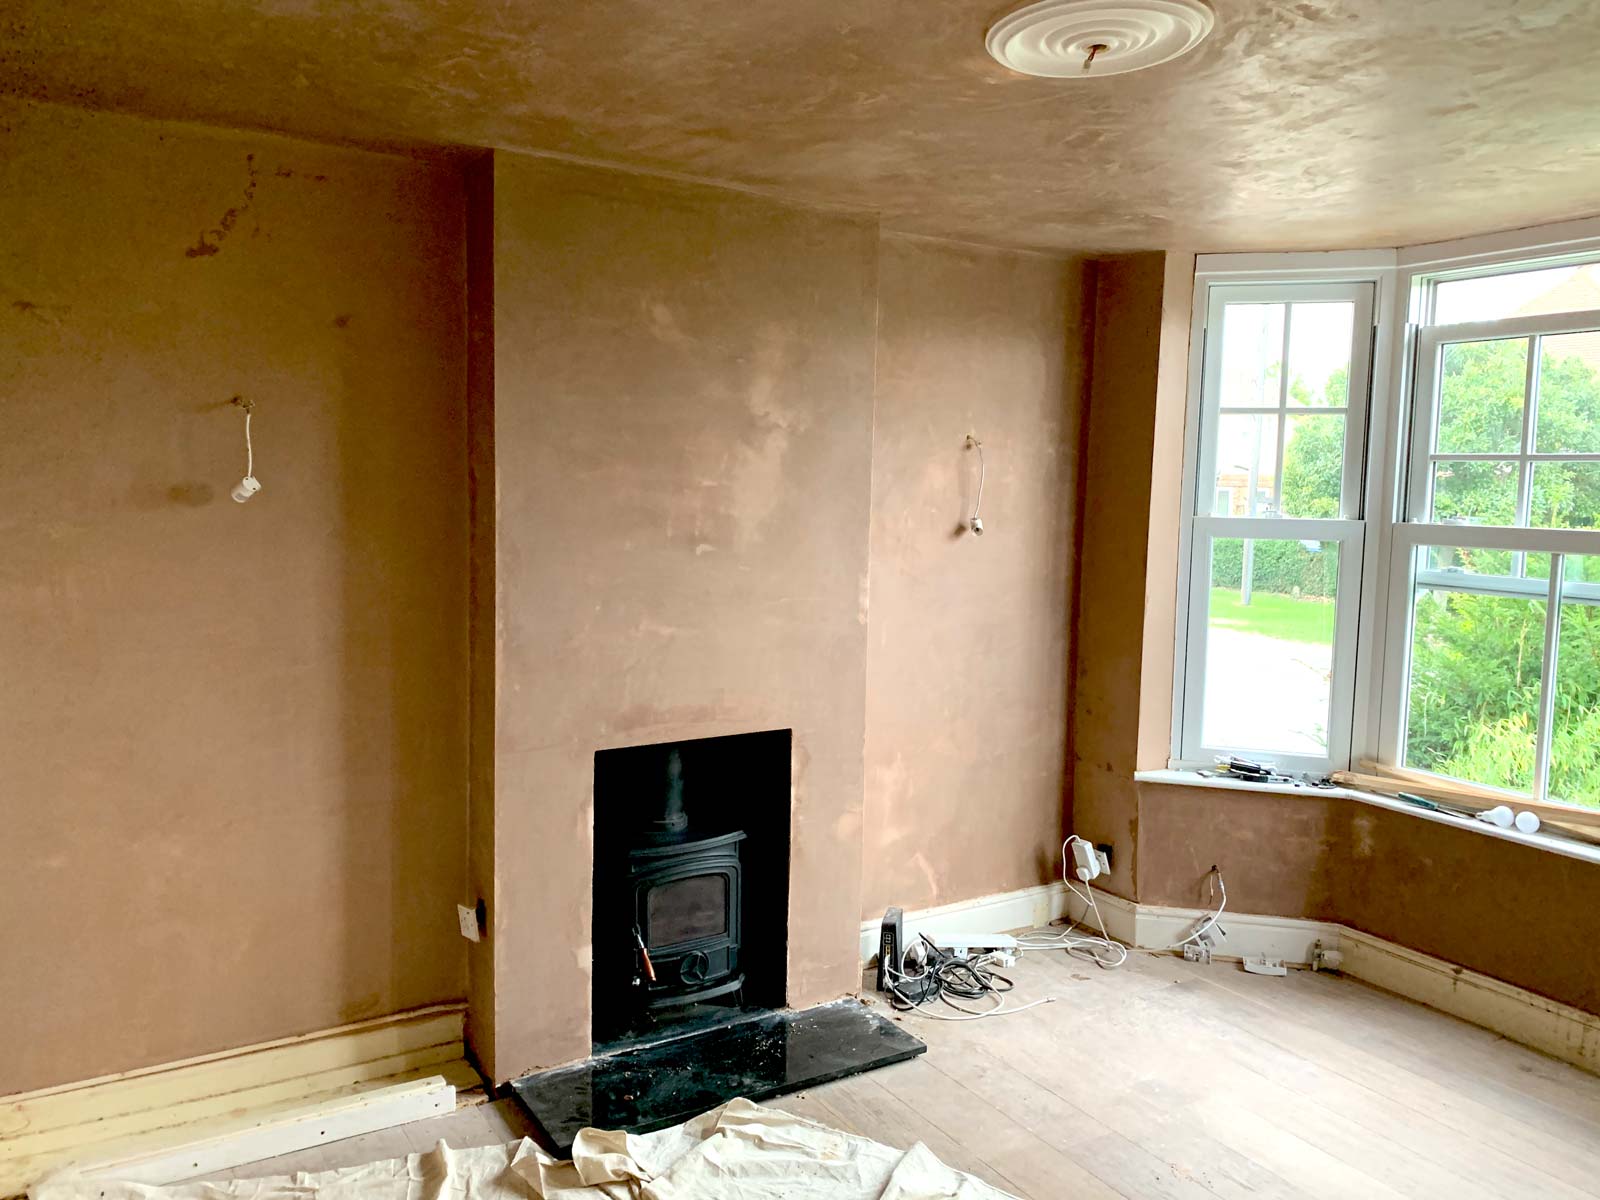
Getting absolutely plastered! lol
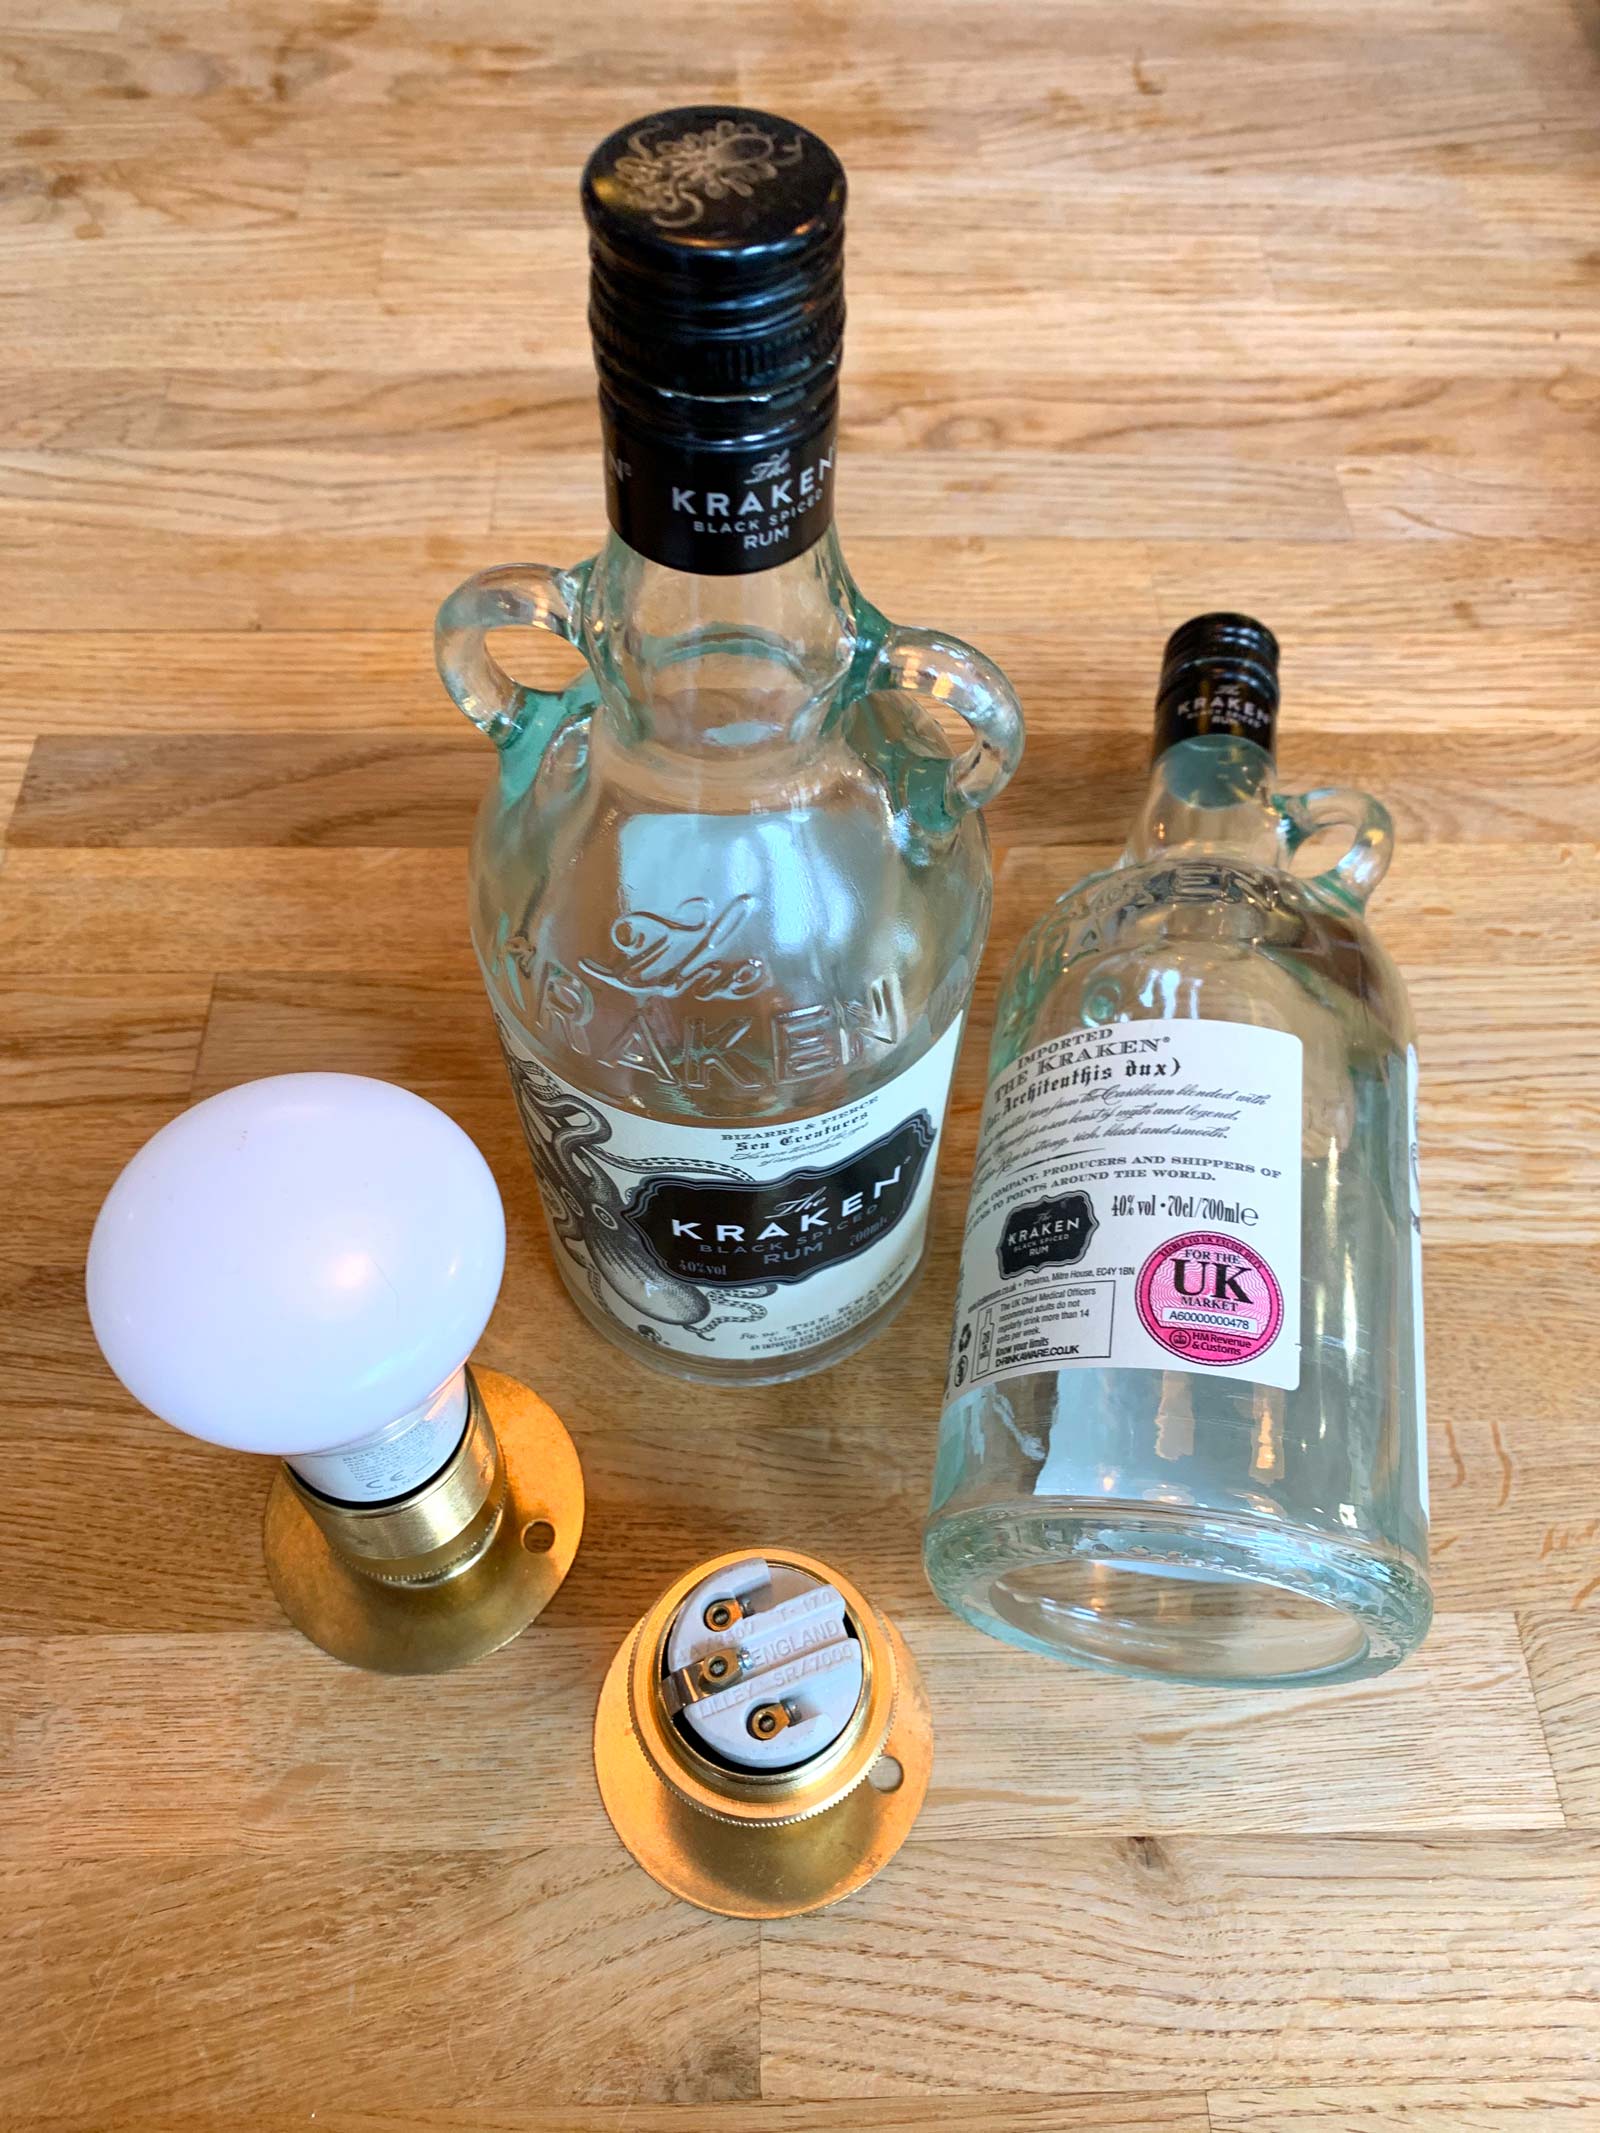
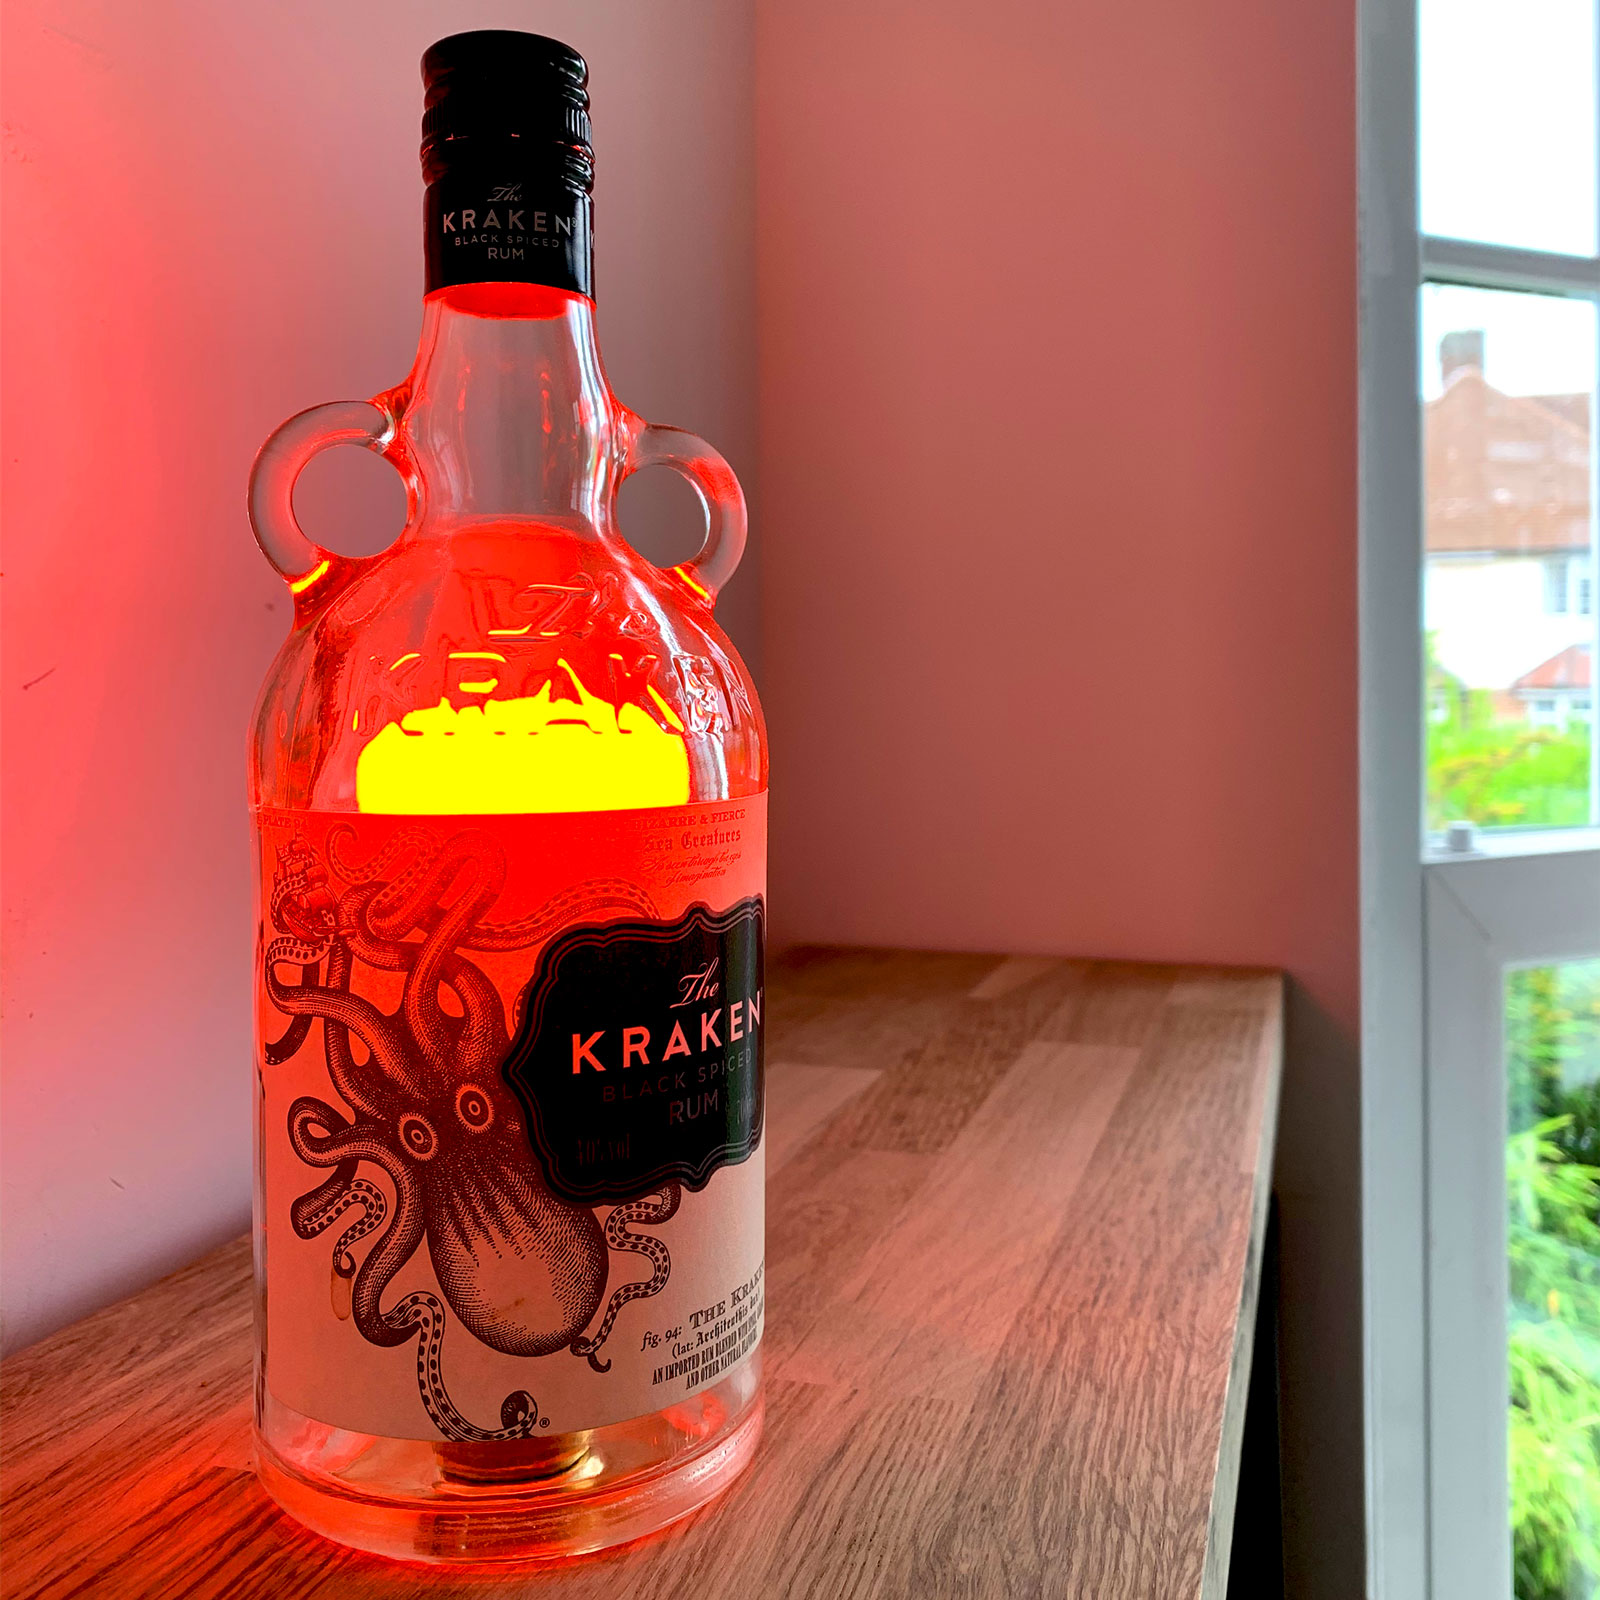
One night whilst finishing the last remains of a bottle of Kraken (I can’t resist a spot of Kraken with ginger ale every now and then) it struck us that the bottle would make a great lamp. We thought it would be really cool if the bulb was actually inside the bottle, but how on earth could we make that work! We knew that the only way to achieve this would be to make a hole in the bottom of the bottle, but it would have to be big enough so the bulb would fit inside.
The solution to this would be to use a hole cutting drill bit used for ceramic tiles and glass. So I ordered one which would cut a hole to a diameter of 65mm which was just big enough to fit the bulb inside. I did a lot of research on the safest way to do this as drilling a large whole in a glass bottle is quite a tricky thing. Glass is obviously a fragile material to drill into but it can be done (as you can see by the pictures!). If you want to attempt it yourself my advice would be to do a lot of research to make sure you are doing it in the safest way possible.
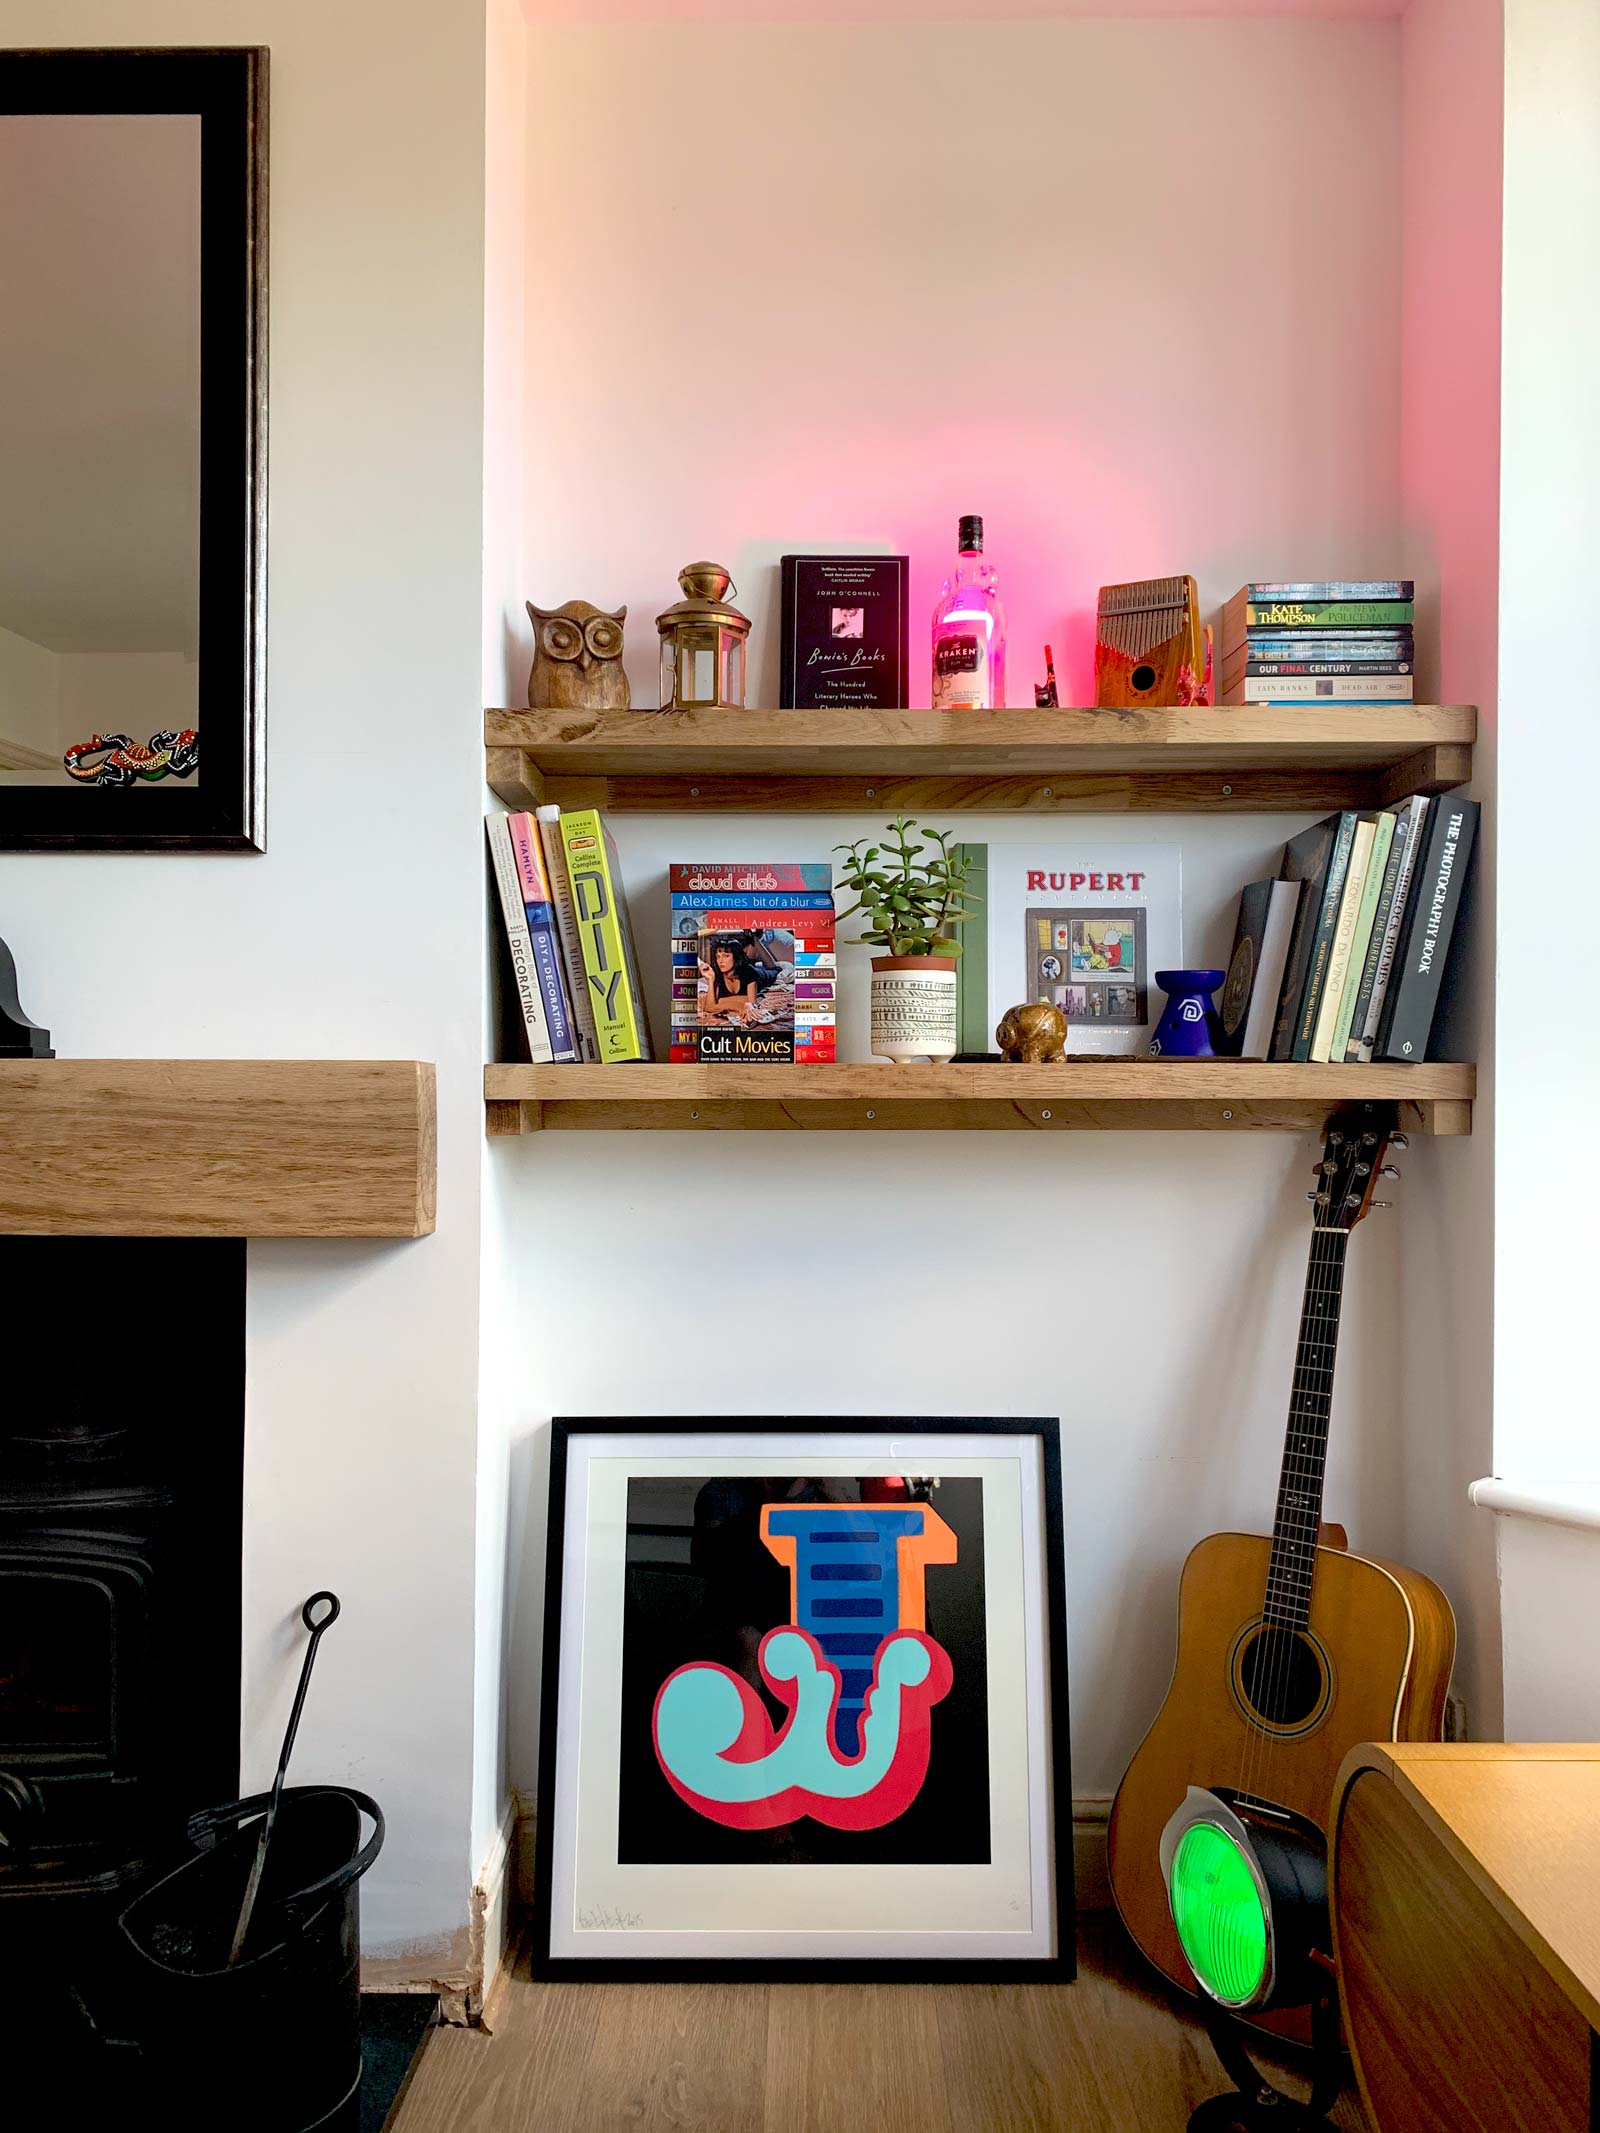
So now the hole was cut and smoothed off with wet and dry sandpaper, how do I mount the light fitting so the bottle sat over the top of it. I had thought of making a plinth which would be perfect for a portable light (and this will come in handy for another project), but I wanted the wiring to be hidden. So the only way around this was to have the wiring plumbed directly into the shelf from the wall. Doing this would mean all the wiring was hidden and the light would form part of the shelf, perfect!
The holes are now cut!
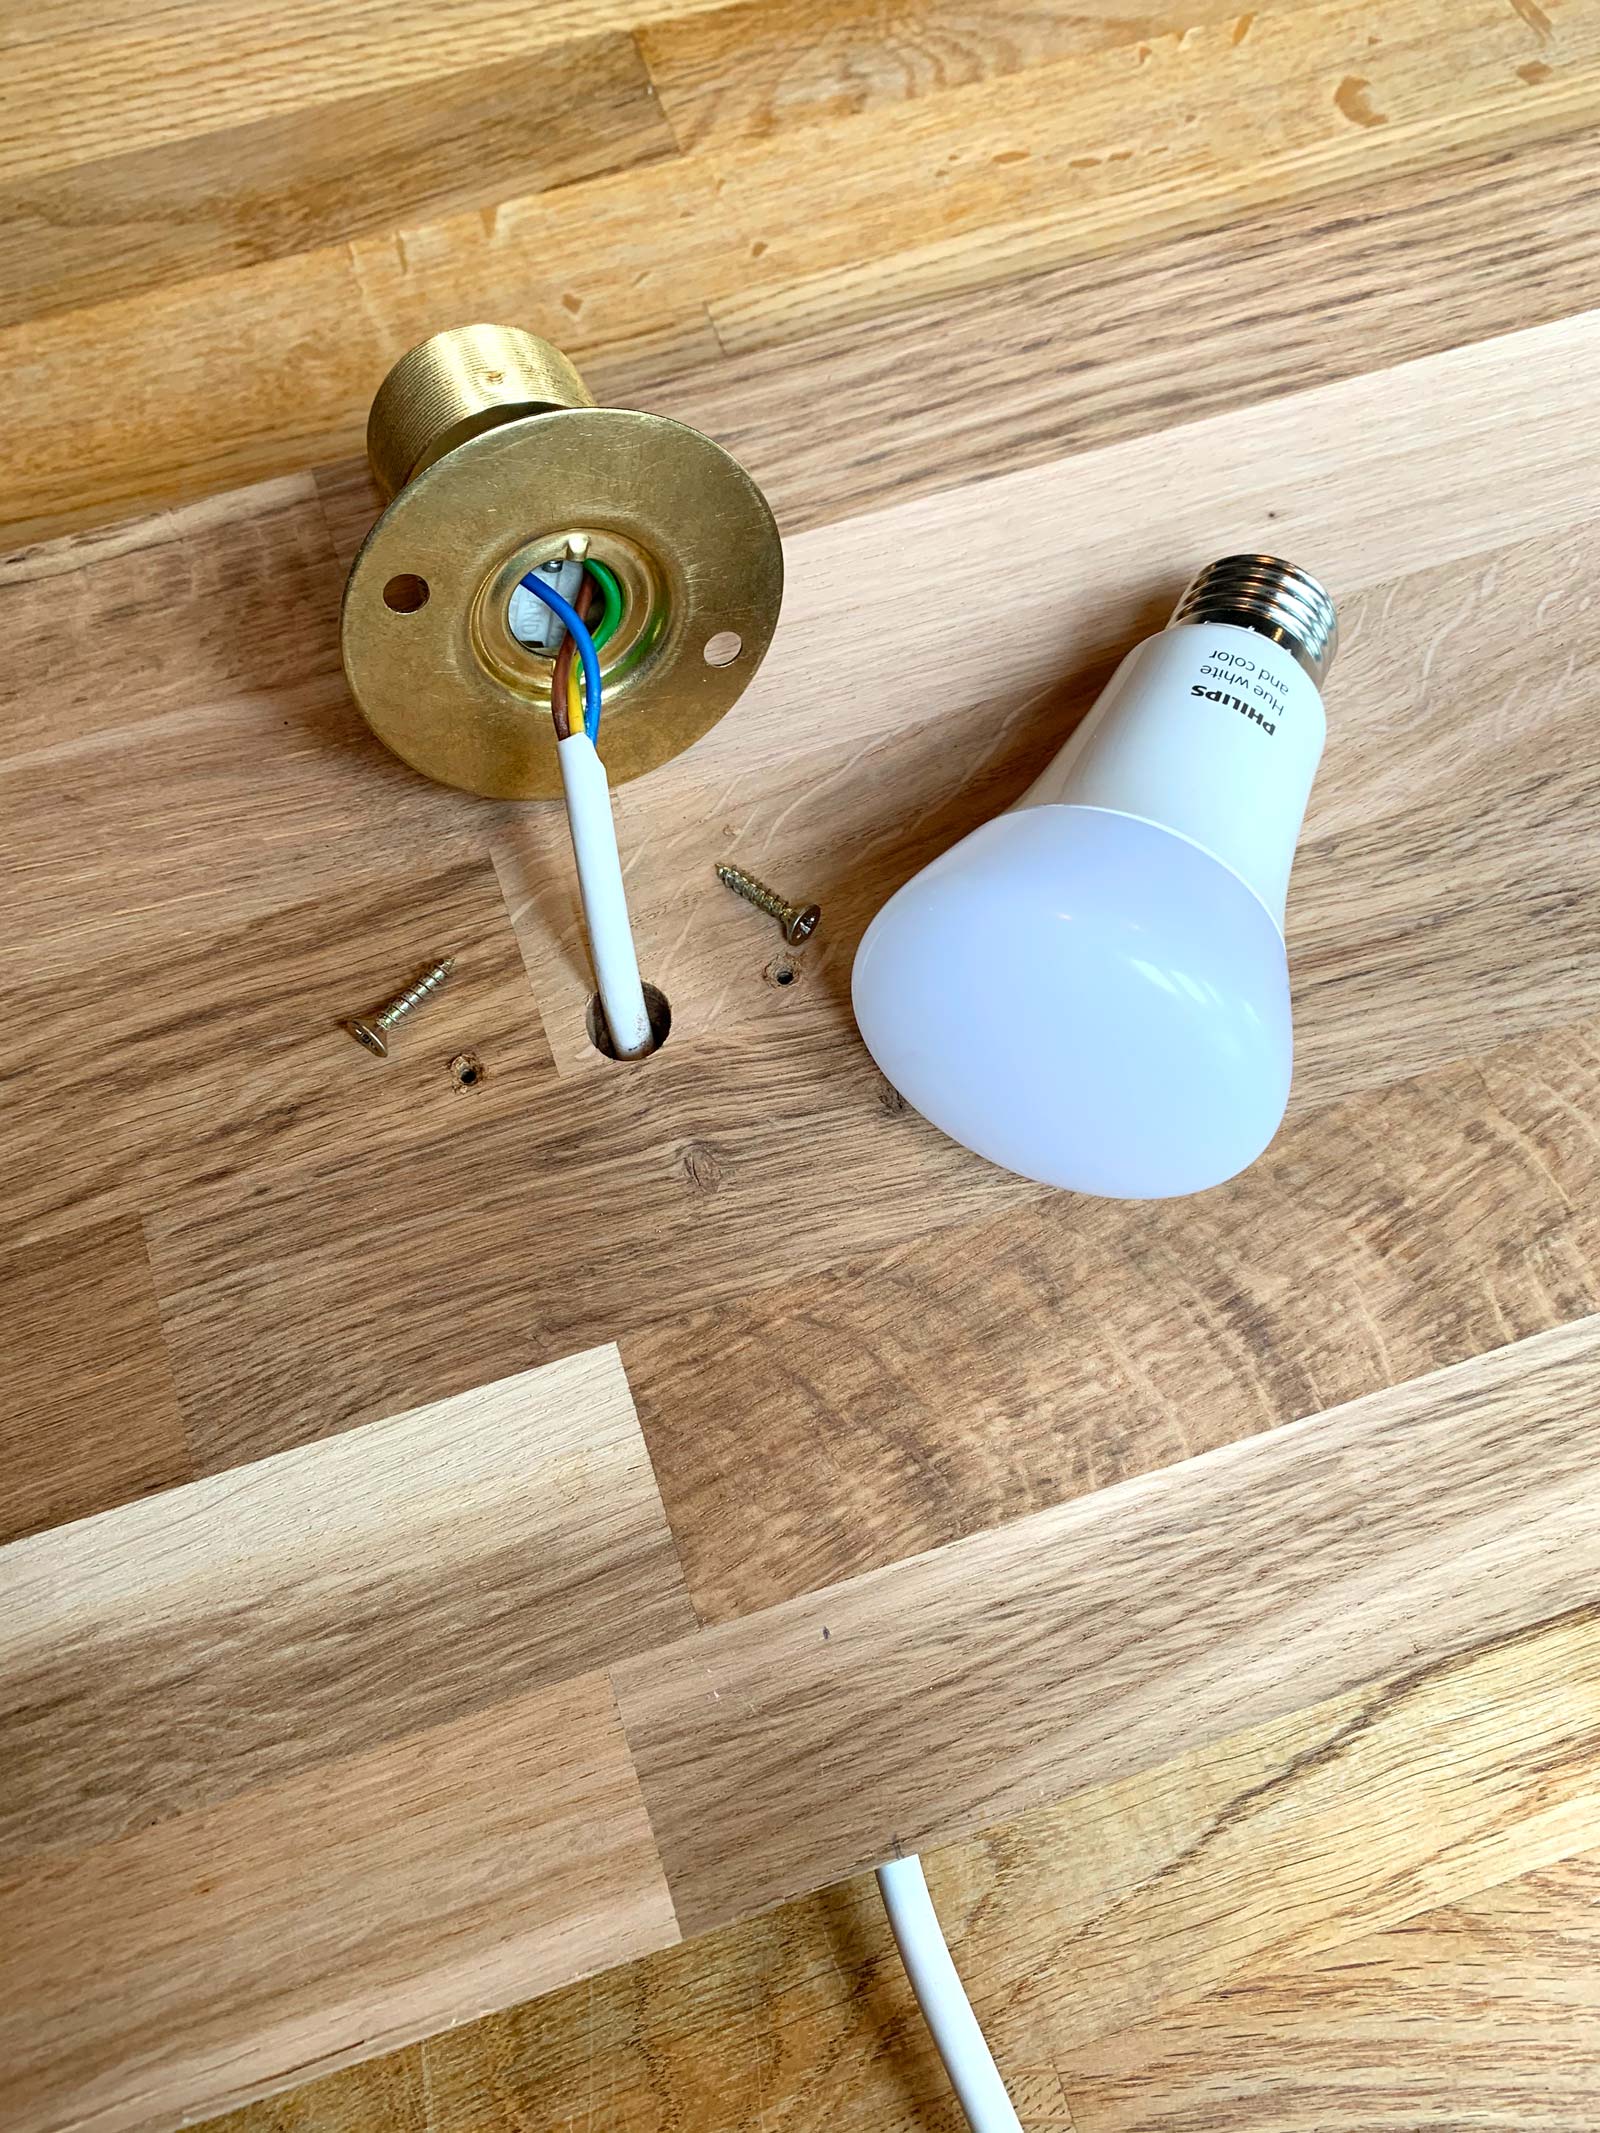
Feeding the wiring through the shelf.
I made the shelves out of a 3 meter length of solid oak kitchen worktop. Once they were cut down to size this gave me 4 solid shelves with enough thickness to run the wiring through. This all took a little time and some precise measurements as drilling the holes in the shelf for the wiring to feed through had to be bang on. I used a spare piece of wood left over from making the shelves to practice on before I did it for real on the shelf. Thankfully the practice paid off and it all worked out really well.
Roxanne was playing in the background. 😉
The bulbs I have used for this project are the Philips Hue bulbs that I had in the flat. Because they are LED bulbs they produce a minimal amount of heat so the kraken bottles don’t get hot. I probably wouldn’t advise using filament bulbs for a project like this as they would produce too much heat inside the bottle. Even with the LED bulbs I have cut small holes in the lids of the bottles just so the air can get inside. The great thing about the Philips Hue bulbs is that I can change the colour which does look fantastic shining through these Kraken bottles.
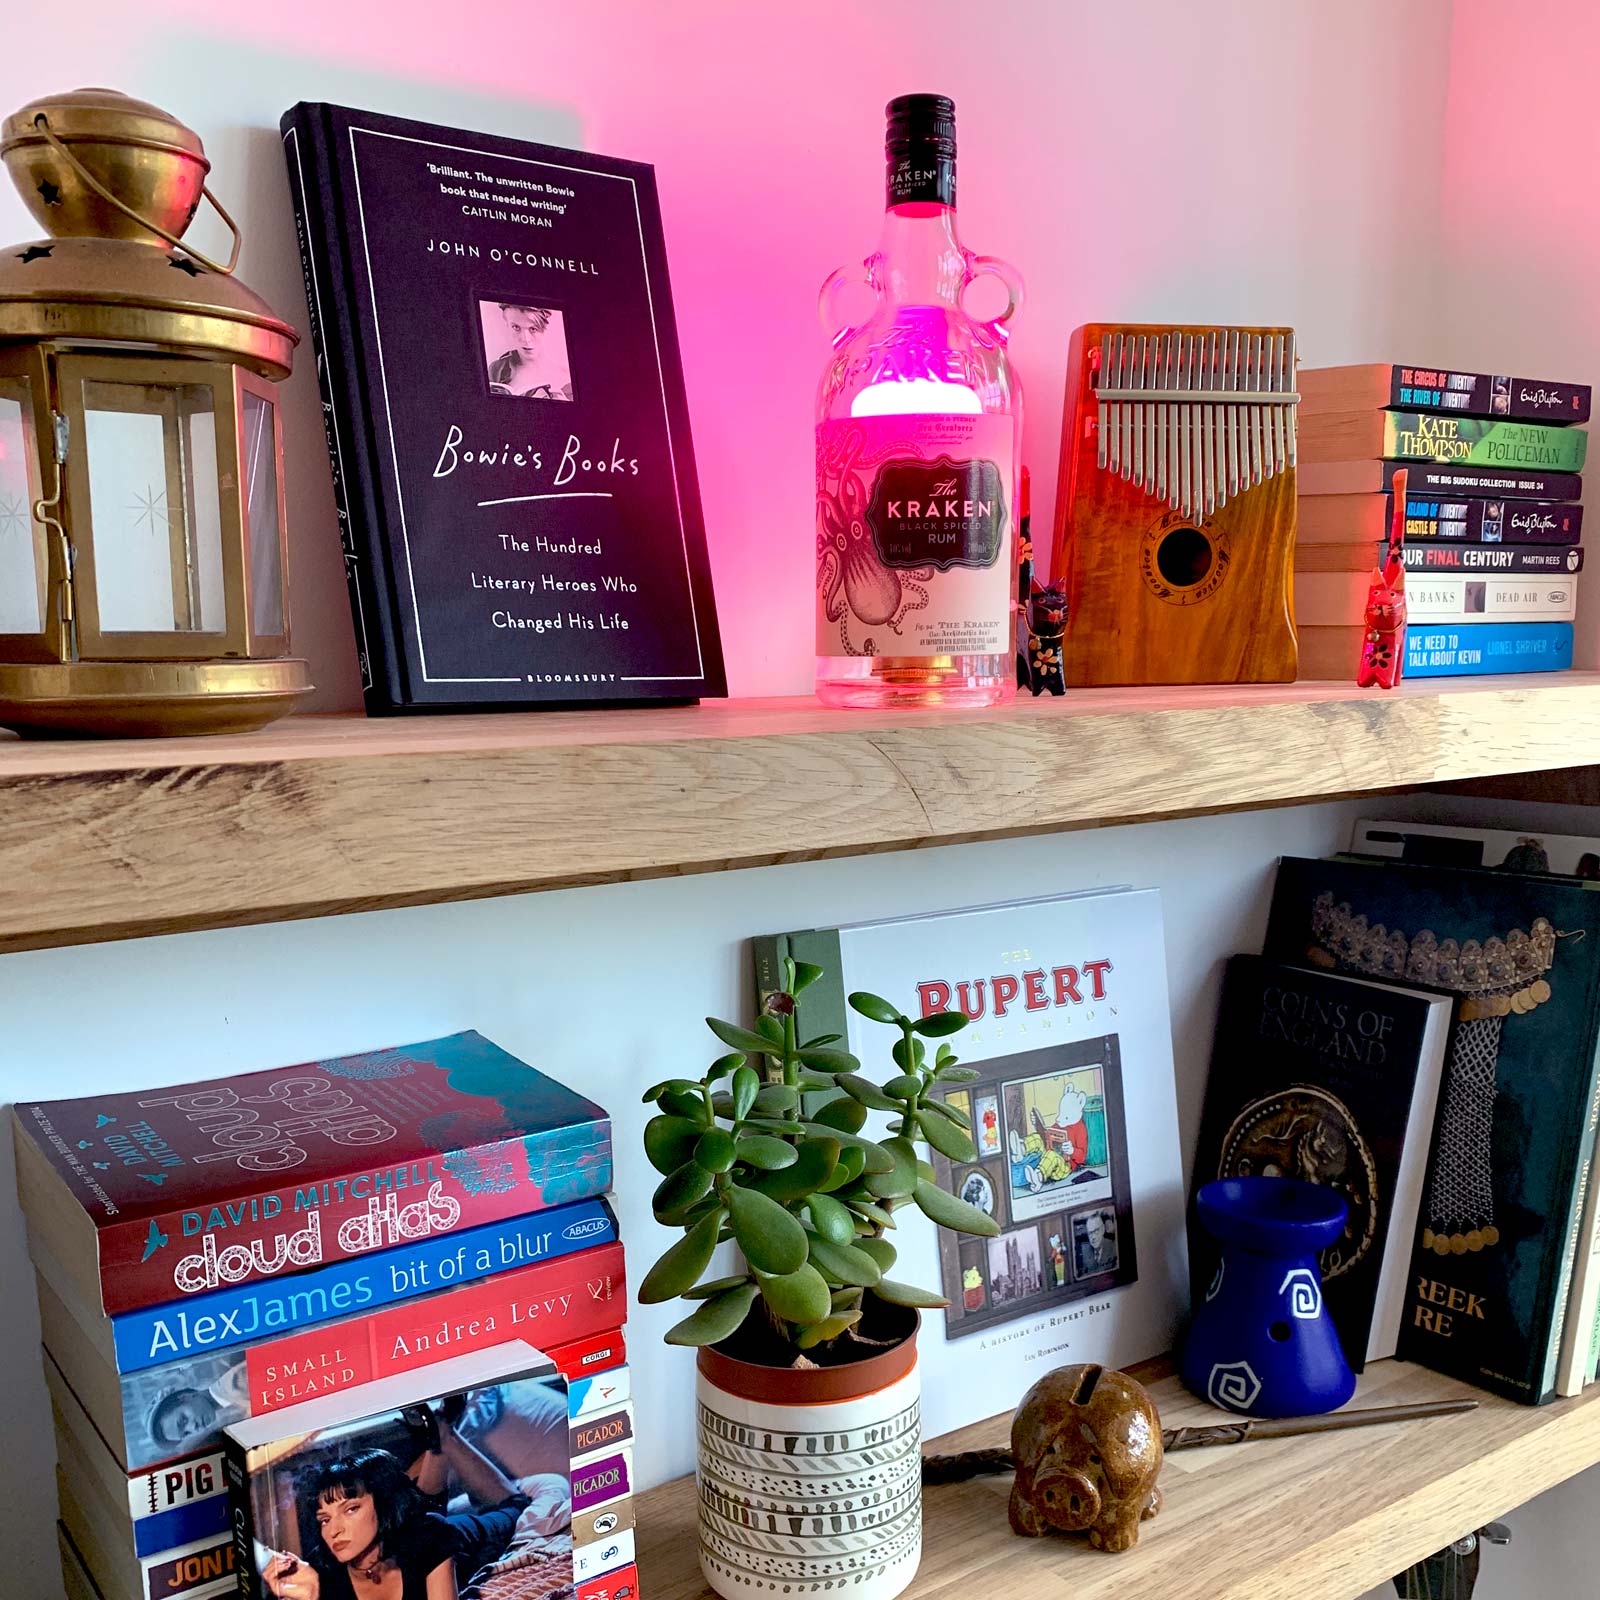
So by day they look like they are part of the eclectic shelf display, but by night they take on a whole new life and add a really cool and colourful dimension to the lounge lighting! I wonder what other bottles I can add to the collection so I can mix them up, any suggestions are more than welcome!
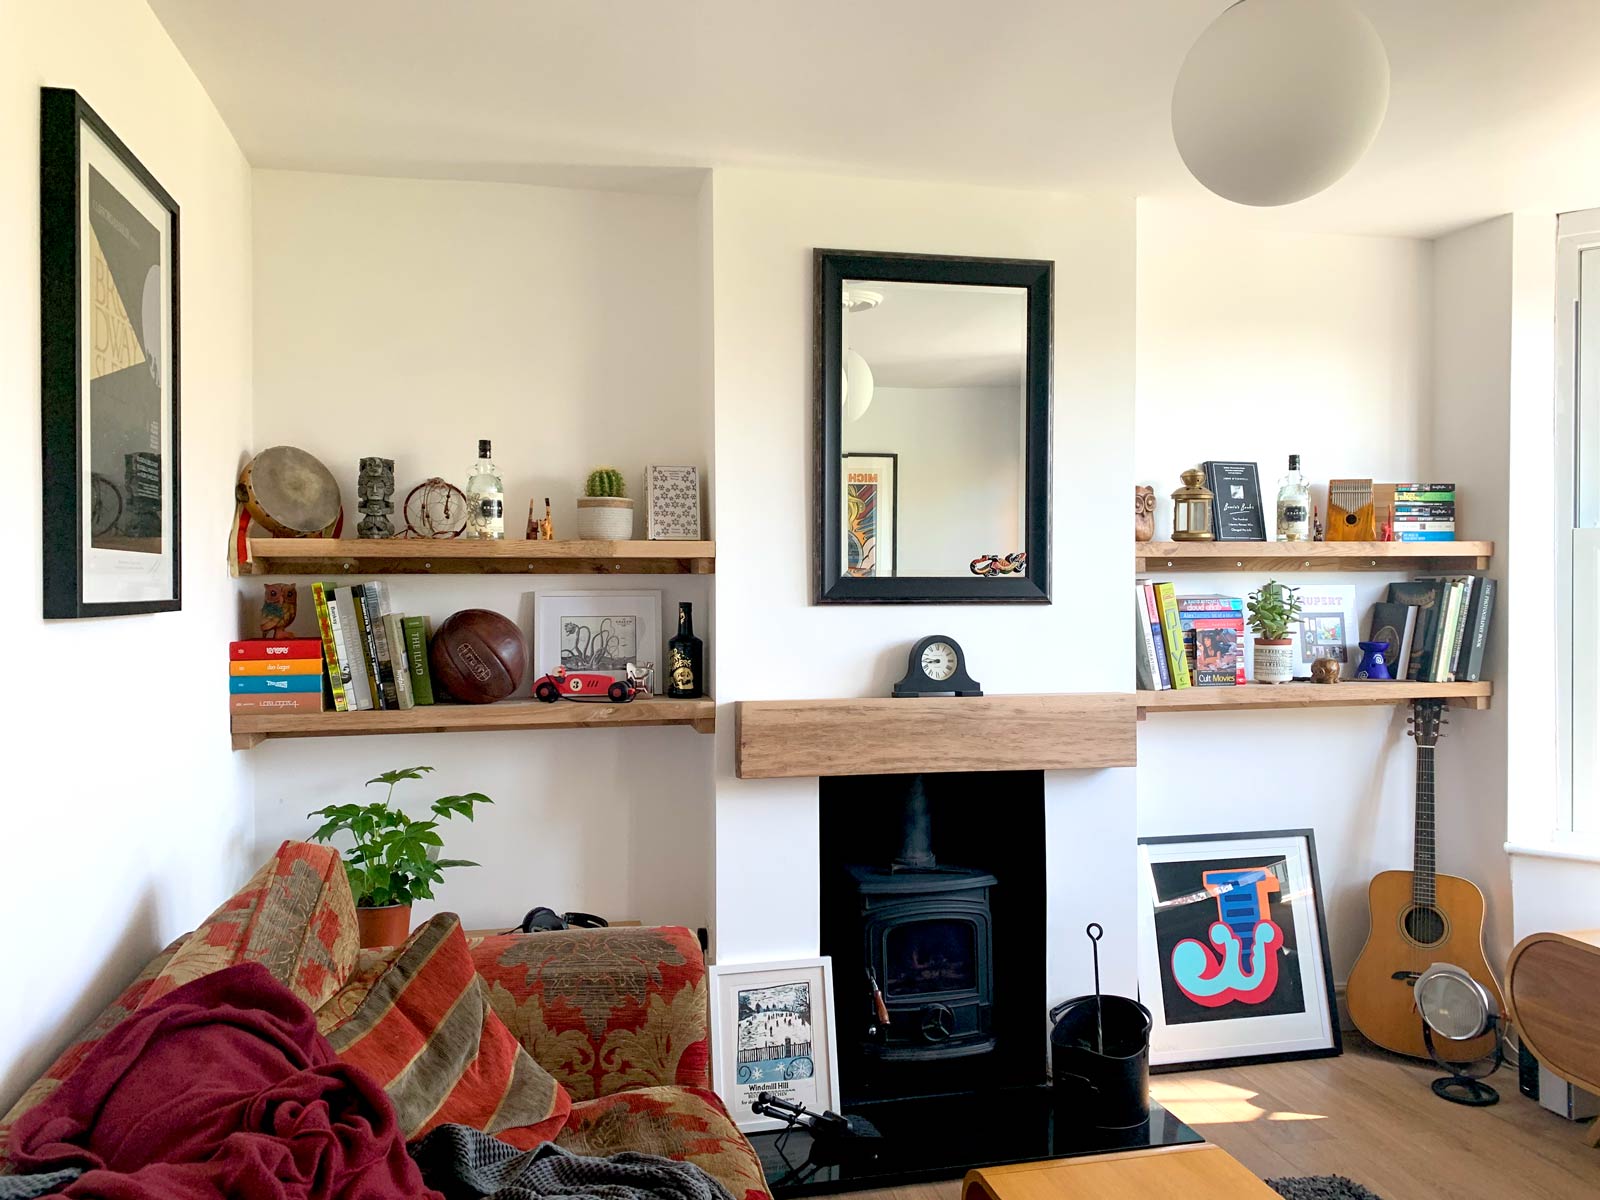
An eclectic mix of things, a bit like my head!
Really must sort that little bit of skirting.