flat refurbishment – part 2
Before I get into part two I just have to say that this project would’ve been a nightmare if it wasn’t for the love and support of my partner Heather. She agreed to let me live with her whilst I worked on the flat which meant all my possessions could be put into the main bedroom so the rest of the flat was free to be transformed! I ended up staying for over 3 months but luckily for us that strengthened our relationship, so much so that we are now living together permanently, massive thanks to you Heather. 🙂
So, I had the keys, my stuff was all moved in, the only thing left to do was show the place to my son. He was 12 at the time and I guess he probably couldn’t visualise what the flat could become. He was pretty excited on the way as it would be the first home that was just for the both of us, something we had wanted for quite a while, but that excitement quite visibly changed to horror when he walked in through the front door.
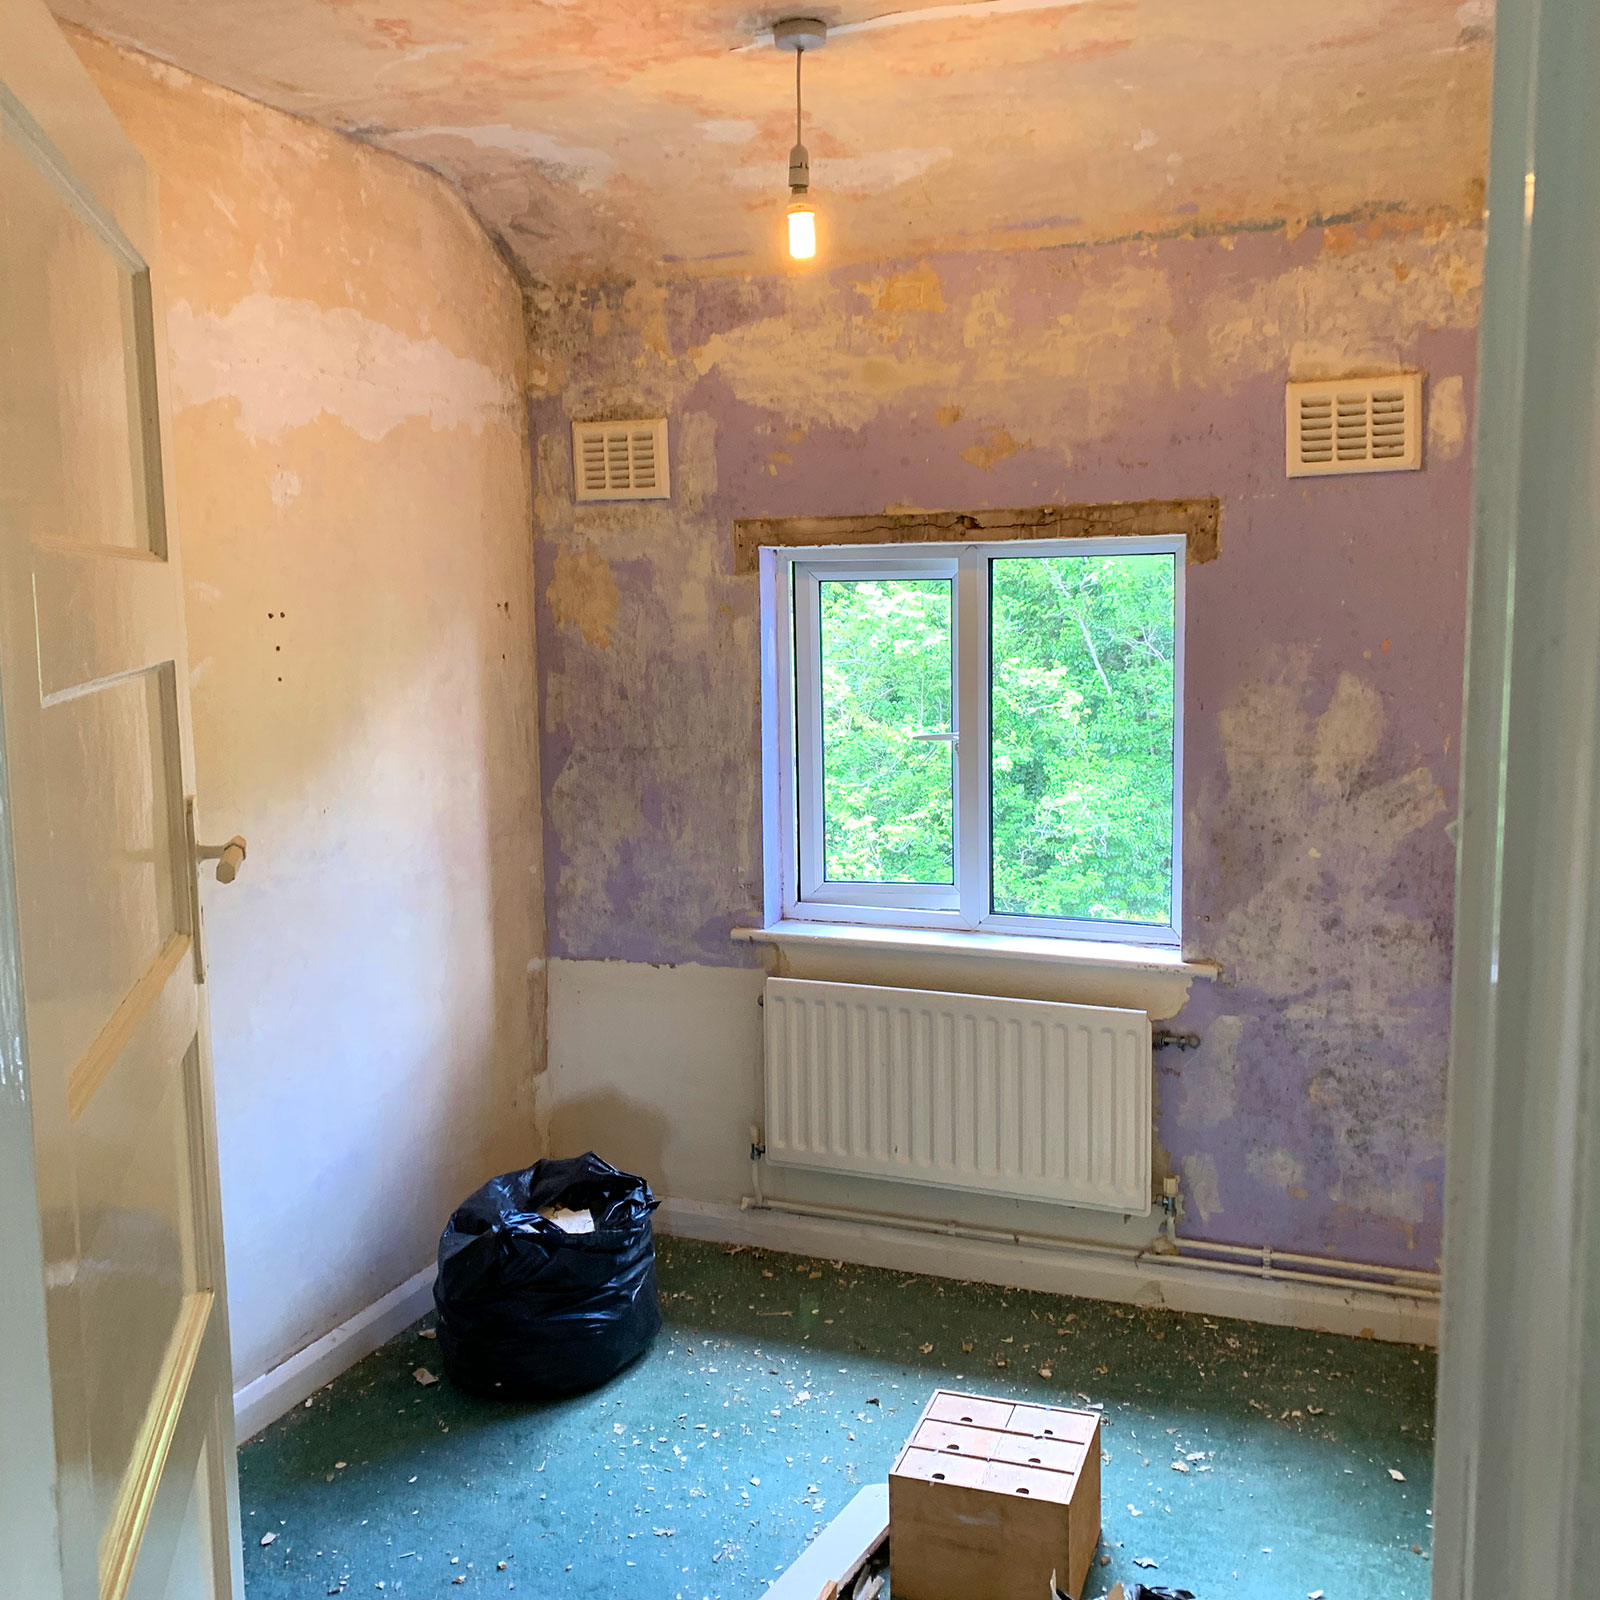
As you have seen from the pics in part 1 the place was a bit of a mess and what would be his bedroom was no different. I showed him in and quite proudly said “this will be your room”, I think it was all he could do to stop himself from crying. I tried my hardest to convince him that it would look great when I was finished but sadly it wasn’t working.
I guess this is why I started on his bedroom first, I wanted him to be happy about the flat and a happy boy would mean a happy dad! A point to note is that every room was covered in wood chip wall paper, his room even had it on the ceiling. This is where the journey really got started, stripping the wallpaper! I was expecting this to be a difficult task but most of it just peeled straight off and in a few hours the room was back to bare plaster. I knew that I didn’t want to repaper the walls, I wanted to paint straight on to the plaster but this stuff wasn’t smooth enough for that so it left me wondering what to do.
At the same time as doing the boy’s room I got things moving with the kitchen. This is where I have been quite lucky throughout the refurb with the help from friends and family. My cousin who is a carpenter by trade runs his own local business and one of the many things they do is fit kitchens. He was there to look at and quote for the kitchen when I mentioned the bedroom walls. He took one look at the walls and suggested the best thing to do would be to get them re-skimmed with a fresh coat of plaster, so that’s what I did. My cousin is in touch with lots of trades that he works with and knew a plasterer that could help out and as you will see in future posts the whole flat ended up being re-skimmed.
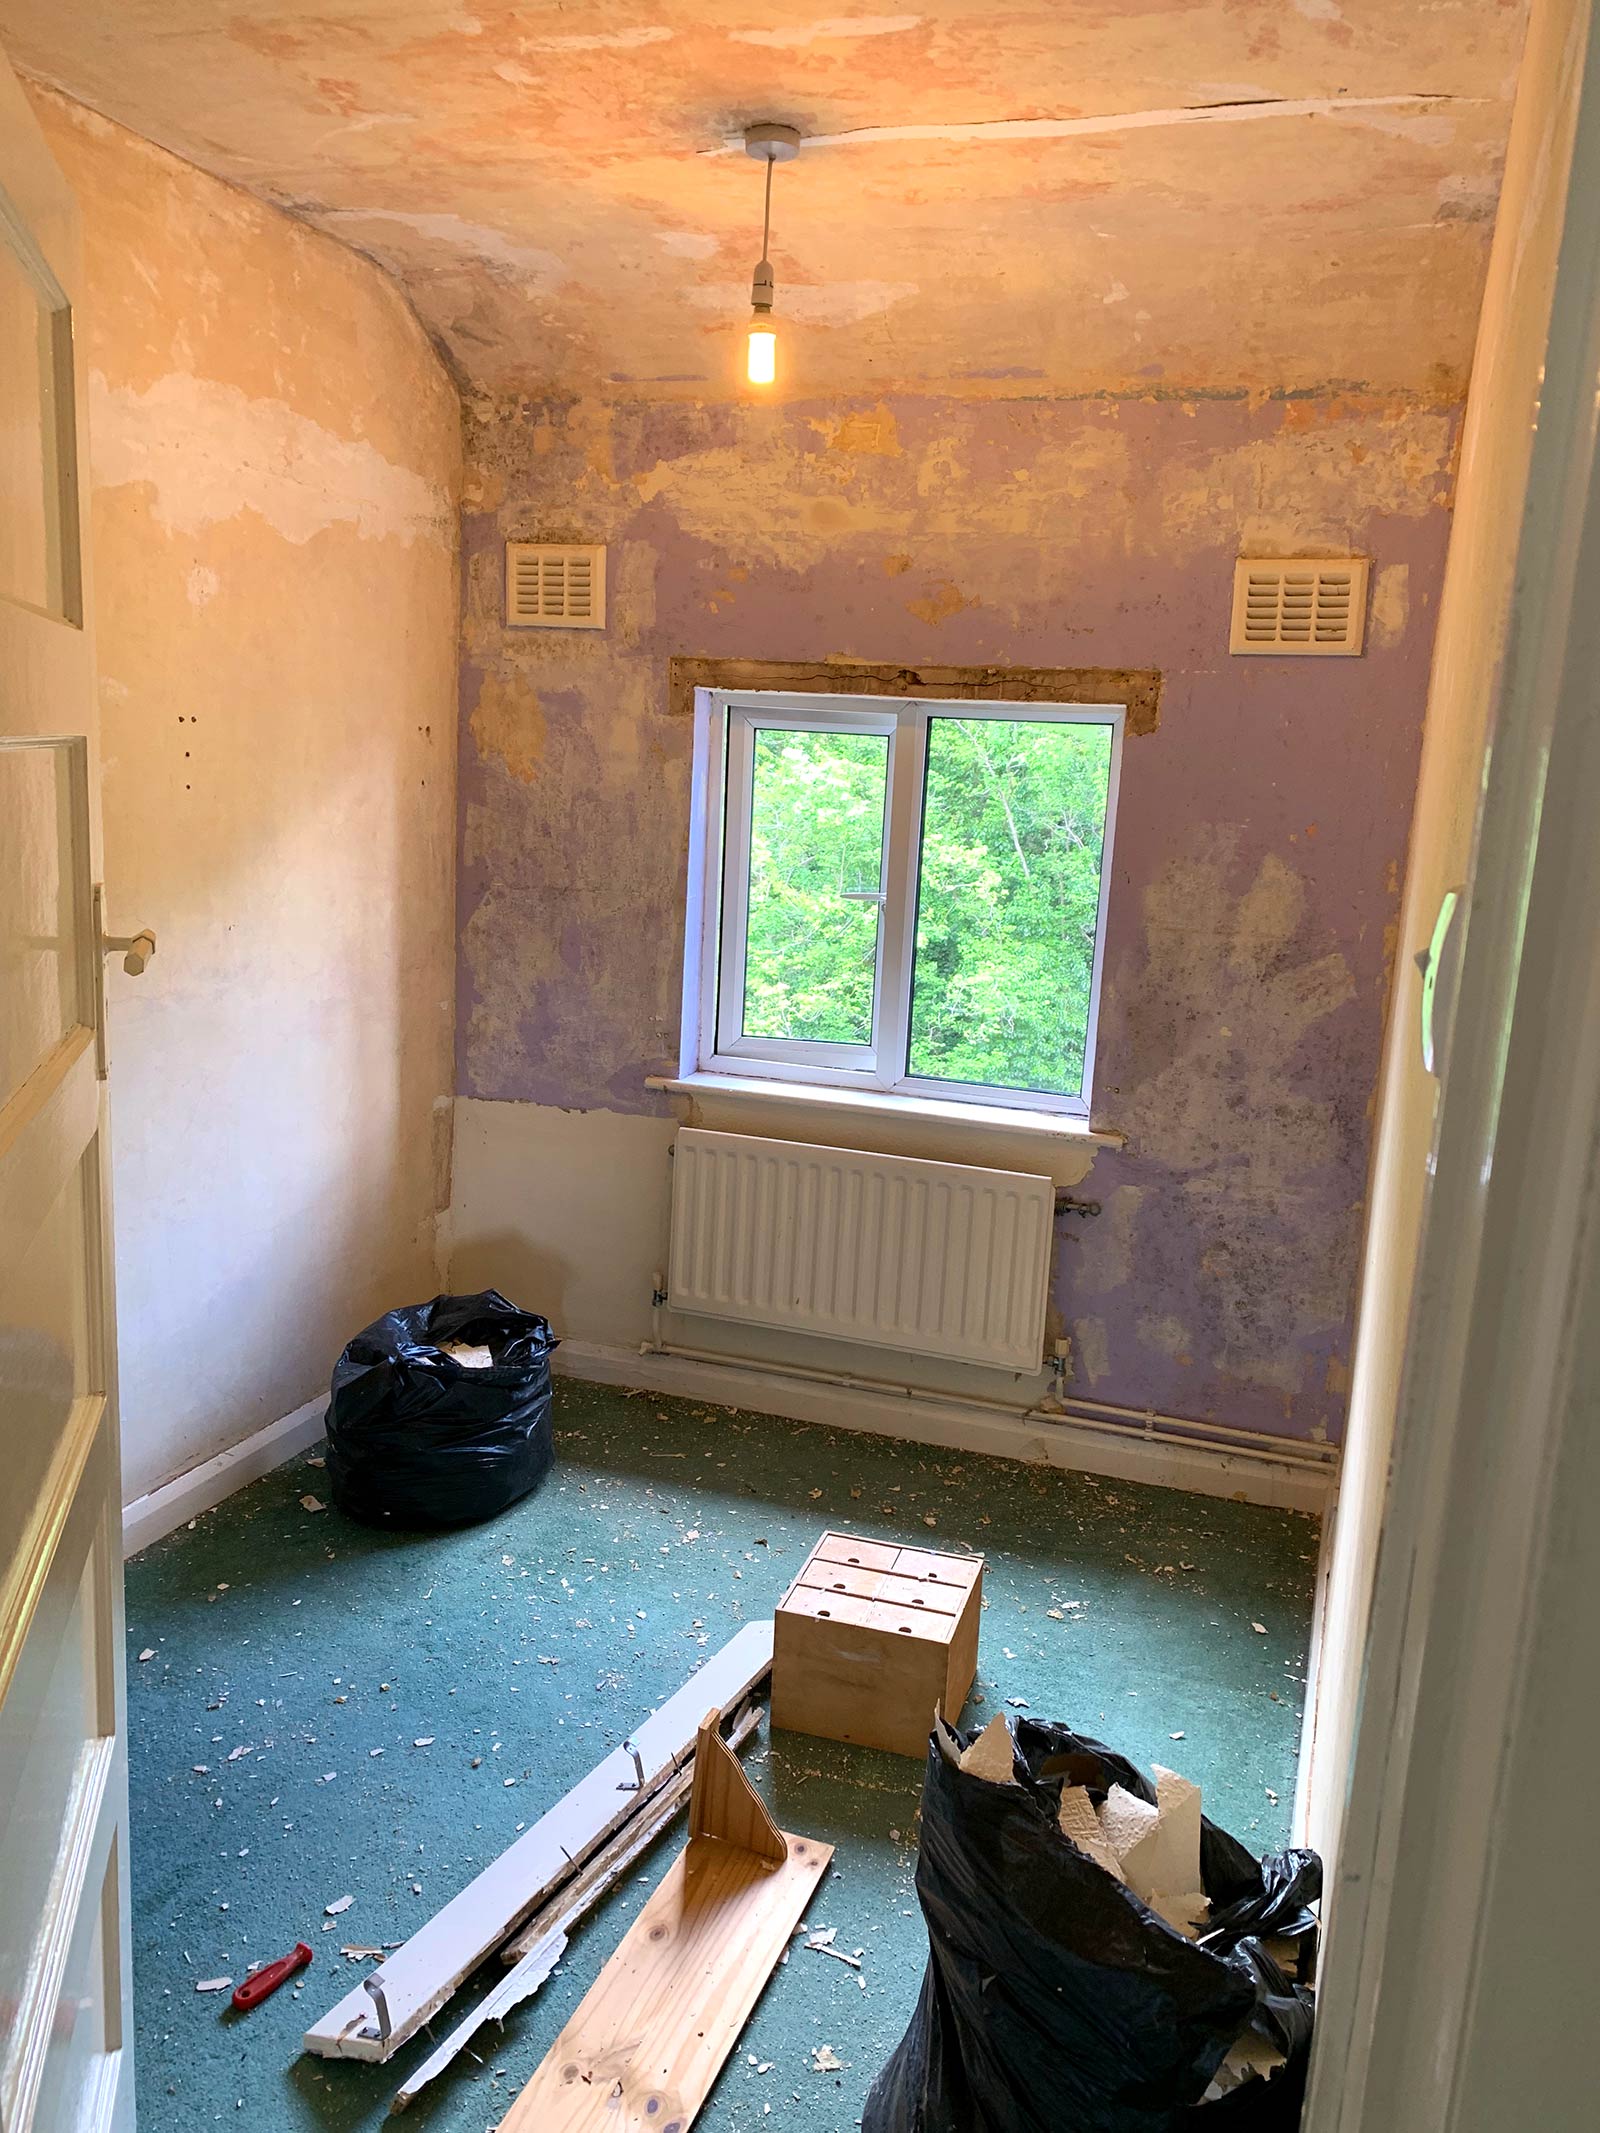
Stripping the wood chip from the walls.
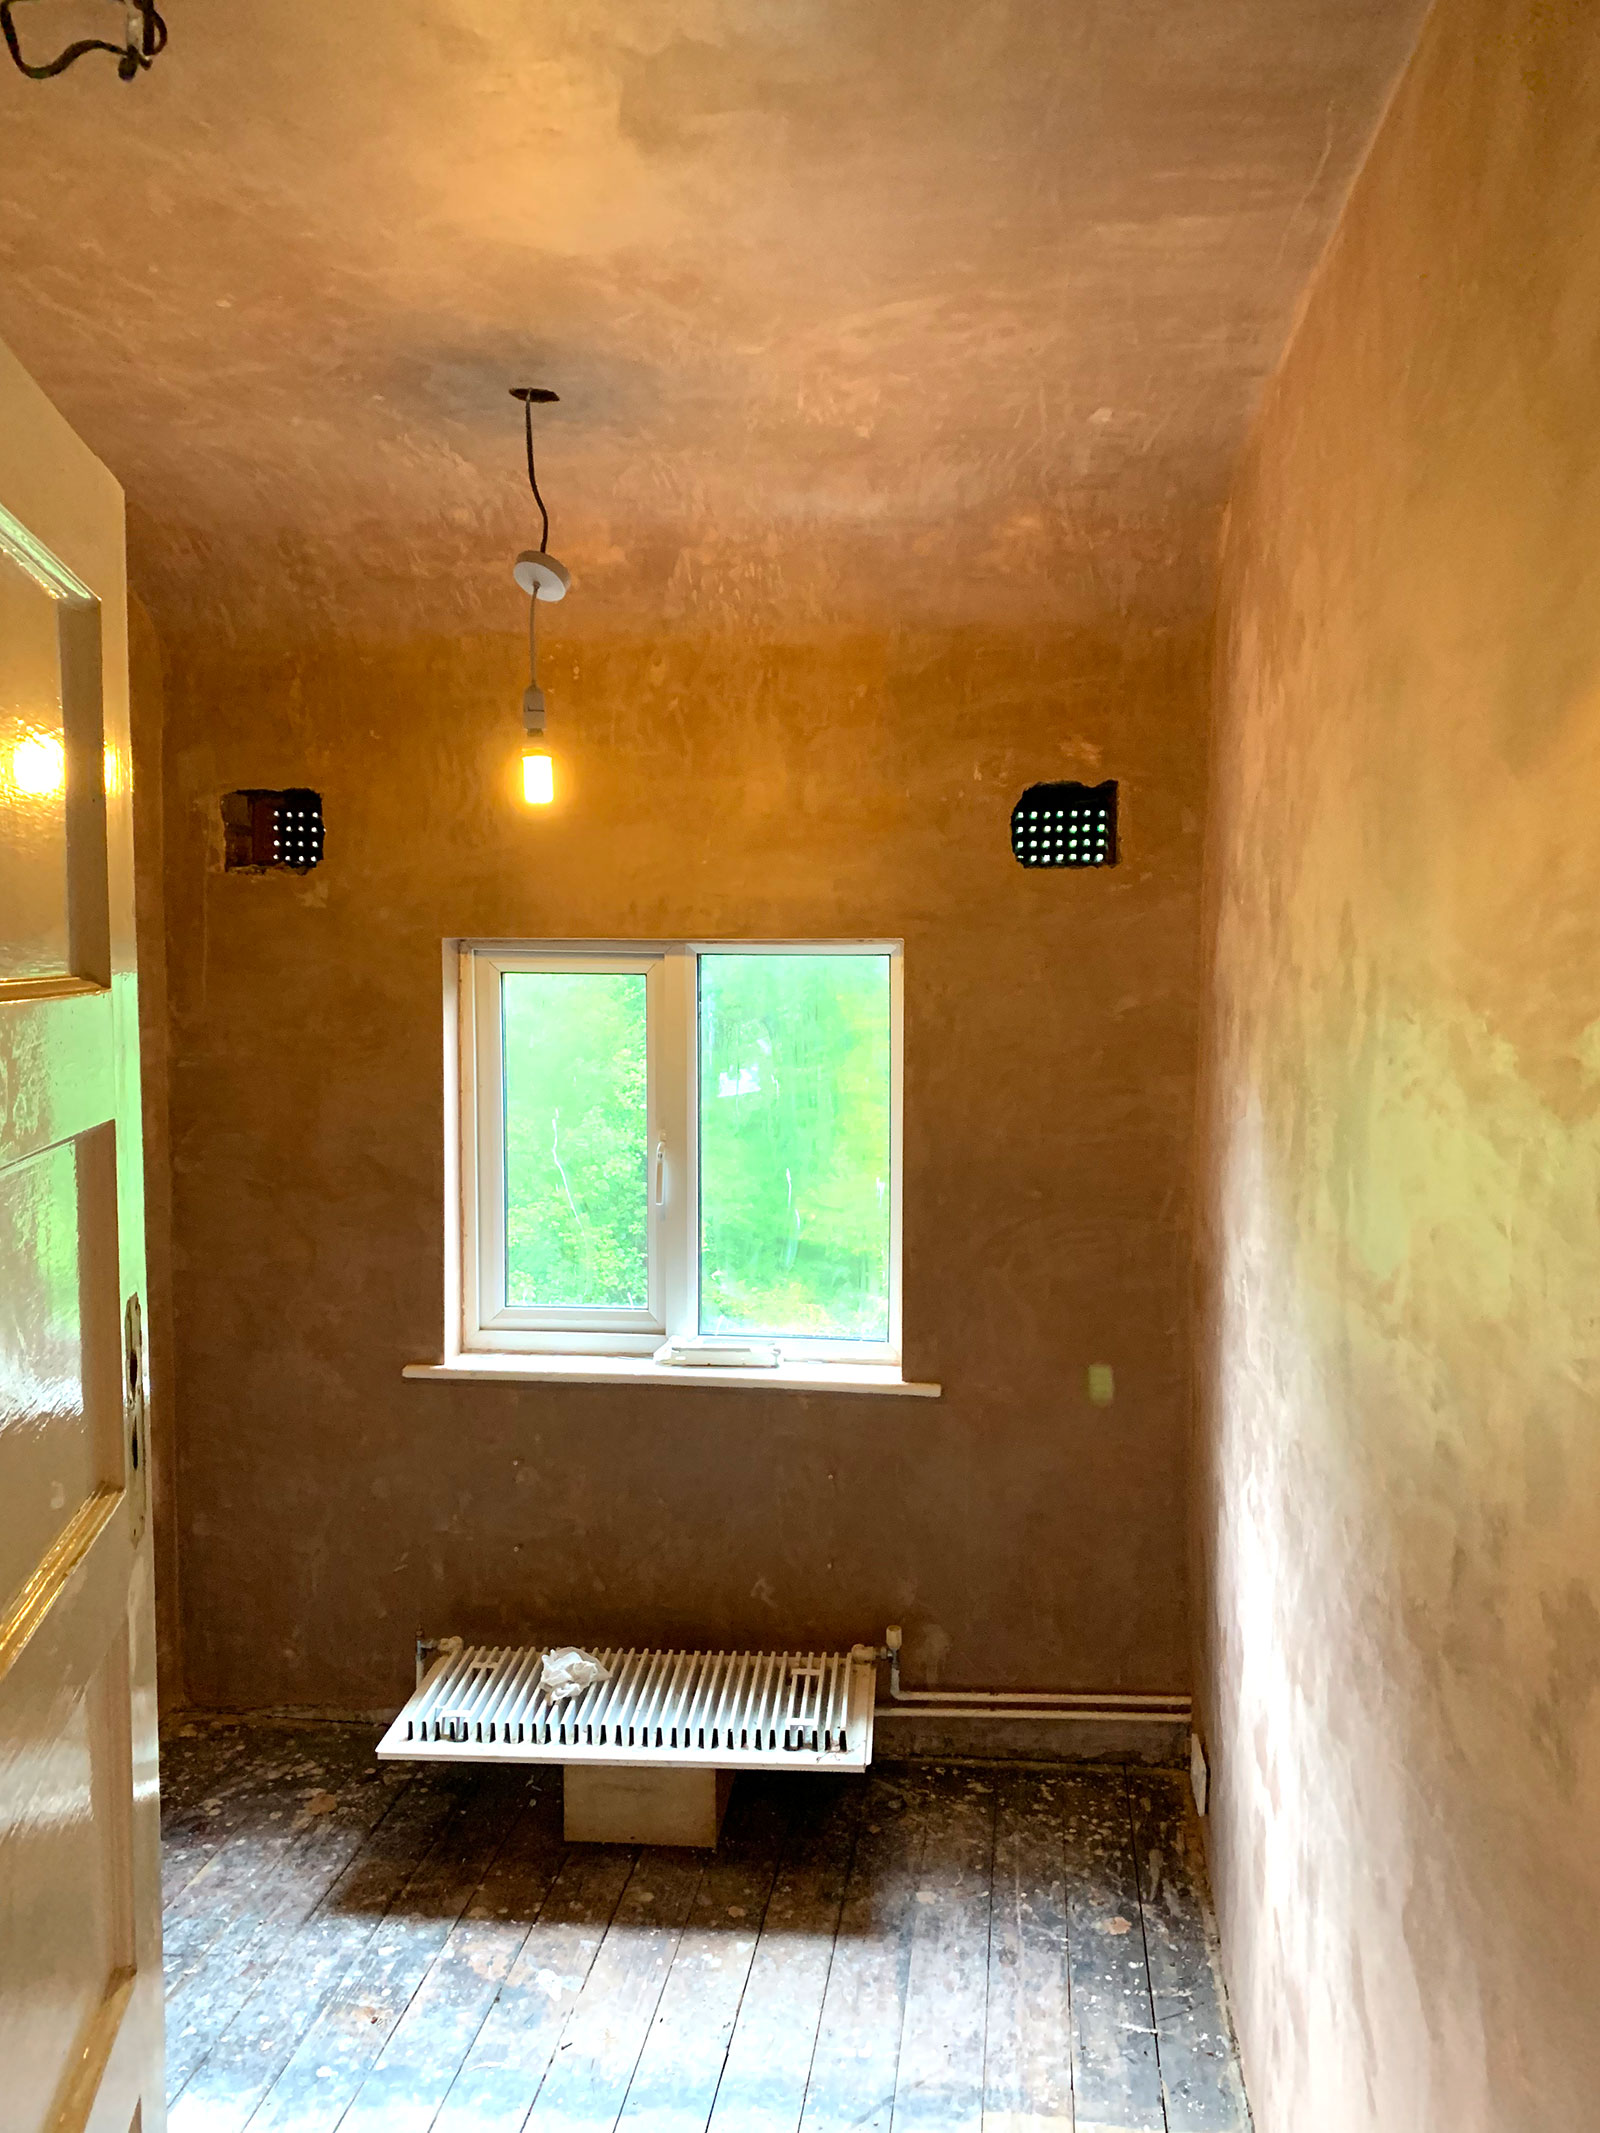
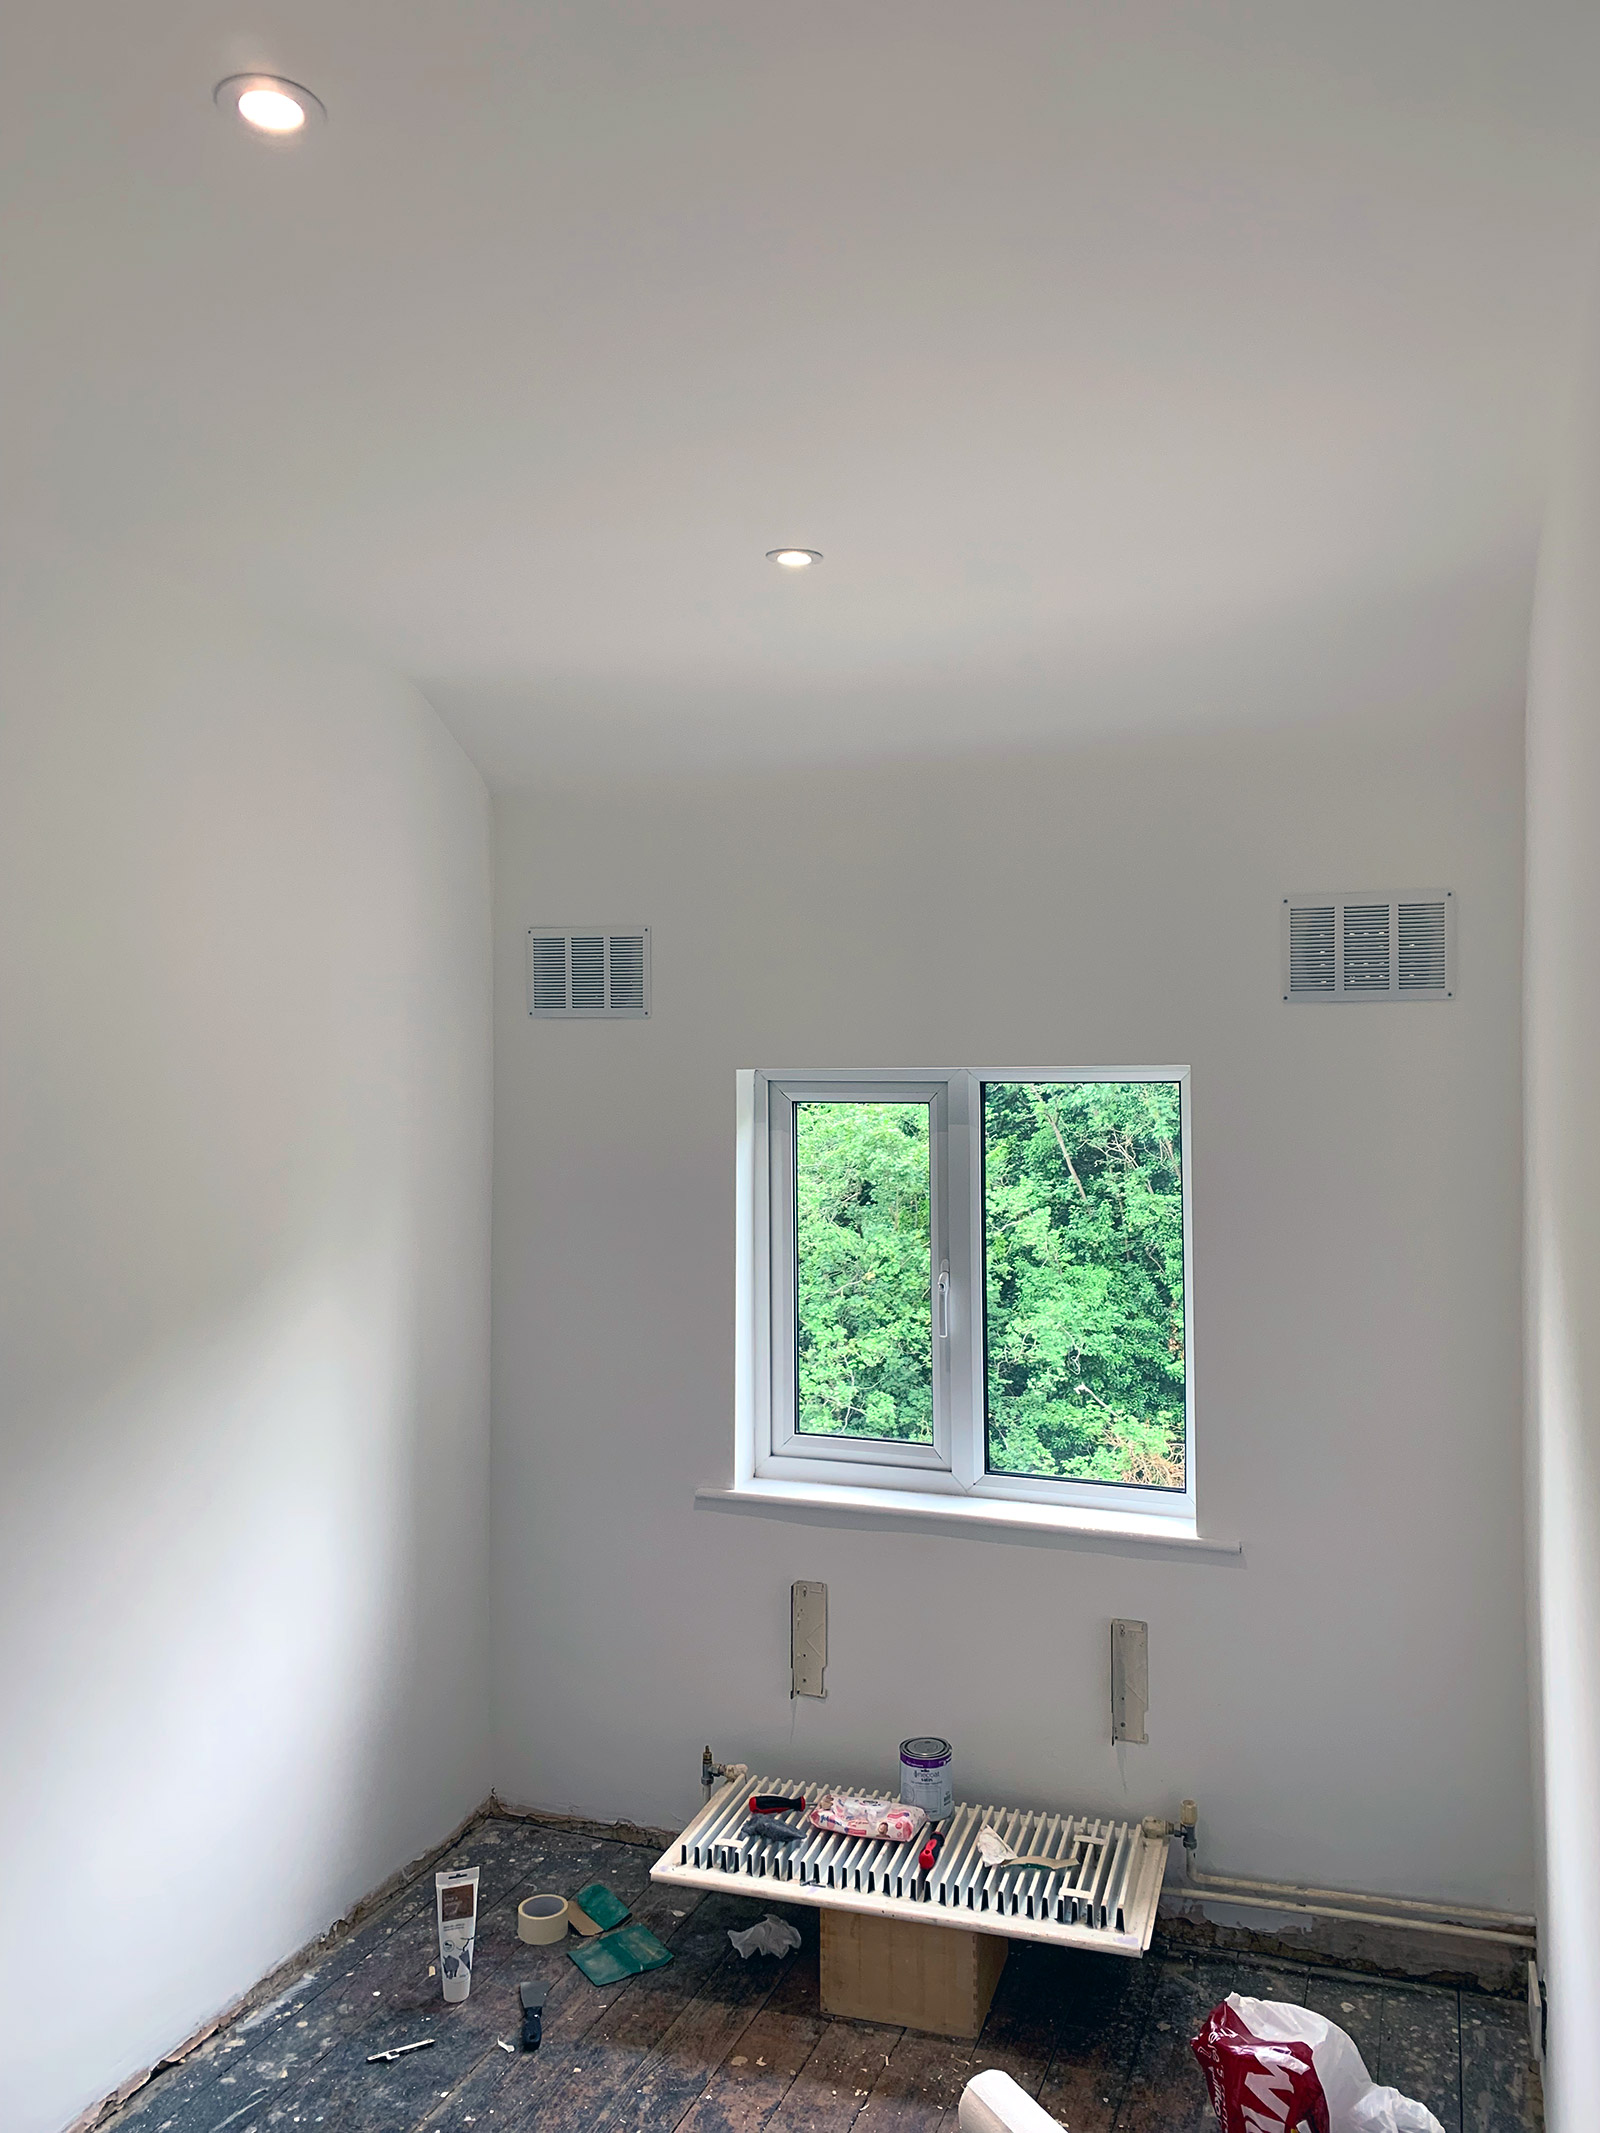
The room with a fresh new skim.
You can see from the photos there were little areas of mould here and there, but it was only on the surface where moisture had been trapped between the wallpaper and the wall and none of it had actually penetrated the plaster. This was all carefully cleaned before the new skim was applied, it didn’t even take a day for the plasterer to finish the room and when it was done it really changed the whole feel of it. It took a few days for the plaster to dry before I could paint on it during which time I worked on scrapping off thick layers of gloss paint from the wooden windowsill which also needed to be repainted.
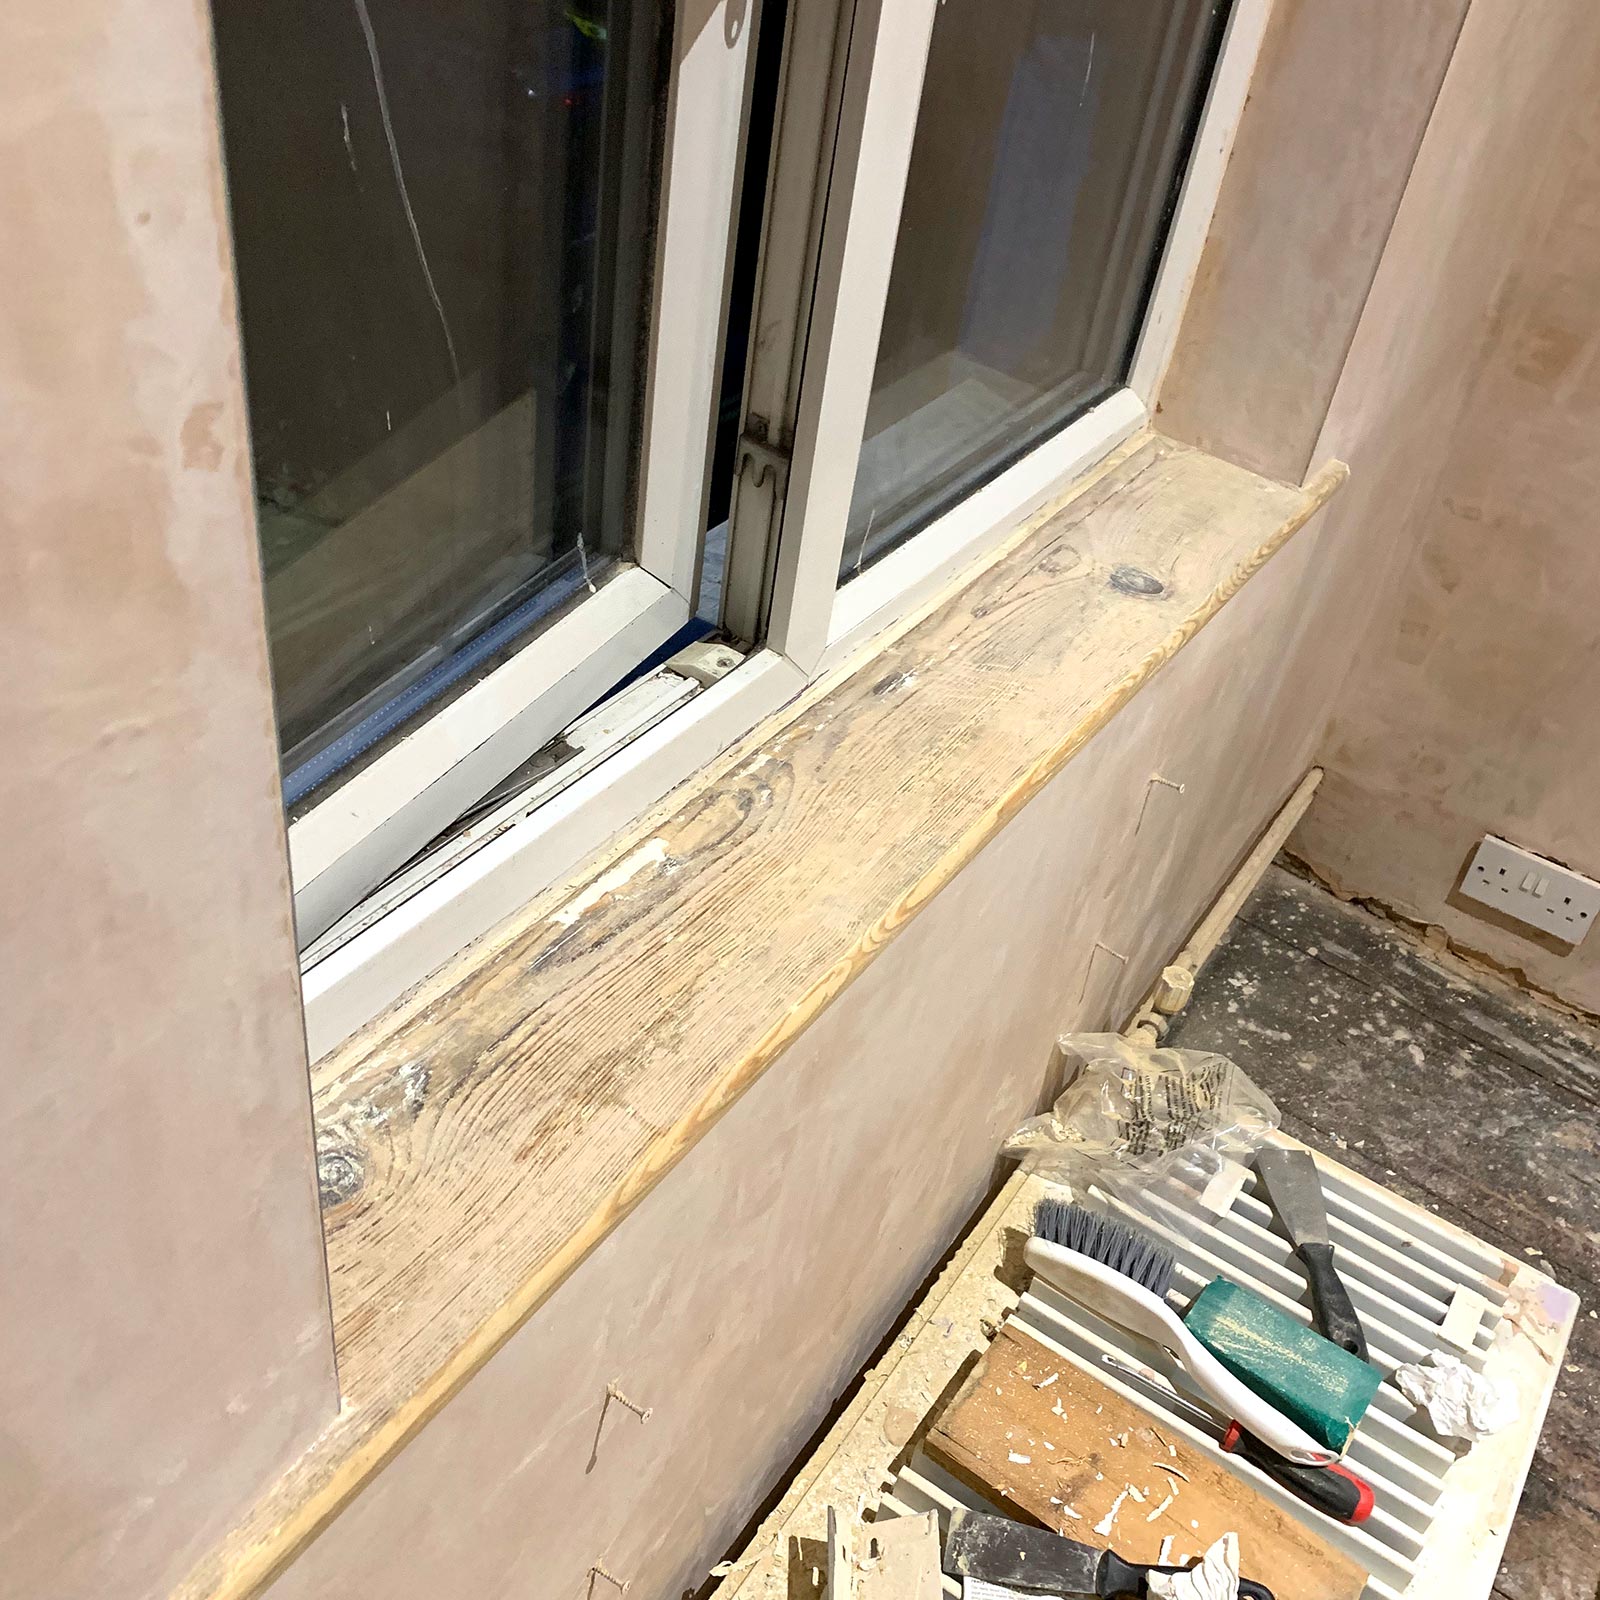
Stripping layers of old gloss took an age!
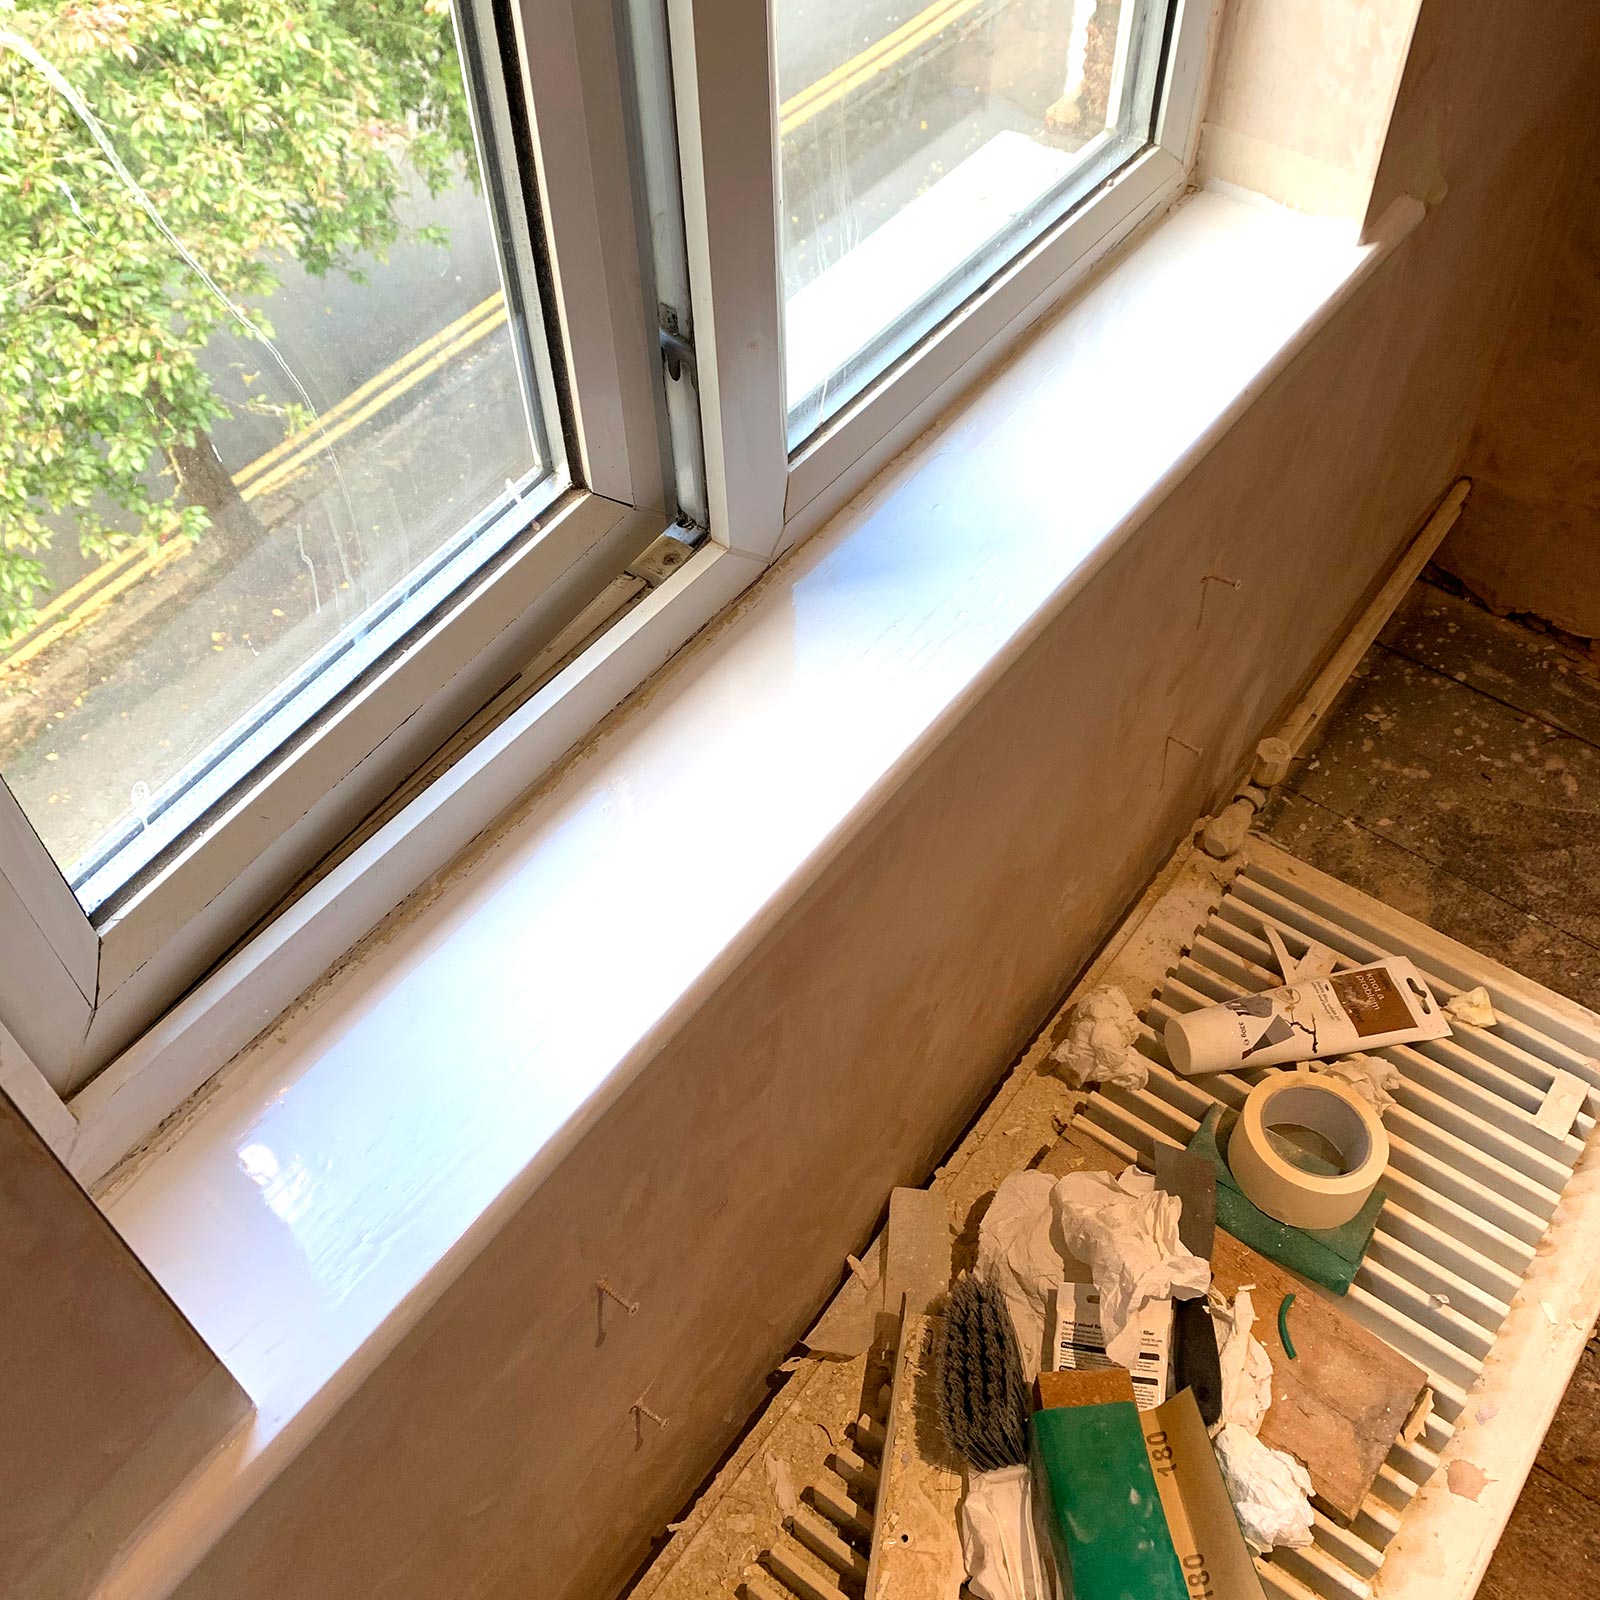
The windowsill looking as good as new!
The plasterer asked if I was going to paint or wallpaper the room and it’s a good job he did otherwise I wouldn’t have known that the first coat on fresh plaster needs to be a ‘miss coat’. For anyone else who doesn’t know this means the first coat needs to be a 50/50 mix of paint and water so that it soaks into and bonds with the plaster (obviously the paint needs to be water based). So one miss coat and two further proper coats did the trick and I used this process throughout the flat with great results.
Being a flat in the middle of the block meant that every room only had one window for light to come through which is the part of the reason why I painted everywhere white because I wanted it to be as light and bright as possible. Regardless of light I would have painted everywhere white anyway as this is then a great backdrop to show off artwork on the walls which is where the splash of colour would come from, this was also partly the reason why printable-art.com was born.
I wanted my boy to be included in some of the decision making processes so that he felt part of the project too, something that I feel was important and beneficial for the both of us. We looked at bedroom furniture together and he decided on having a loft style bed with a desk underneath, a great idea given that the room was quite small. This then led to a decision on the ceiling lights. Because of the height of the loft bed it meant it wouldn’t have been a good idea to have a lampshade hanging from the ceiling, so we decided to have spotlights installed. This was made easier by the flat being top floor and benefiting from having a pitched roof with a loft! Obviously I would need the help of an electrician to do this and again my cousin knew an electrician who was more than happy to help out.
To make his bedroom a little more special I went for the Philips Hue colour changing bulbs, you can change the colour of these bulbs through an app on your phone or through a smart speaker as they are connected via wifi, this means they are slightly bigger than normal bulbs and required a slightly bigger housing to be installed to hold them in the ceiling. Now that my boy could see how his room was shaping up he was smiling again and with him now being able to see my vision this fuelled purpose and drive to get the rest of the flat done…
Now it’s painted, they boy is smiling!
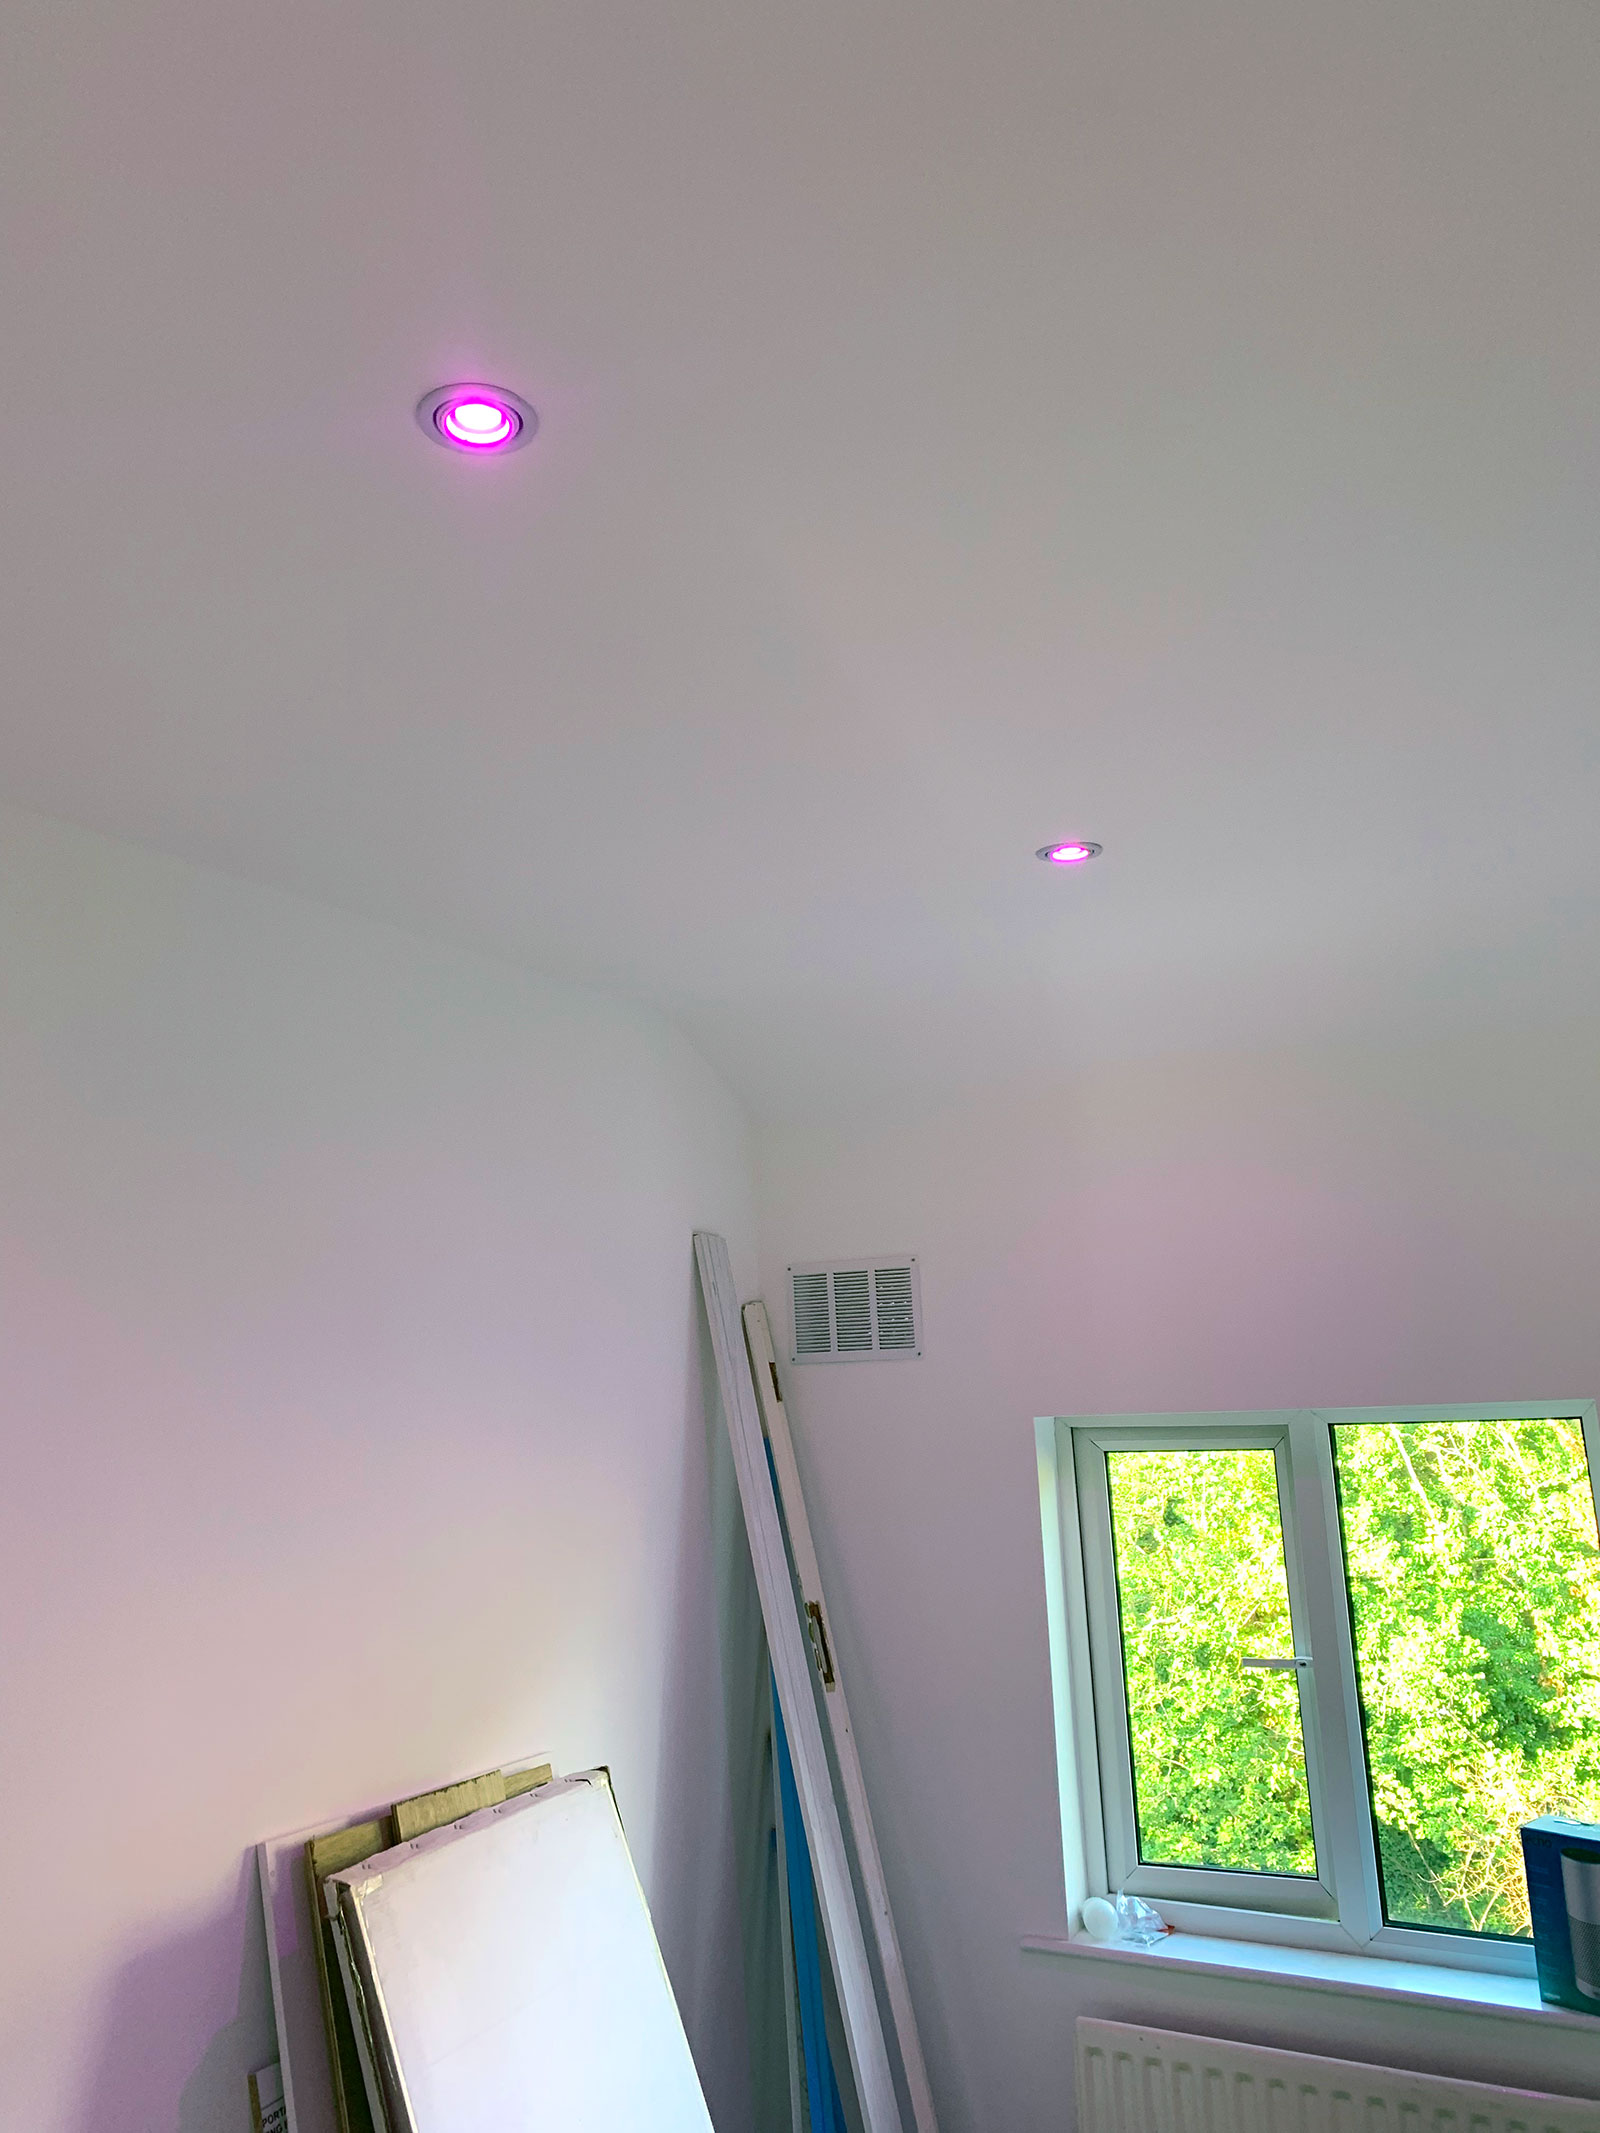
Showing off the new colour changing lights!
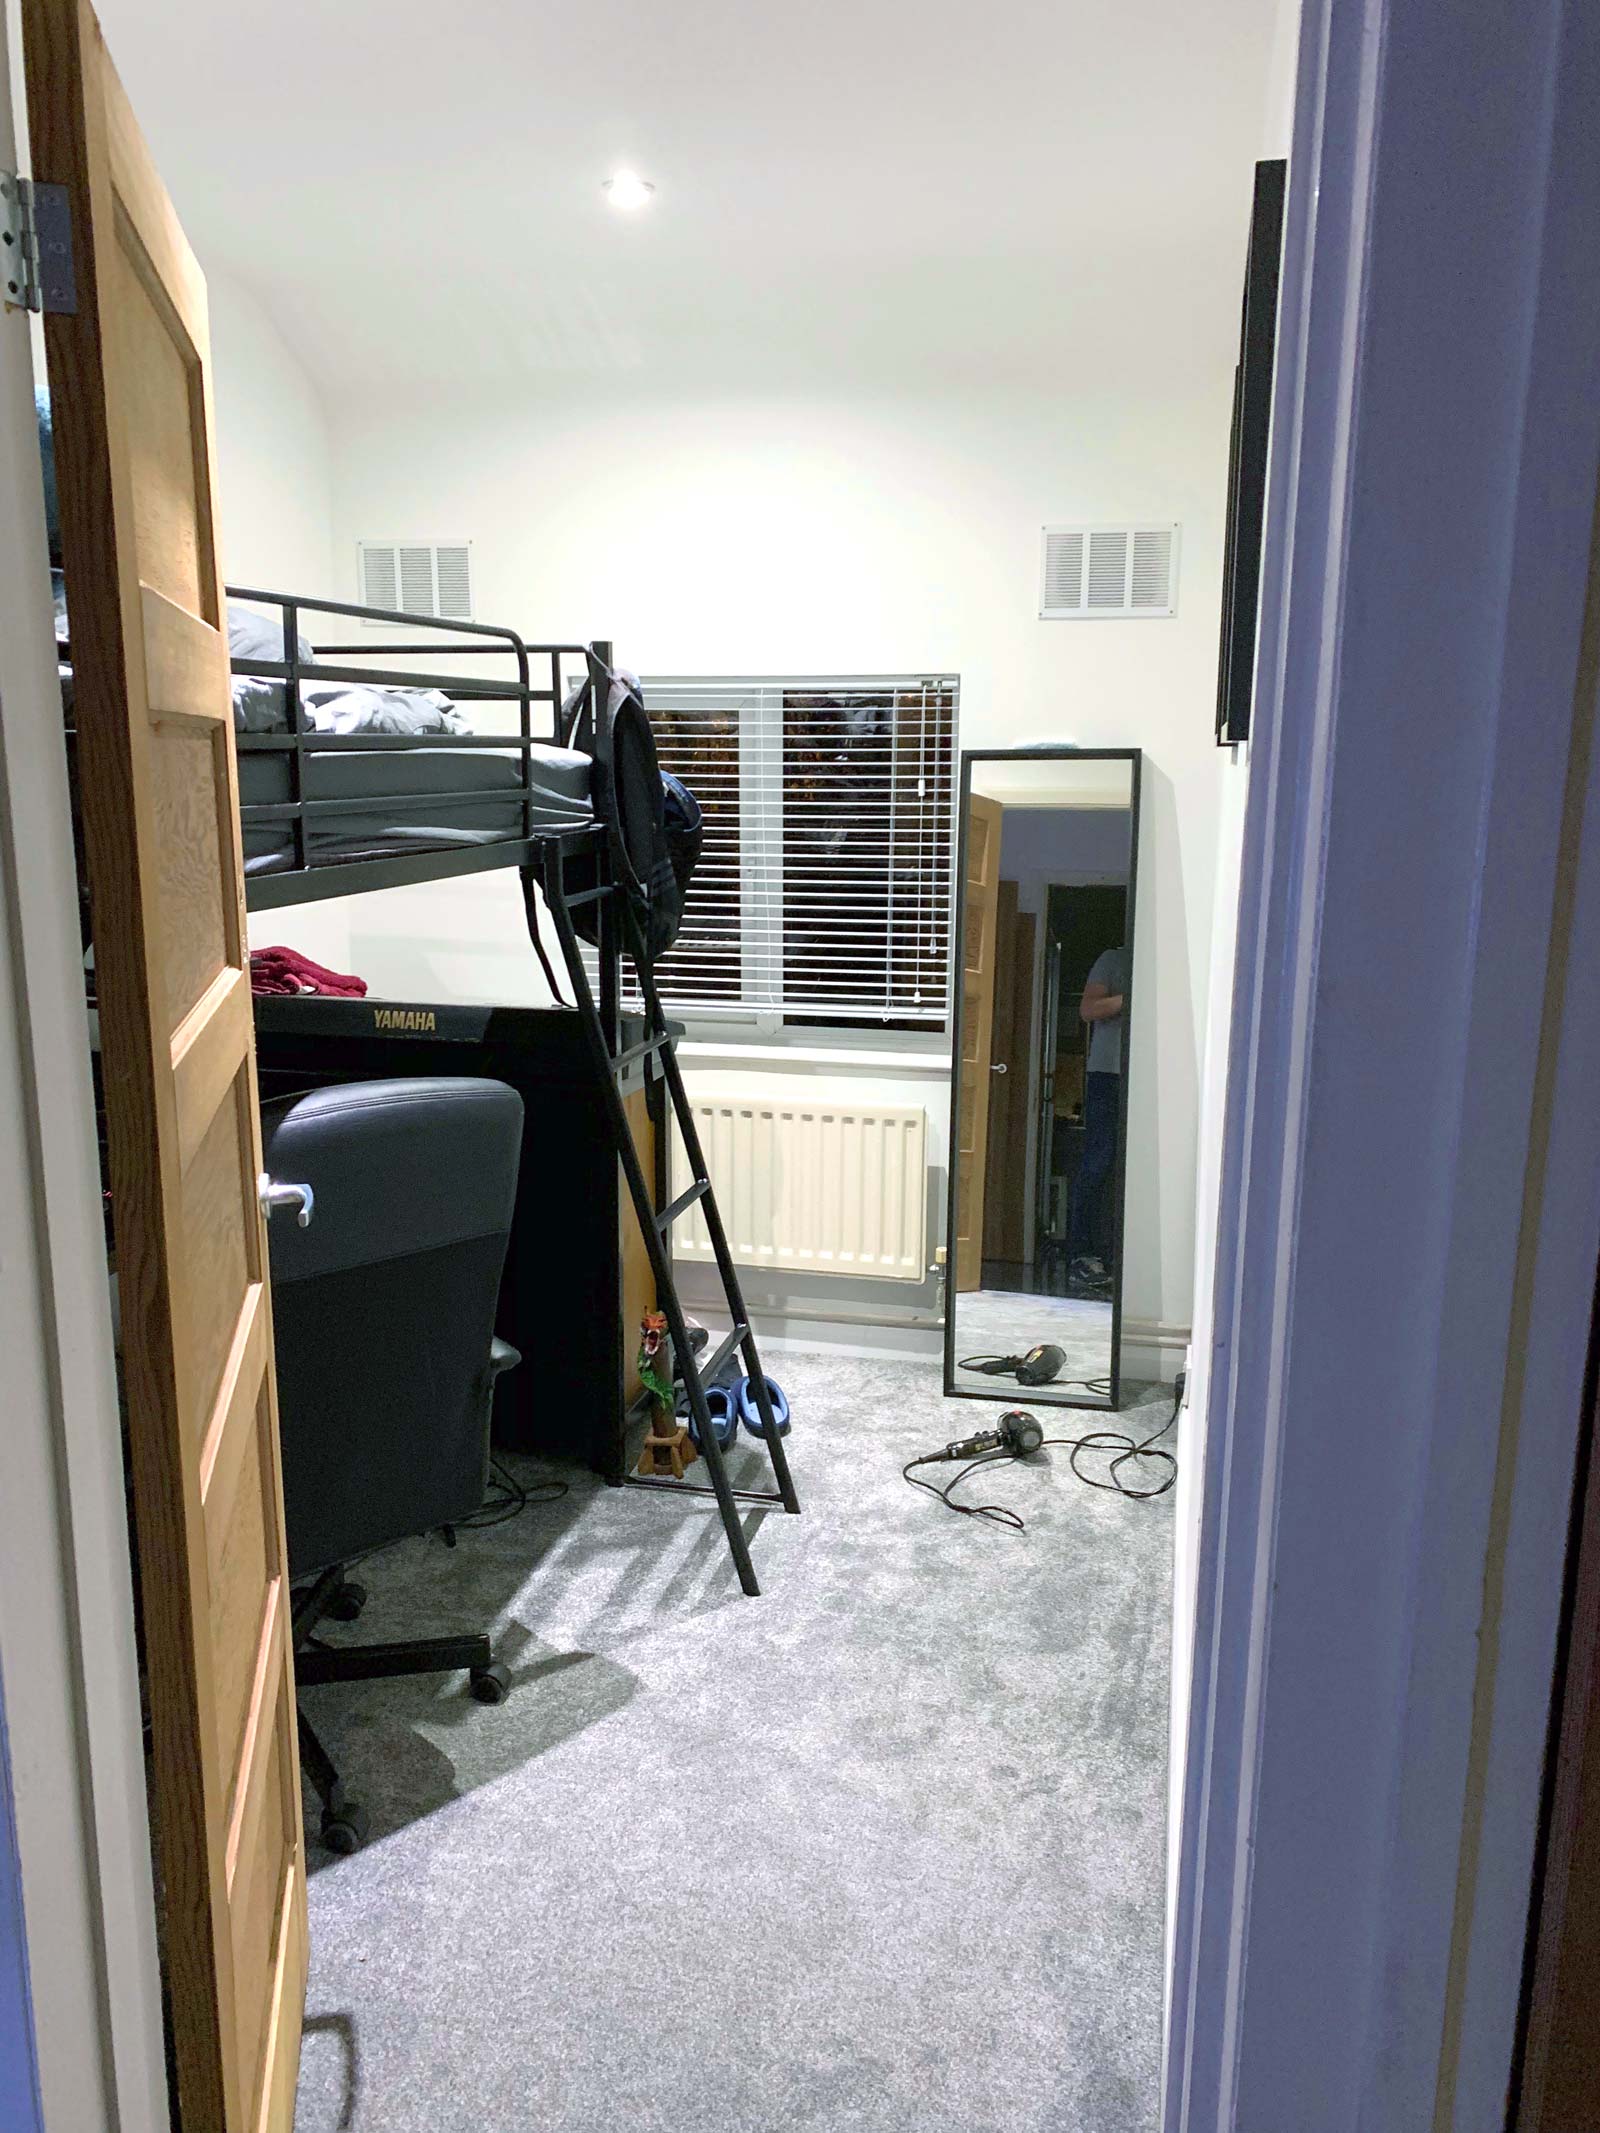
Making good use of limited space!