flat refurbishment – part 3
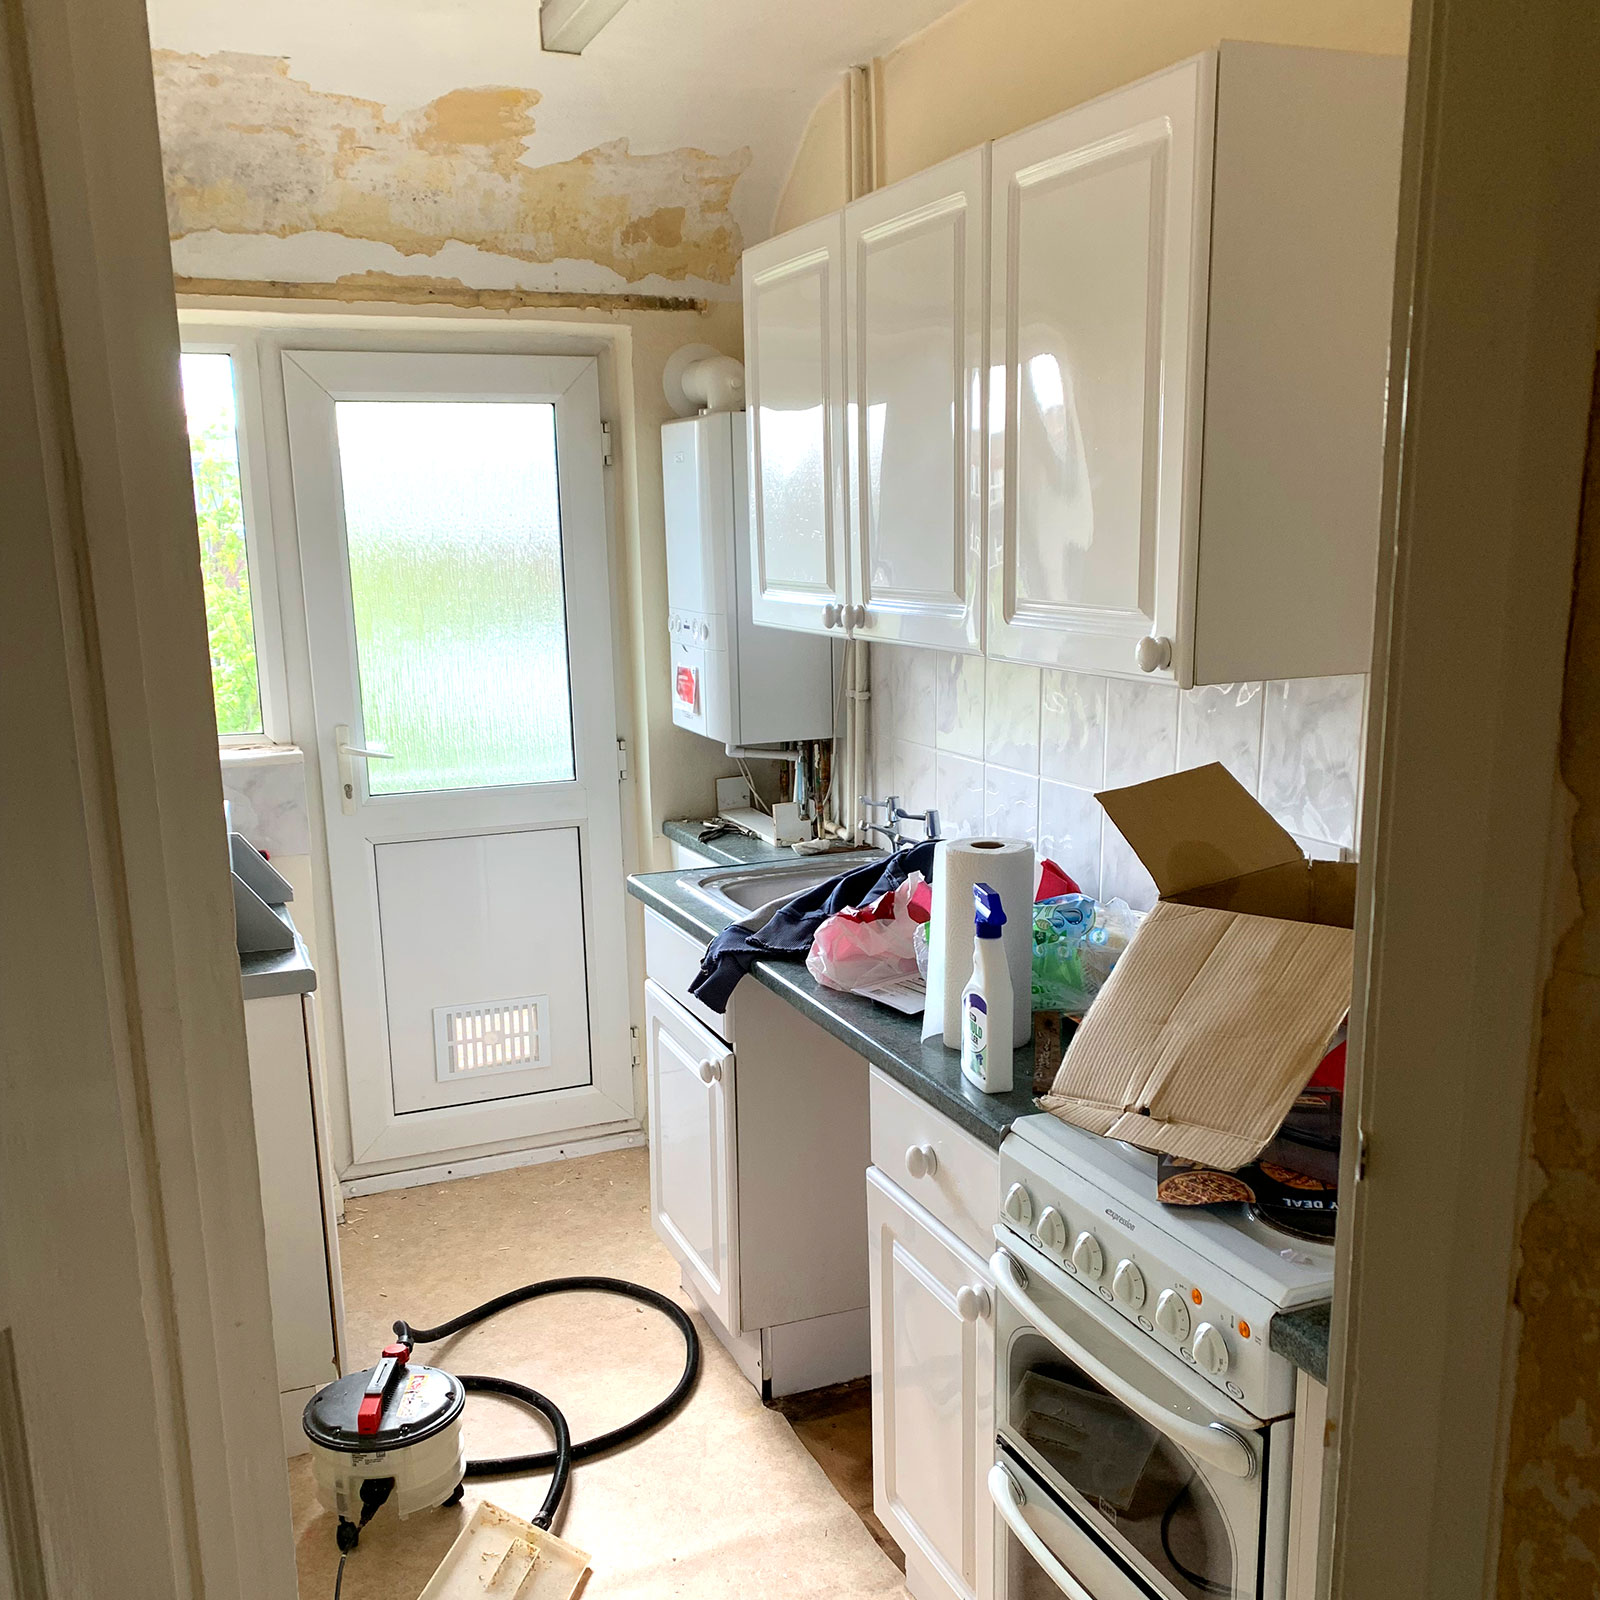
The toughest and most costly parts of this refurb were always going to be the kitchen and bathroom as both needed to be completely ripped out, re-designed and rebuilt from scratch. I decided to tackle the kitchen first and as I mentioned in the previous blog my cousin came over to quote for the work. He then put me in contact with a designer he liaises with at a local kitchen company so we could get the ball rolling.
It’s a fairly small galley style kitchen so it needed careful consideration to maximise every inch for storage, accessibility and usability. The designer did a great job in measuring up and matching that brief. Together we finalised the designs and the kitchen was ordered, hoorah!
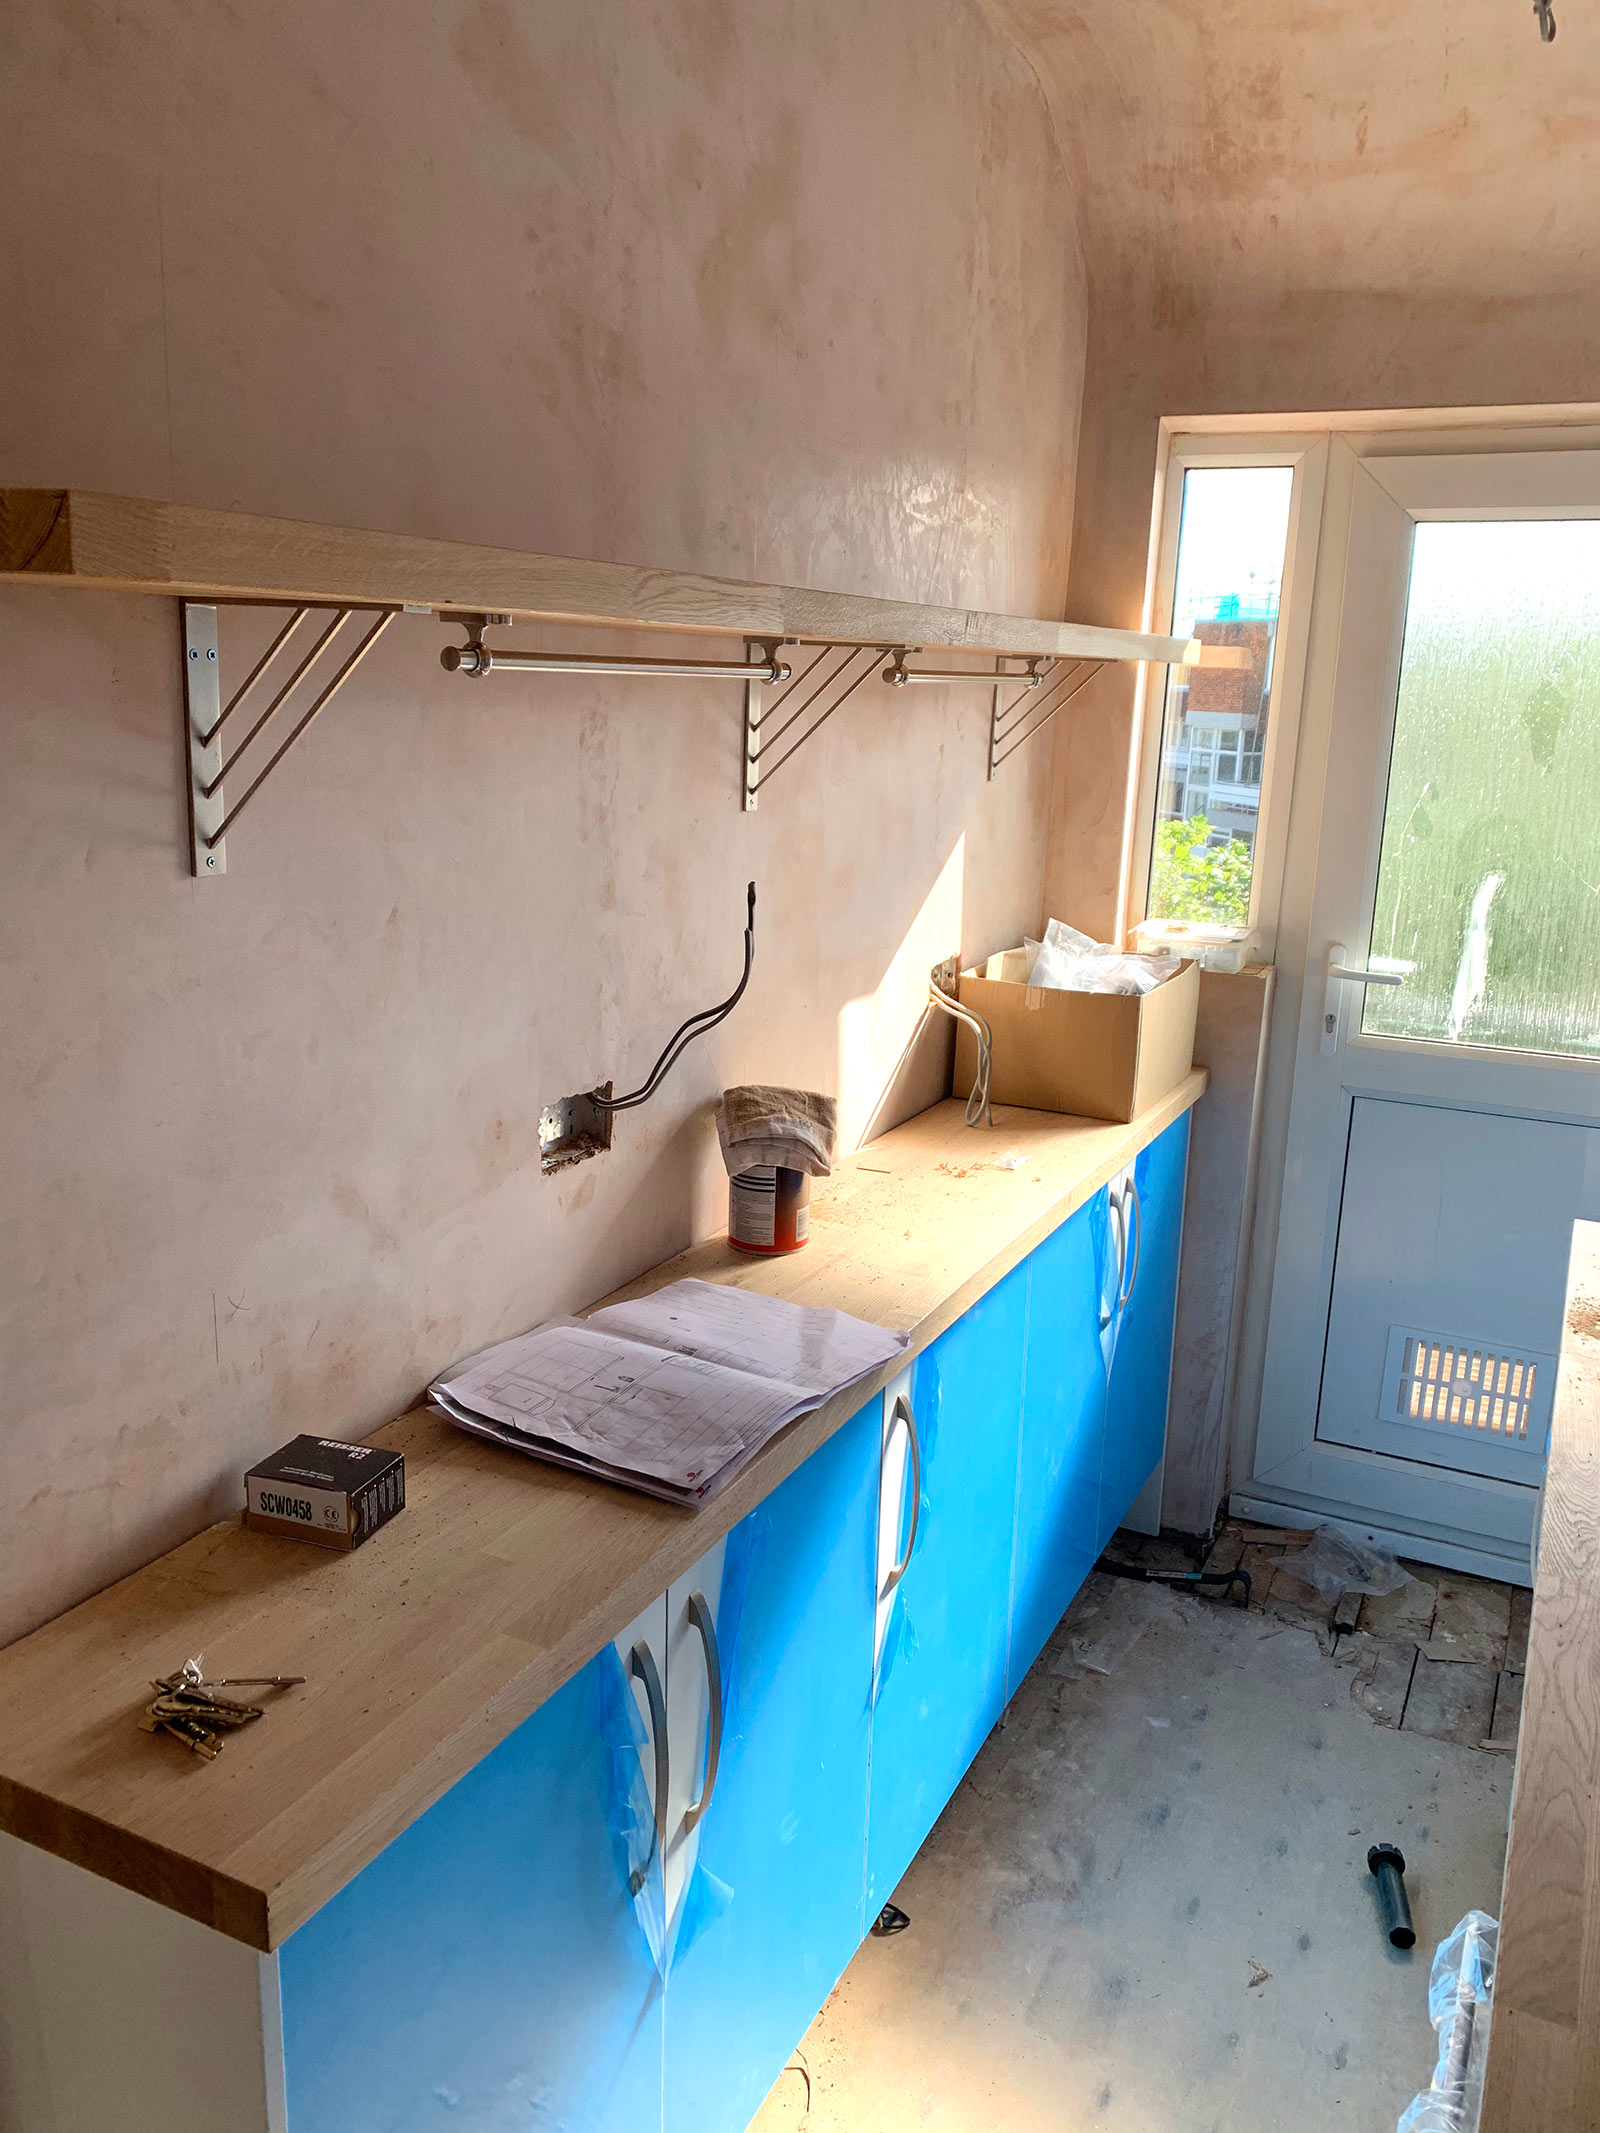
It was going to take around a week for it to be put together and delivered which gave me time to demolish, I mean prepare the kitchen as best I could to try and save some money. It turned out the kitchen needed completely rewiring which was unforeseen and like the boy’s bedroom it needed re-plastering.
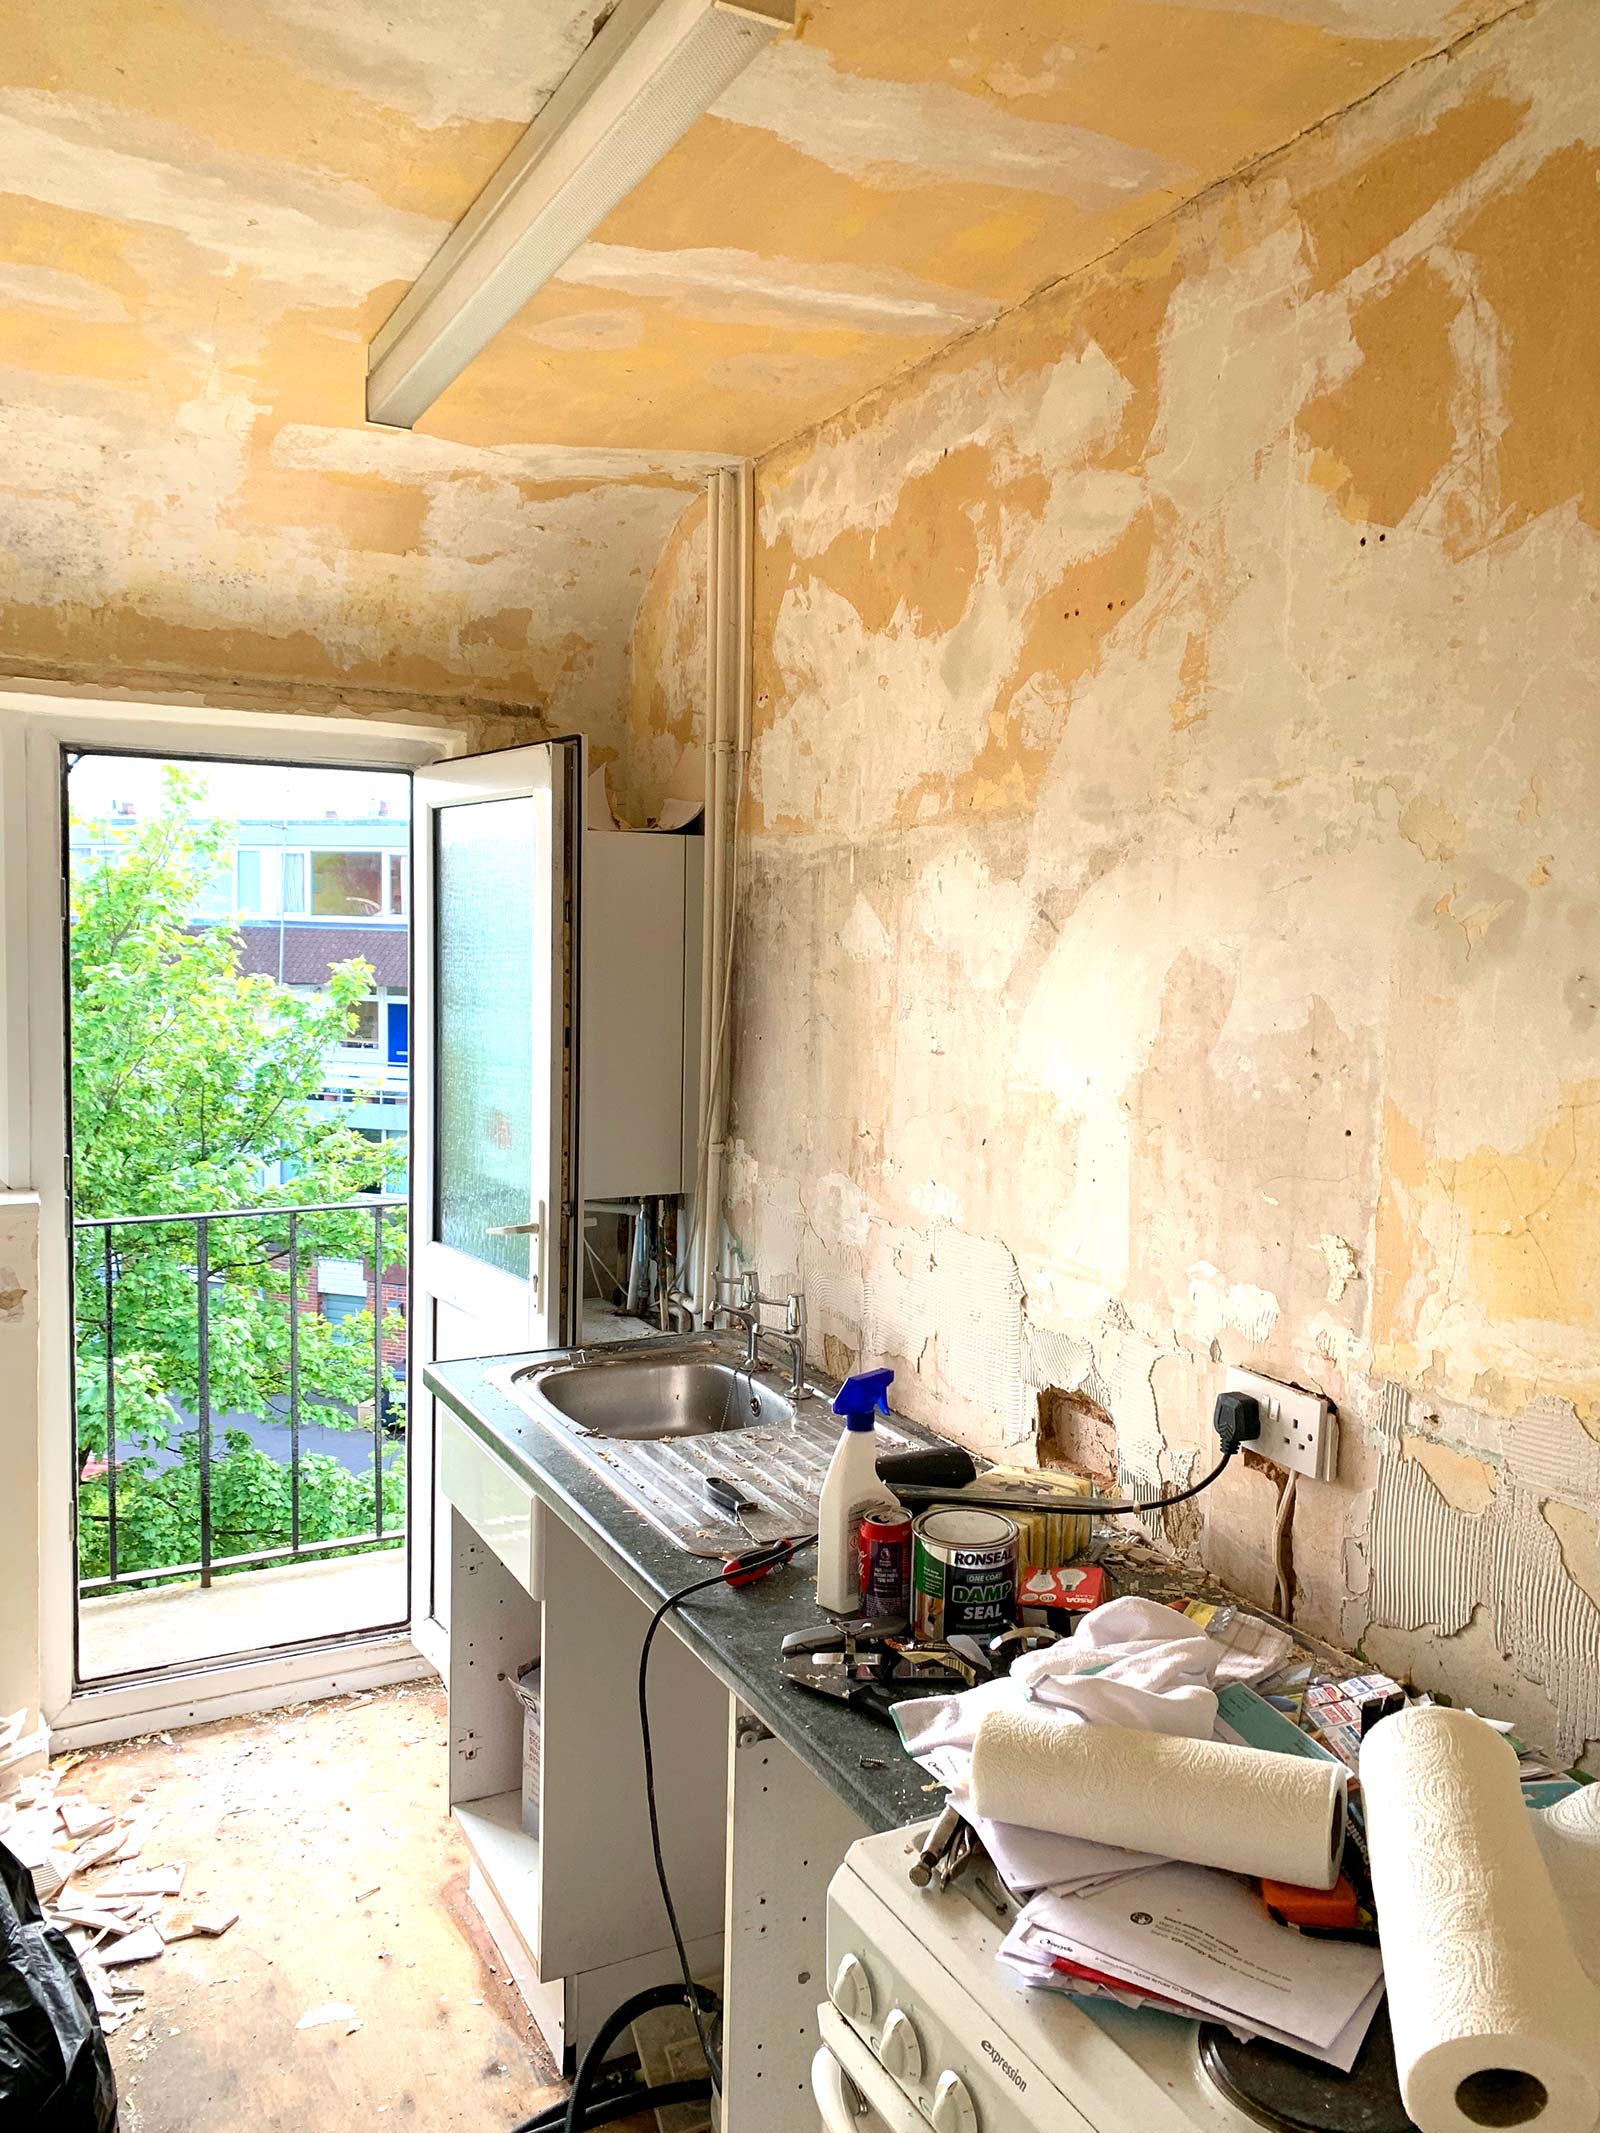
Stripping the wall took some work!
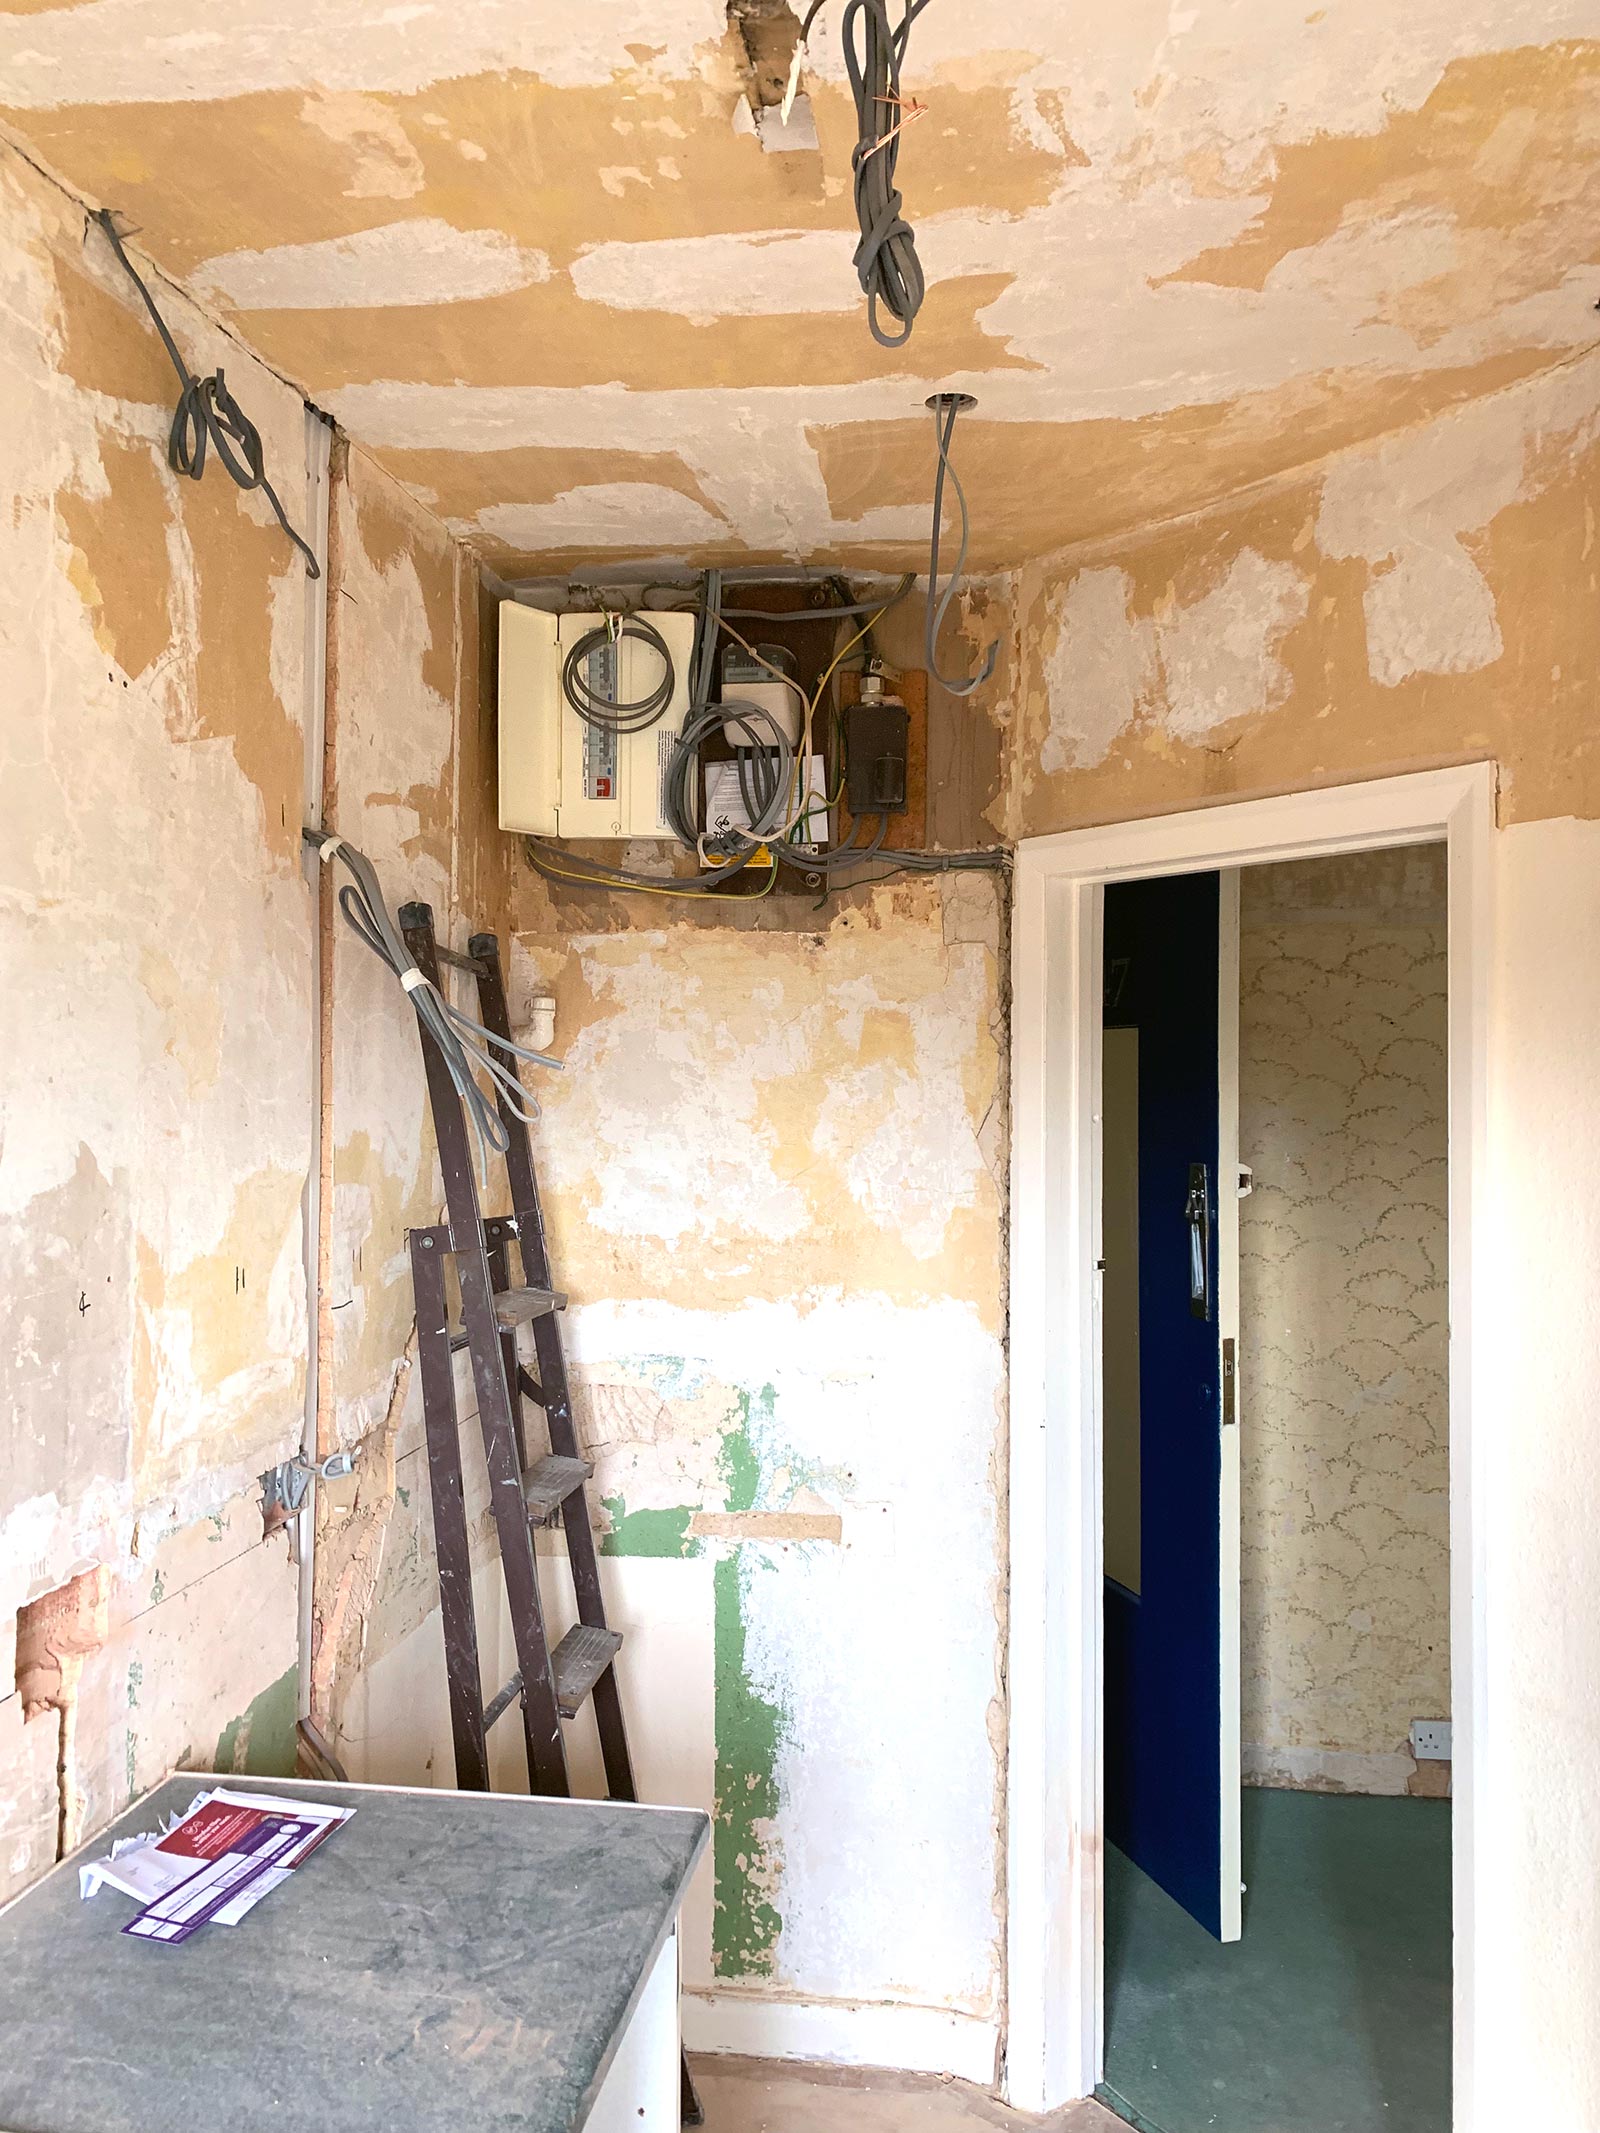
New electrics going in.
There was quite a bit of elbow grease involved in ripping out the old kitchen which included removing all the old units, chipping tiles of the walls and stripping woodchip which was everywhere, again! A couple of days hard work got that done which left just enough time for the electrician and plasterer to do their magic before the kitchen arrived.
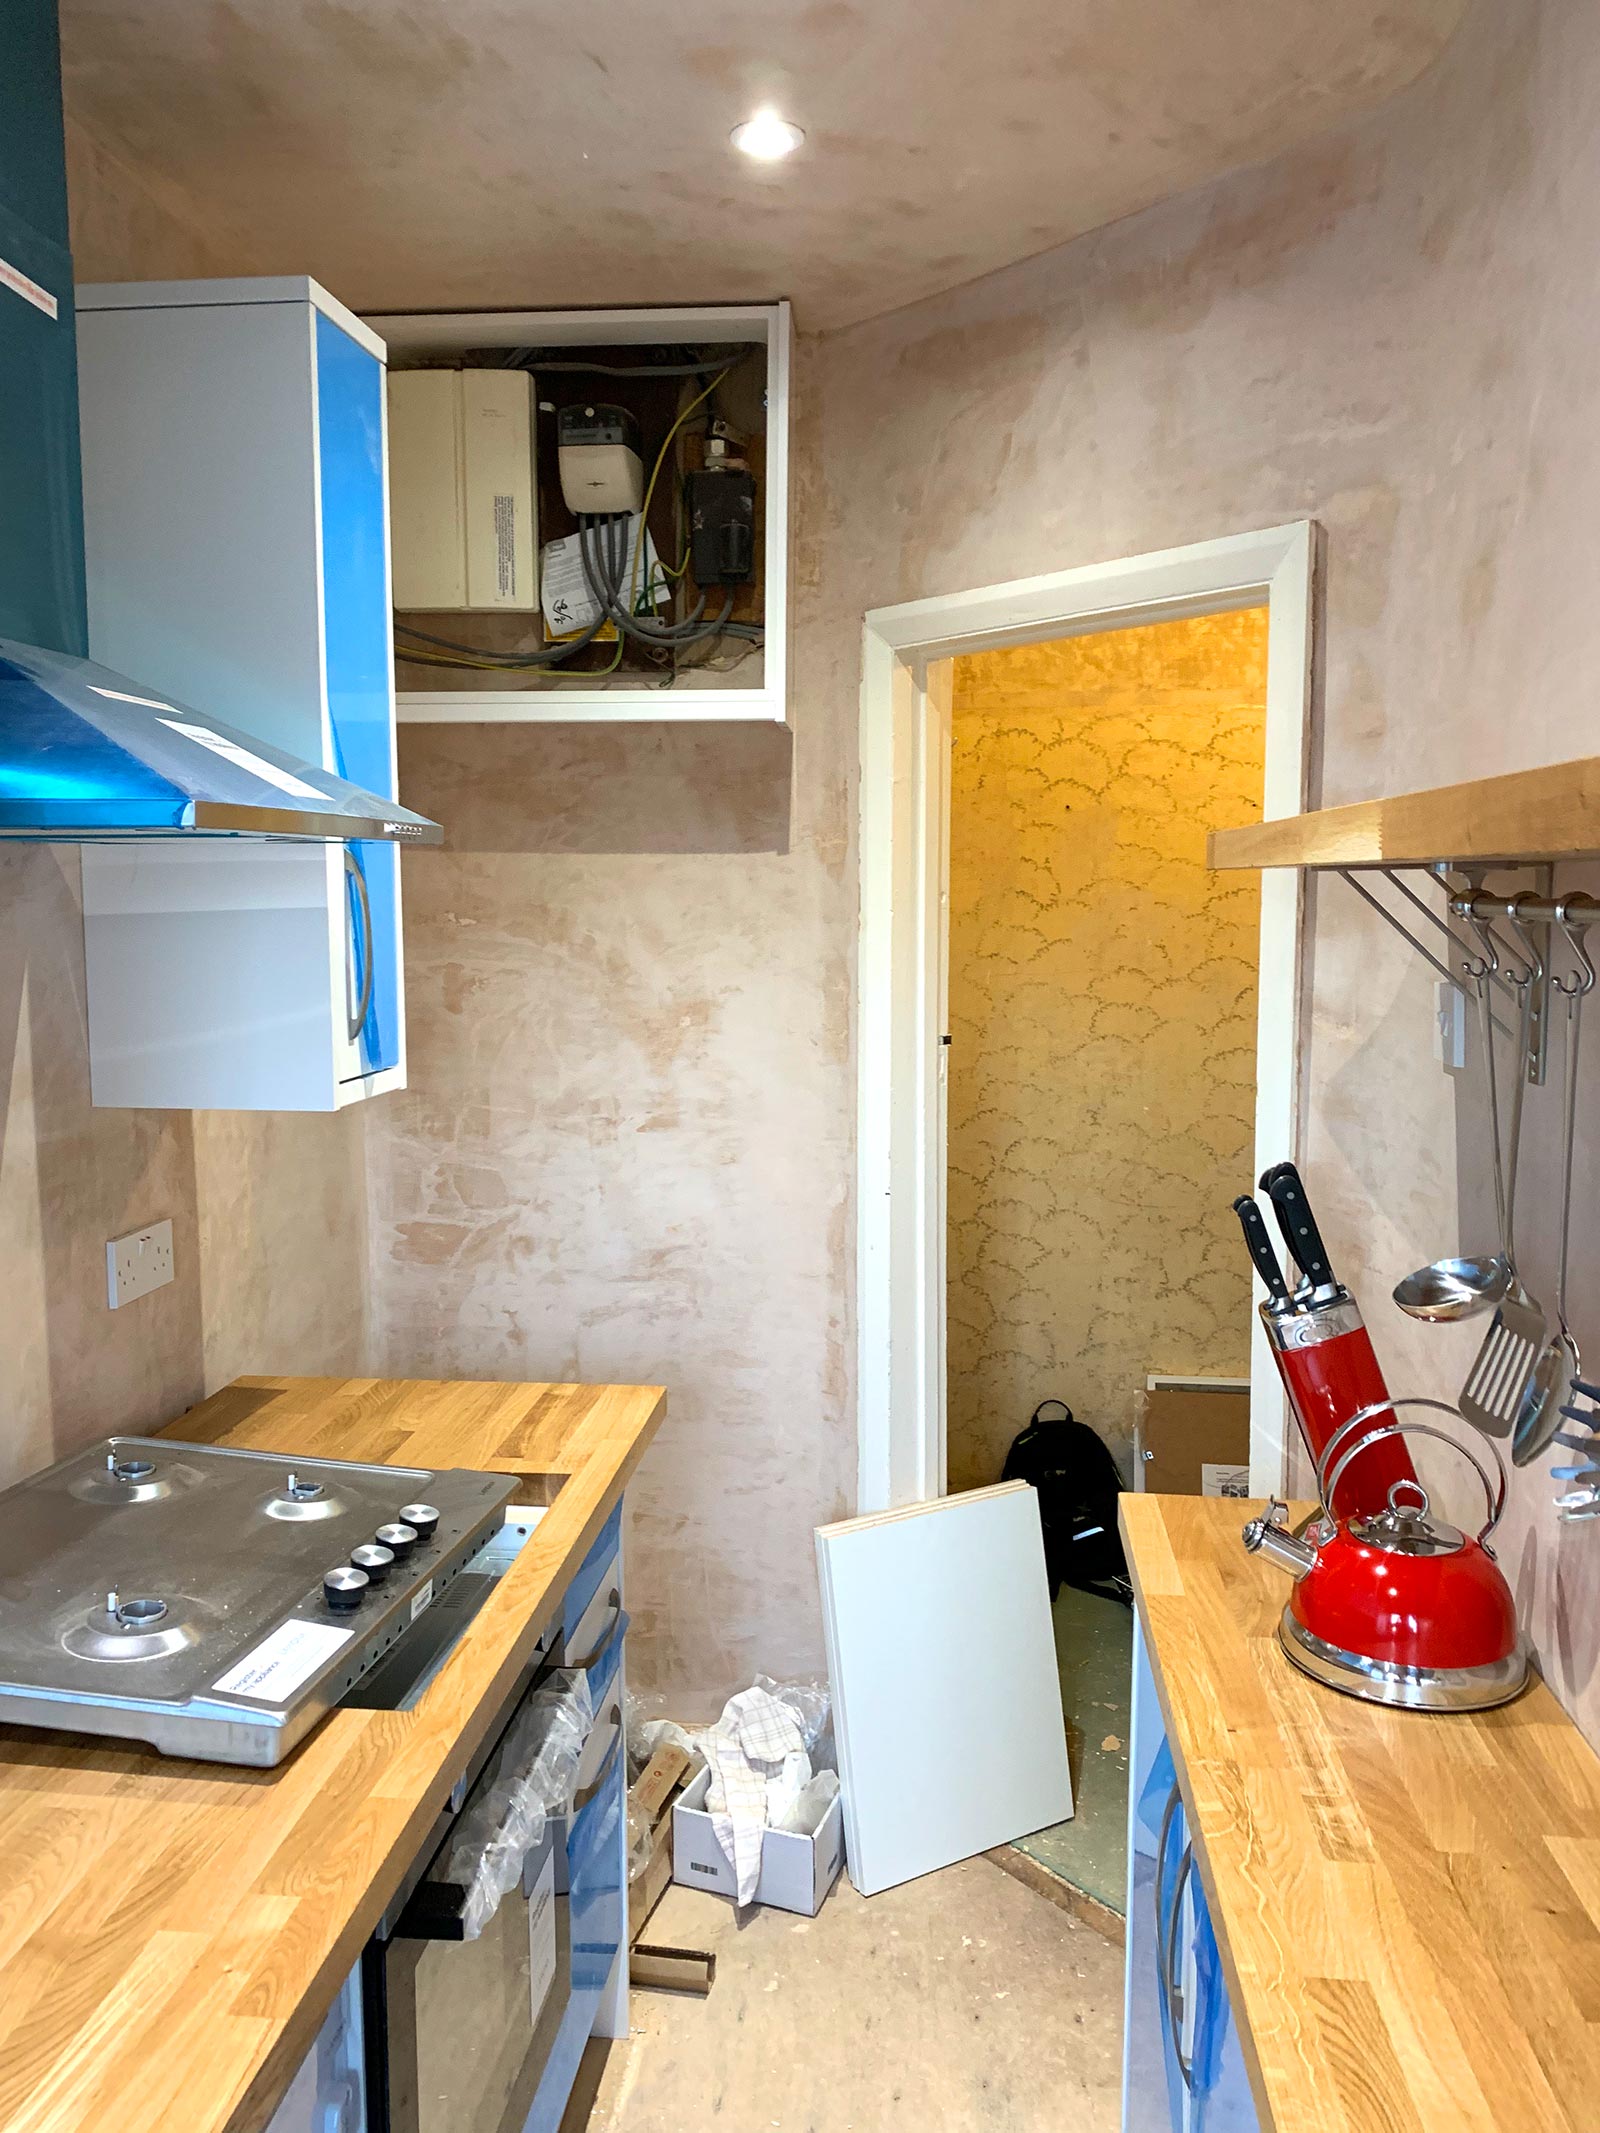
You will see in the photos there was a horrible strip light on the ceiling which had to go, this was replaced with three super cool spot lights. There was also a small radiator which I wanted to remove as the kitchen was limited for space and its the one room that doesn’t really lack for heat, what with cooking and all that stuff.
I decided on solid oak work surfaces and because they would be either side of the galley that meant I had to order two three meter lengths. This worked out well as it also provided me with a fantastic shelf for more much needed storage, a couple of matching chopping boards and a new sill for the window by the door. I’m definitely a dude for making the materials go a long way! Because the shelf was solid oak I invested in 3 strong steel brackets which turned it in to a cool design feature.
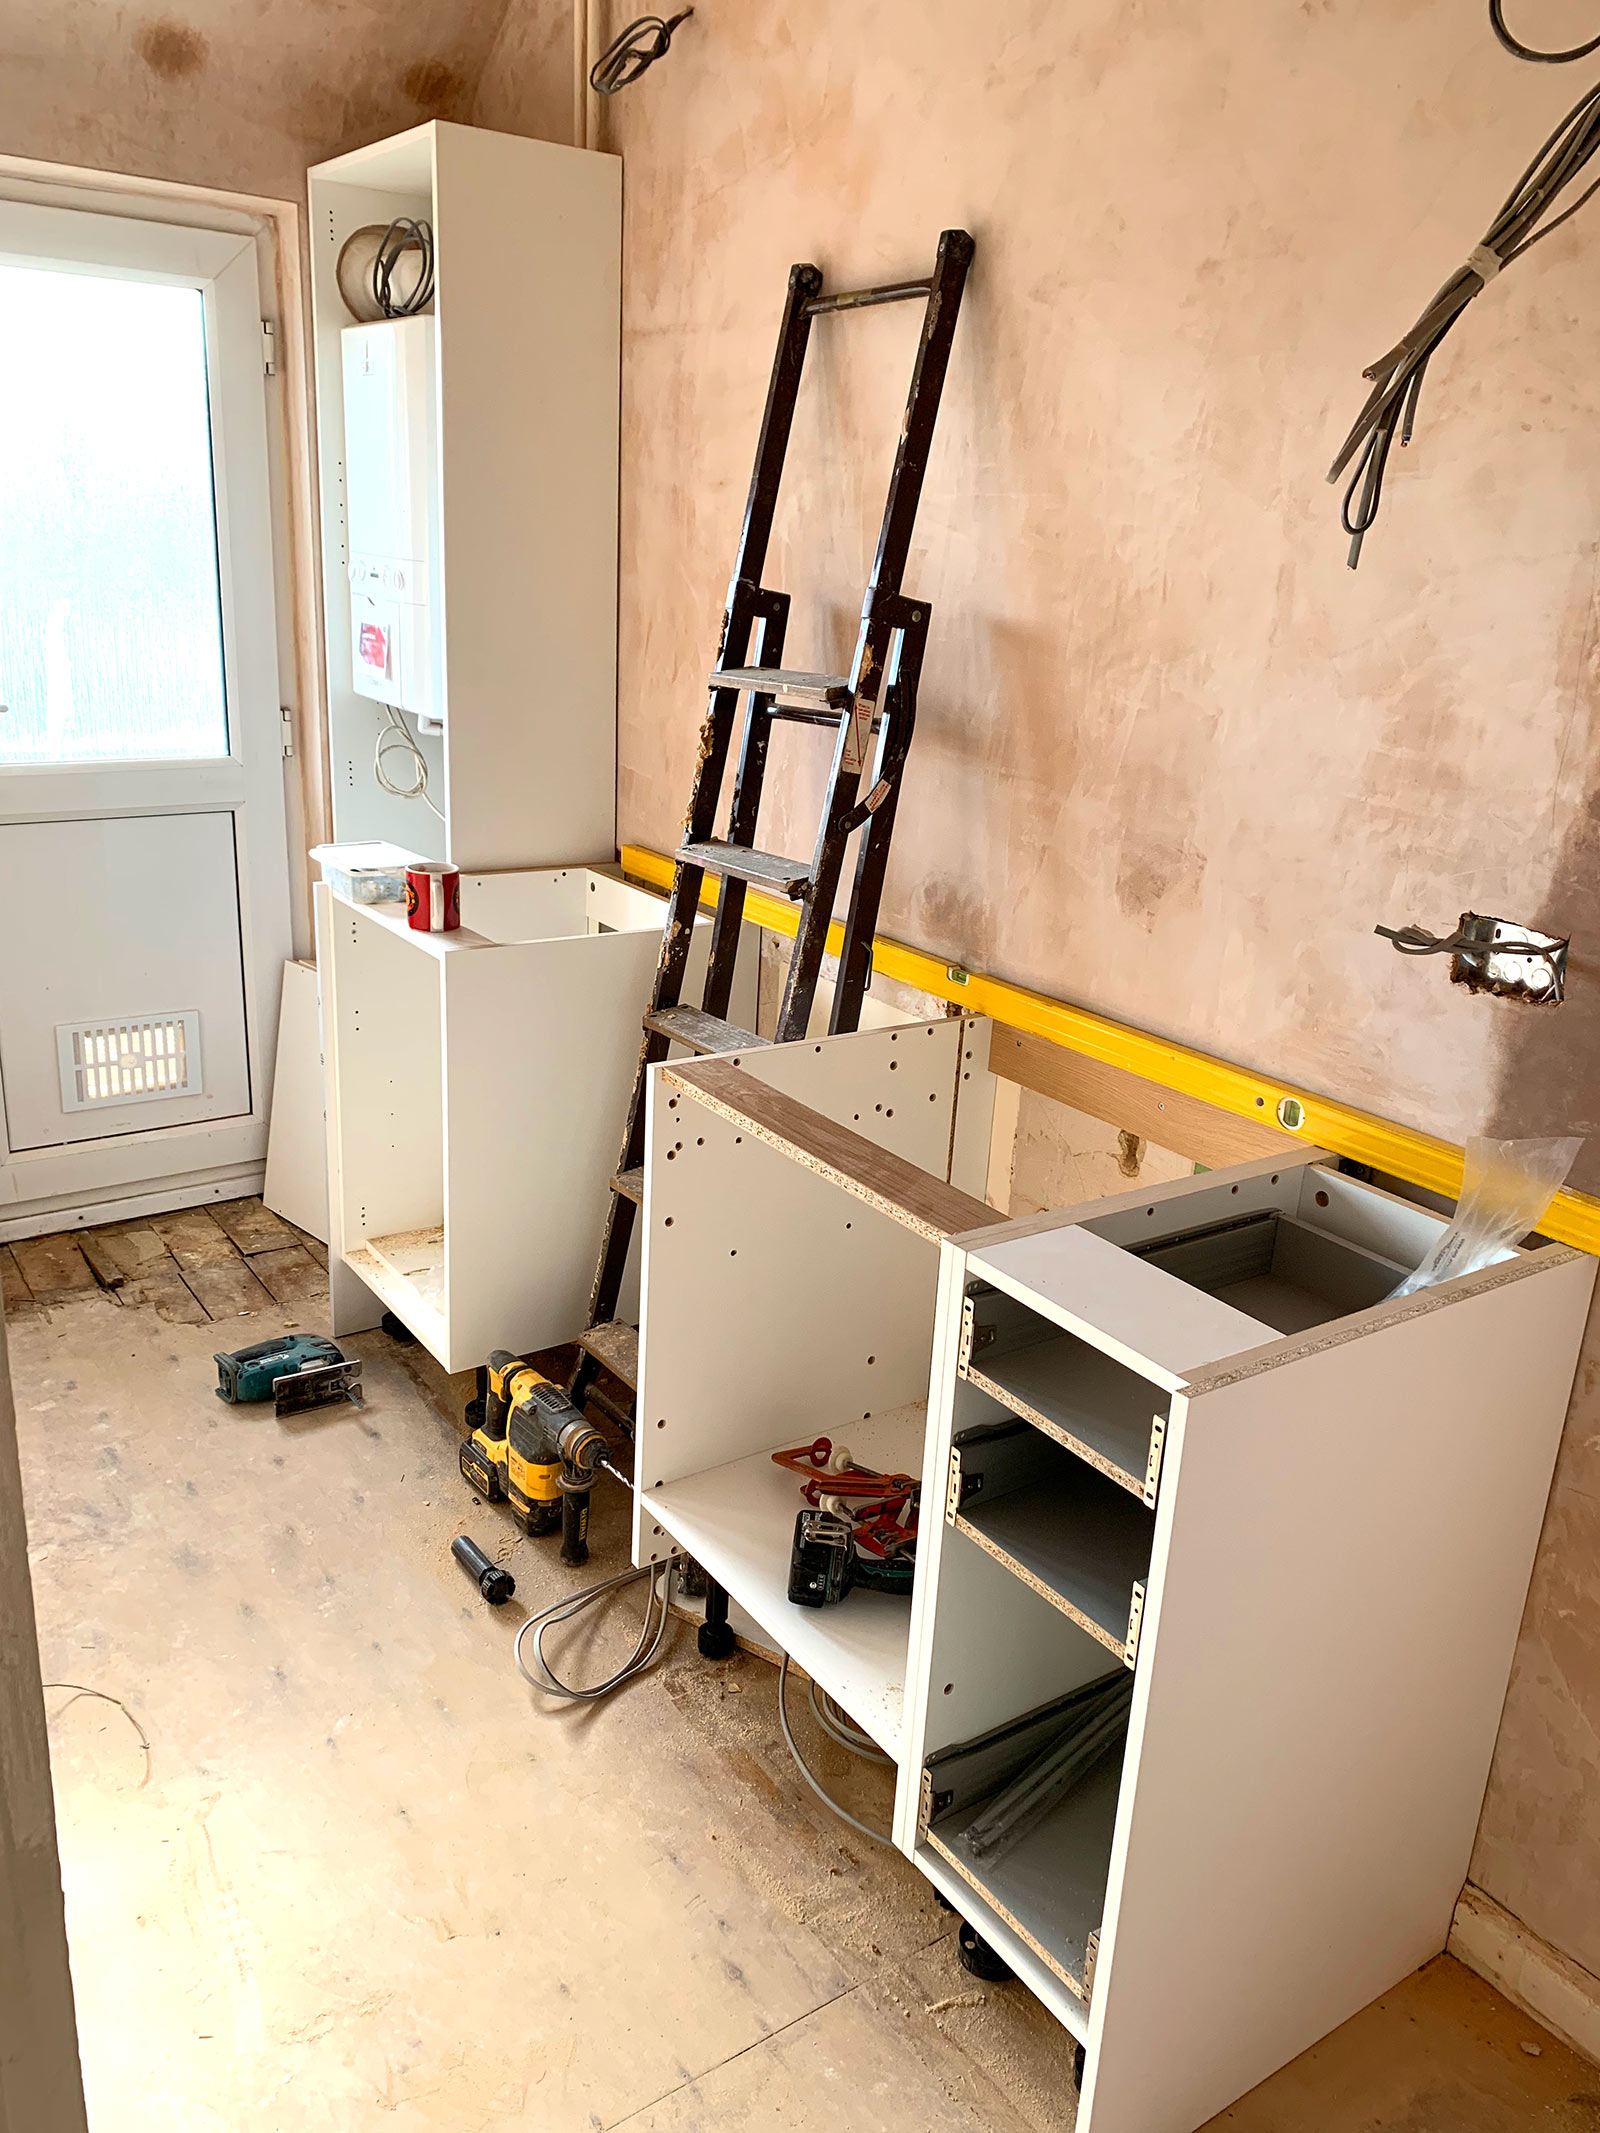
New units taking shape.
A great shelf for added storage!
One thing I wanted to make sure of is that the boiler wouldn’t be on show. Luckily the profile of the boiler was slim enough to be enclosed in a tall cupboard which didn’t interfere with the opening of the kitchen door, that was a definite win!
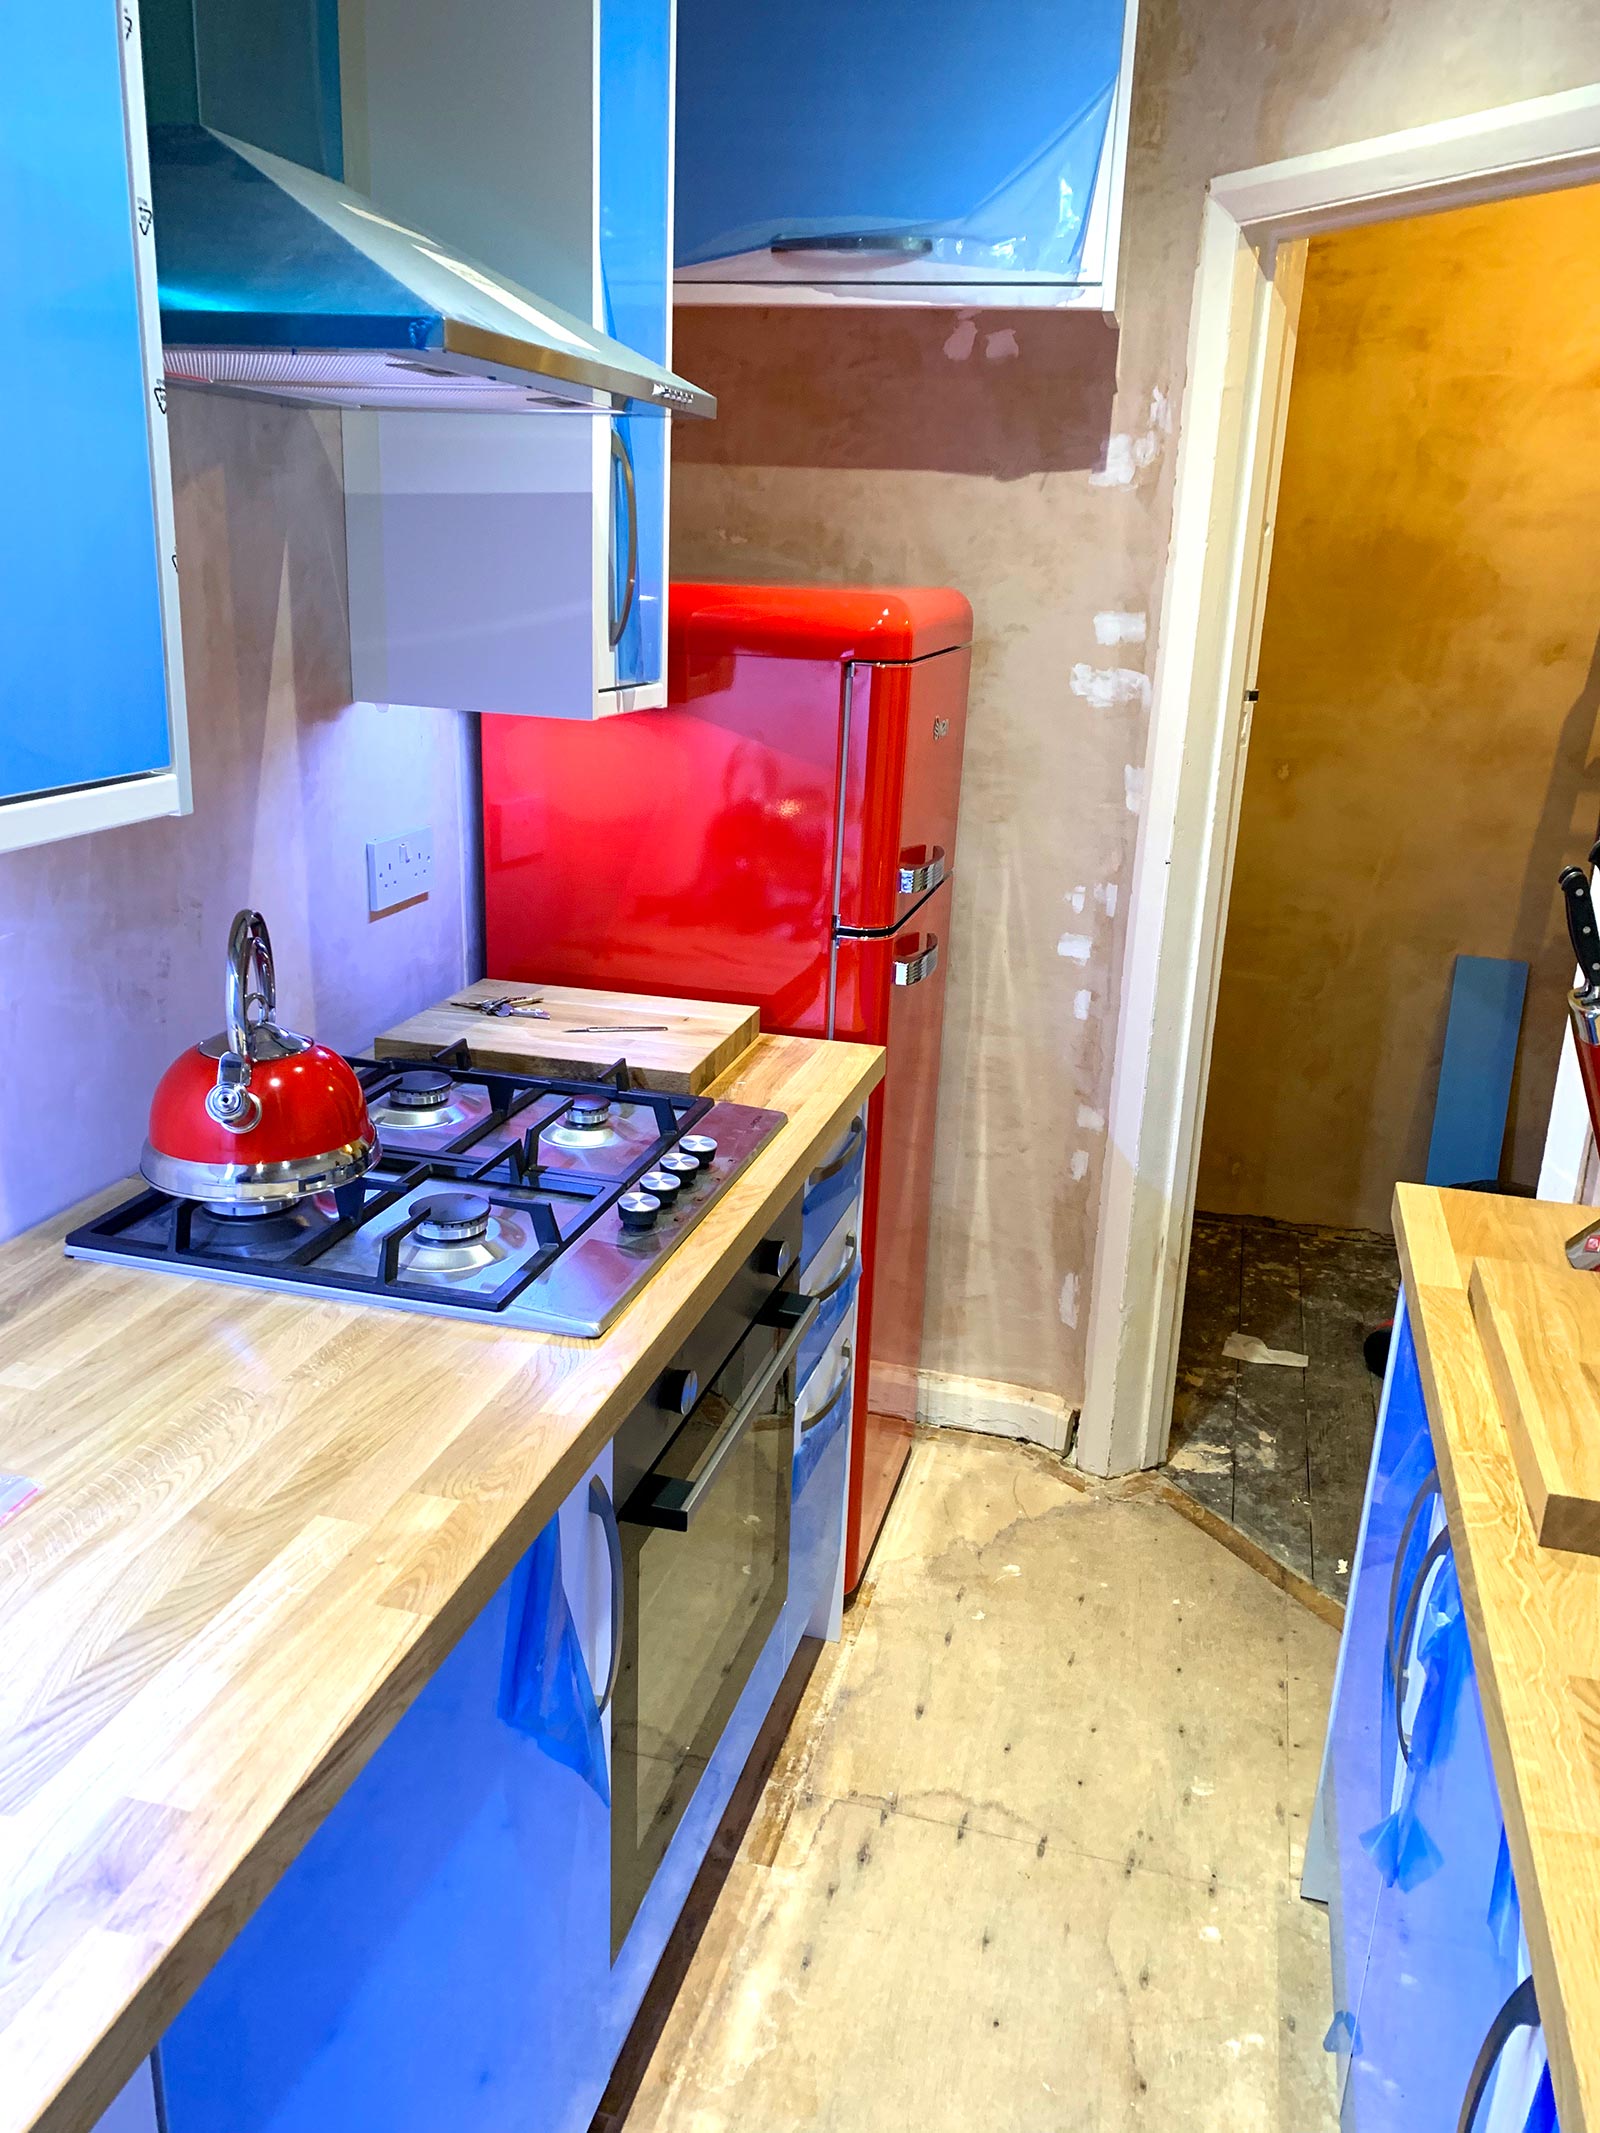
Being a 30’s period flat meant that it still had a working gas supply. This was great as it meant I could have a gas hob which I much prefer over the modern electric ones (this was installed by a gas fitter who also plumbed in the sink and washing machine, once again someone recommended and used by my cousin), but the oven I decided on was an electric fan version.
The kitchen designer also managed to get a larger steel deep pan sink basin fitted in that sat flush underneath the oak work surface. With a stylish brushed steel tap to accompany it, this added to the minimalist, clean modern look.
Things were starting to take shape pretty fast in the kitchen and where there was bare plaster I once again took to painting everything white. This made it feel light, bright and more spacious than it actually was. All the kitchen units were white for the same reason leaving it to the kitchen accessories to add a bit of colour.
In January Heather and I had a weekend break in Brighton where we stayed in a lovely Air B&B flat. They had lovely a 50’s style Smeg fridge in the kitchen which I fell in love with. I decided I wanted a similar style fridge in my kitchen but didn’t want to pay Smeg prices (I had a budget to stick too!) so I managed to find a fridge in that style but without the high price tag. Being bright red this became the kitchen’s feature design statement! Other accessories I bought also followed the red theme to give a feeling of consistency and unity.
Hiding the electrics.
Loving the 50’s style red fridge!
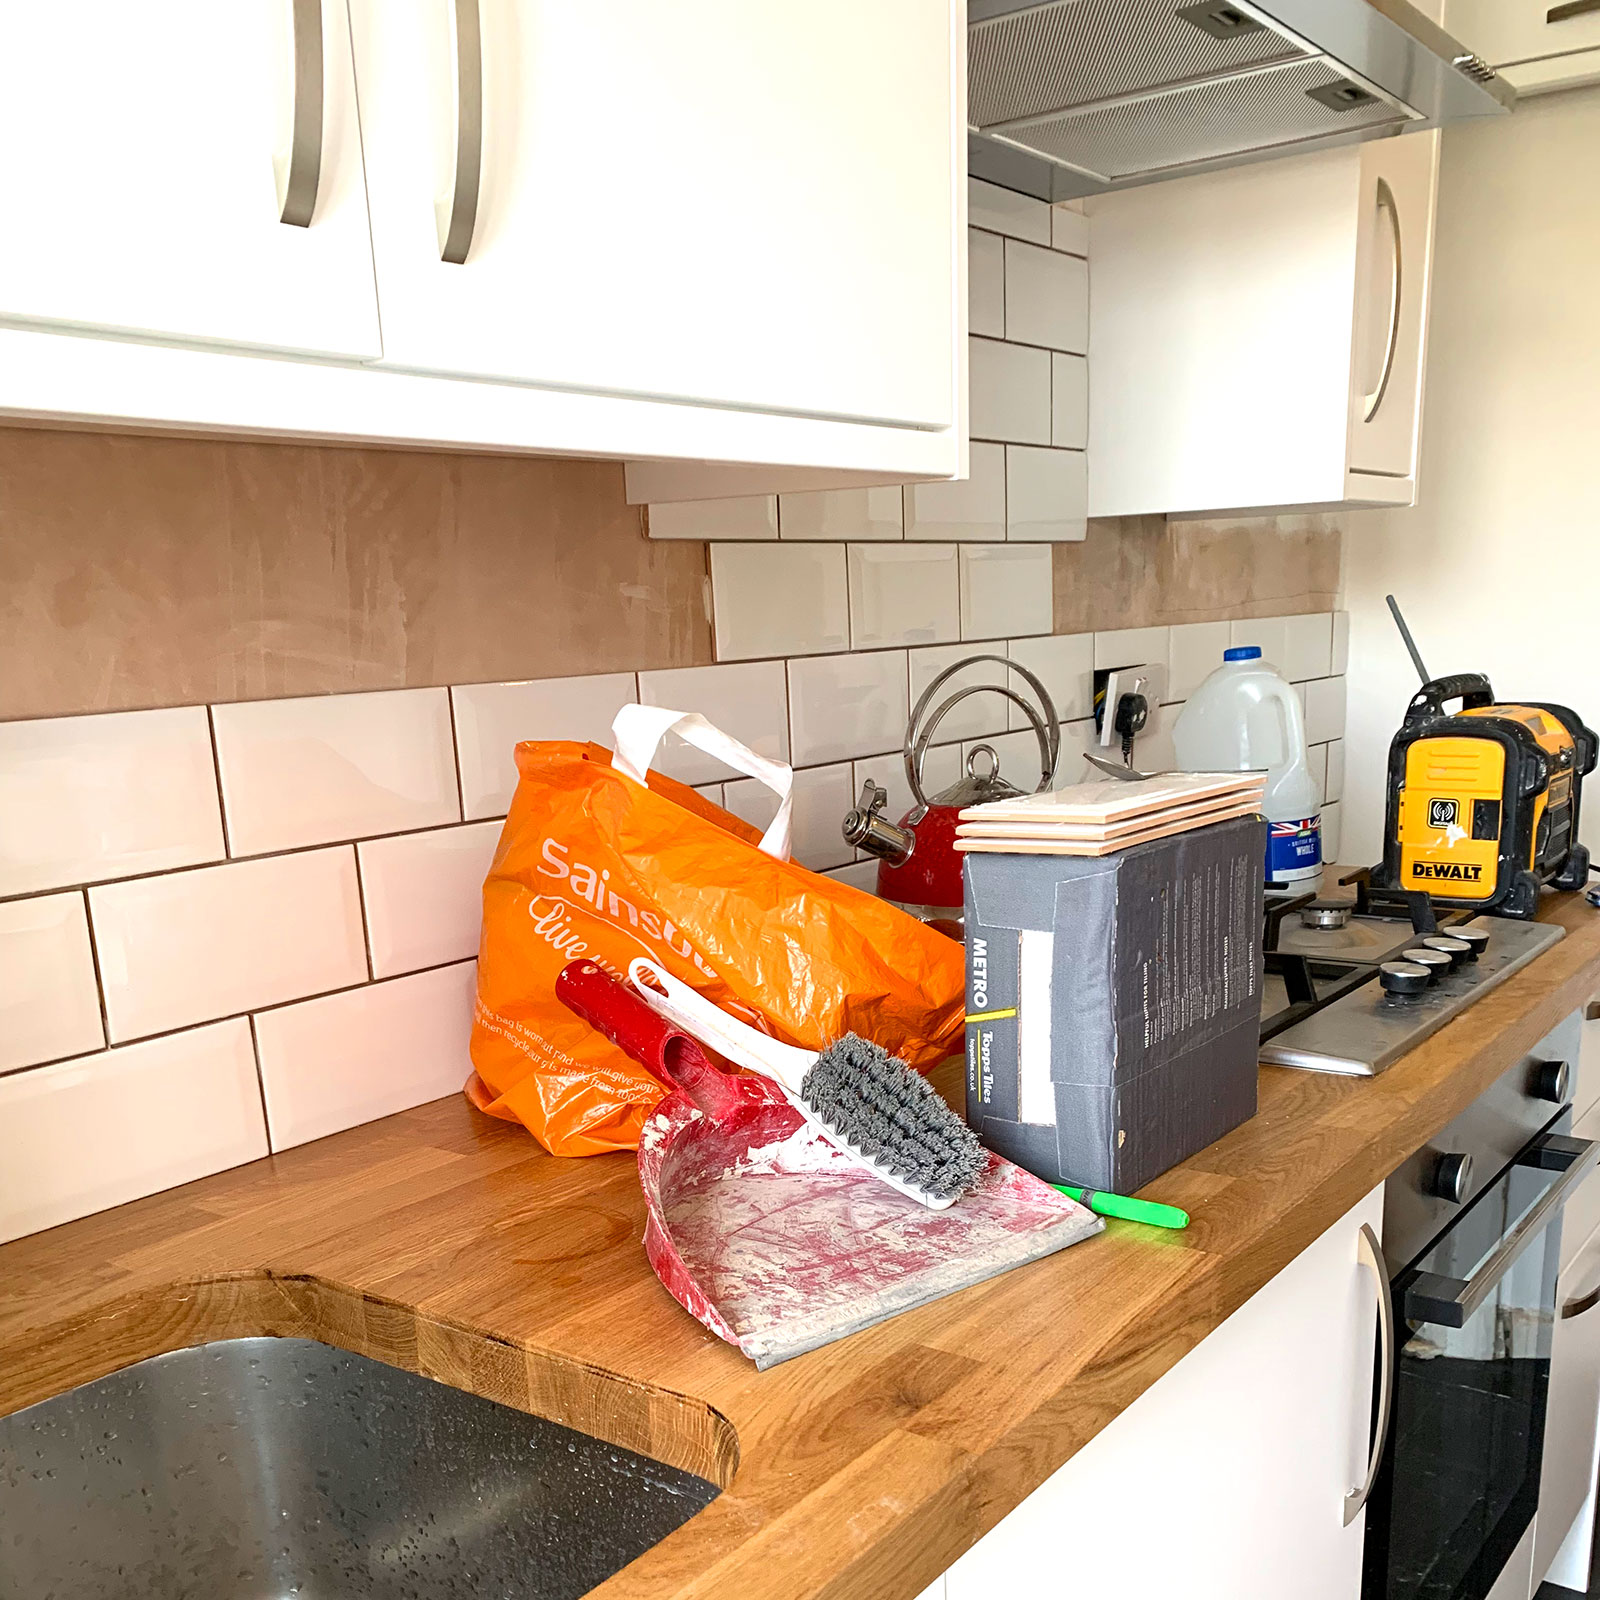
Some tiling was required in the kitchen and once again my cousin had someone he regularly used who was happy to help. To add to the contemporary look I was going for, white metro tiles were used which really brought things together and enhanced the modern style.
There were some clever design touches in the kitchen too like the imaginative use of a small kitchen unit to cover the electrics switch board and meter, hiding the main switch and fuse for the oven in one of the cupboards, extra plug sockets which included USB ports and the addition of the Hive Heating System all making the flat future proof for a few years to come.
The washing machine was integrated into the units under the main work surface keeping everything sleek, neat and tidy. I think at this point the boy was starting to understand my vision for the flat which was great!
Metro tiles going on nicely.
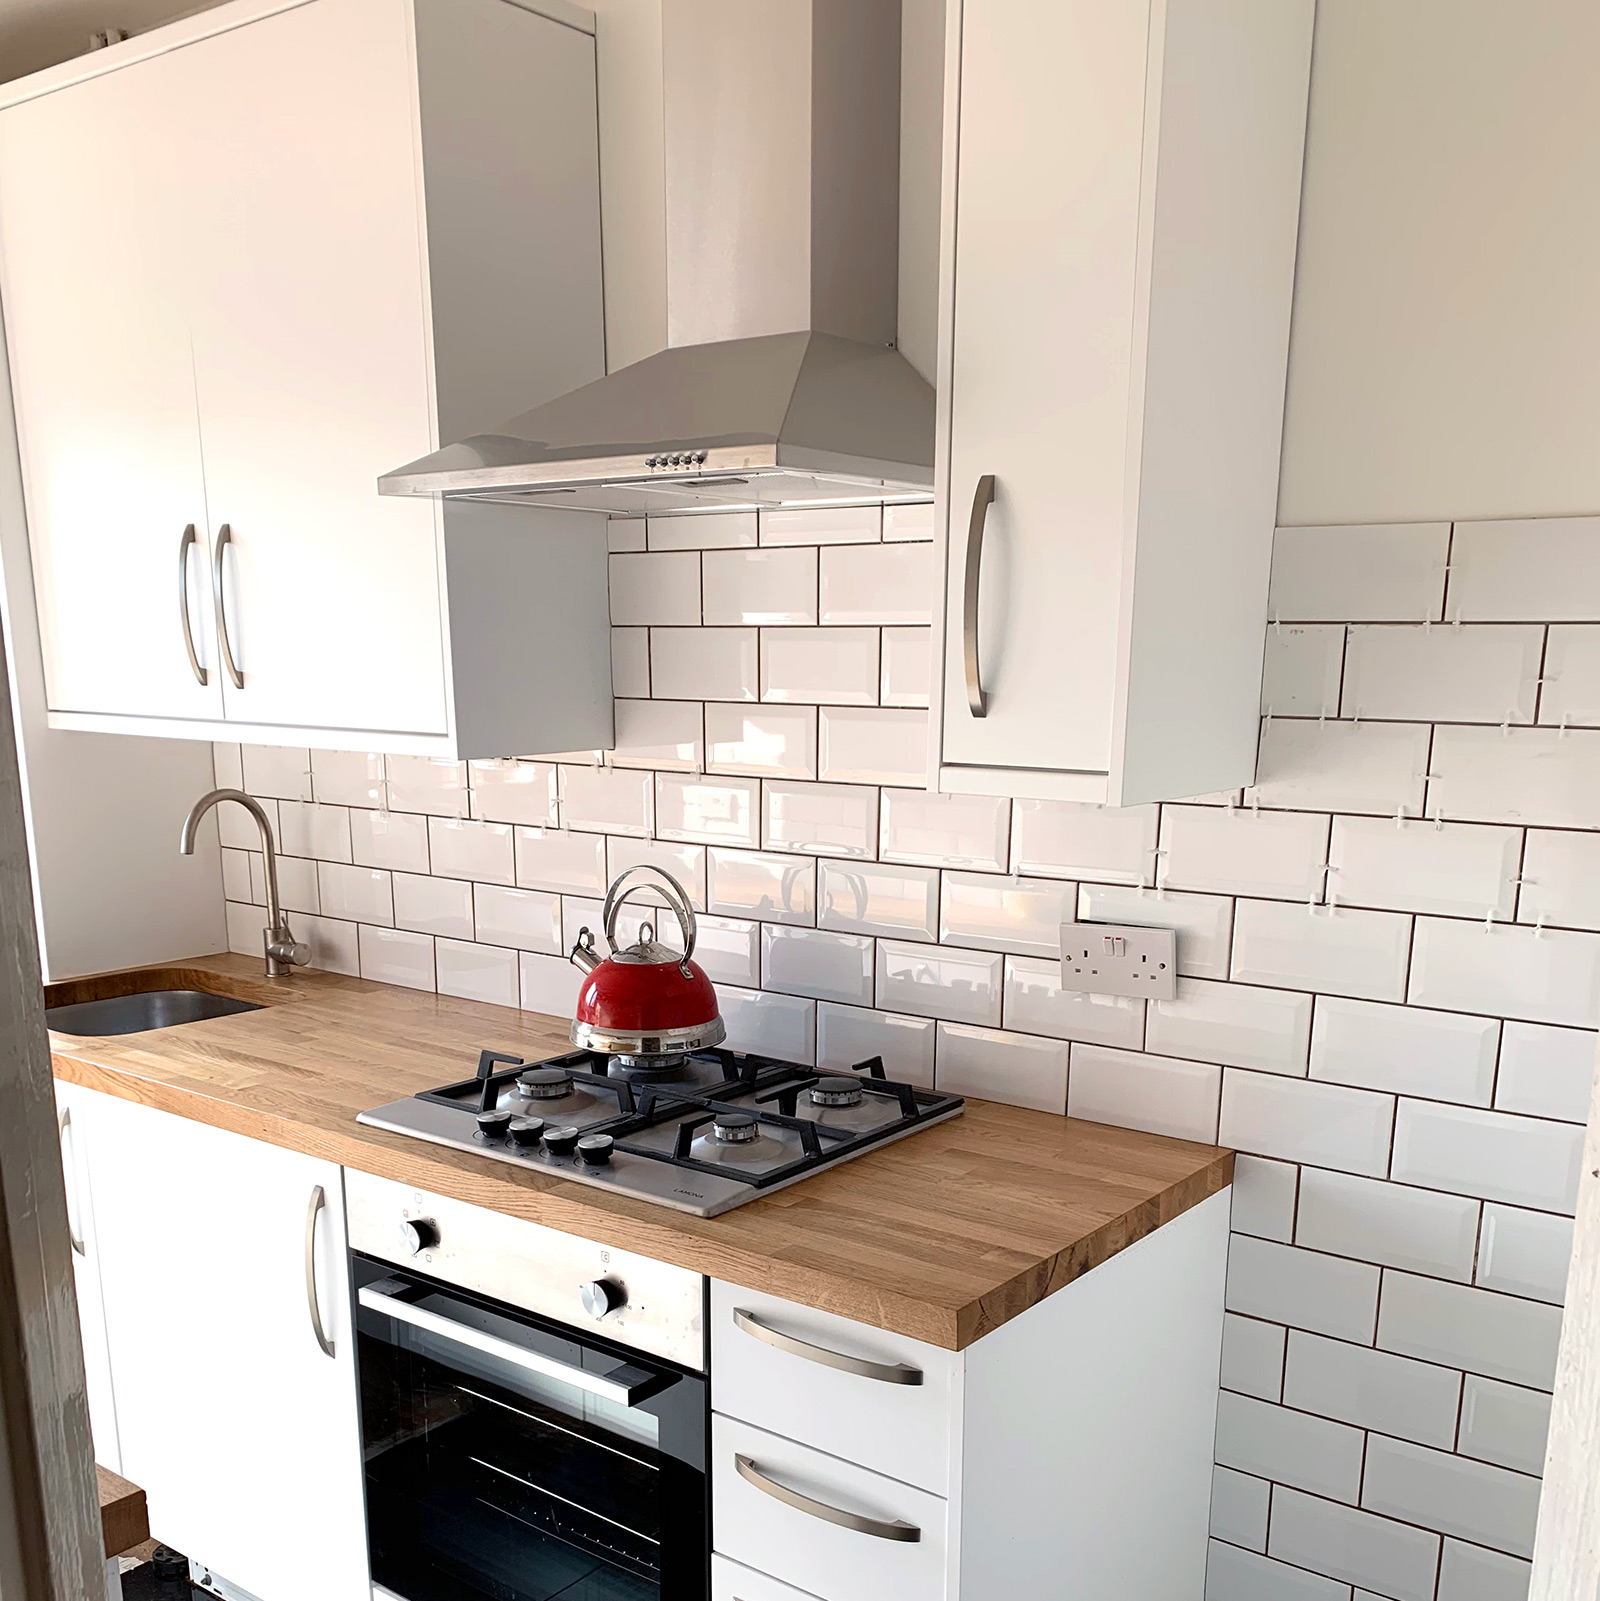
The new hob all plumbed in.
With the addition of the electrics in the kitchen I was going slightly over budget but with some clever little changes at the design stage I was able to keep things financially in check. This is something that was vitally important as I had no extra money to tap into if i didn’t keep an eye on the spend.
As I was finding out, good management of a project like this is key to it’s success. Careful planning and constantly re-evaluating how things are progressing really does make a big difference.
Thinking about the project management side of things before I started did give me some sleepless nights but as I ultimately found out, managing something like this is not impossible and is very rewarding. If I can do it I reckon anybody can…

Making a home a home.
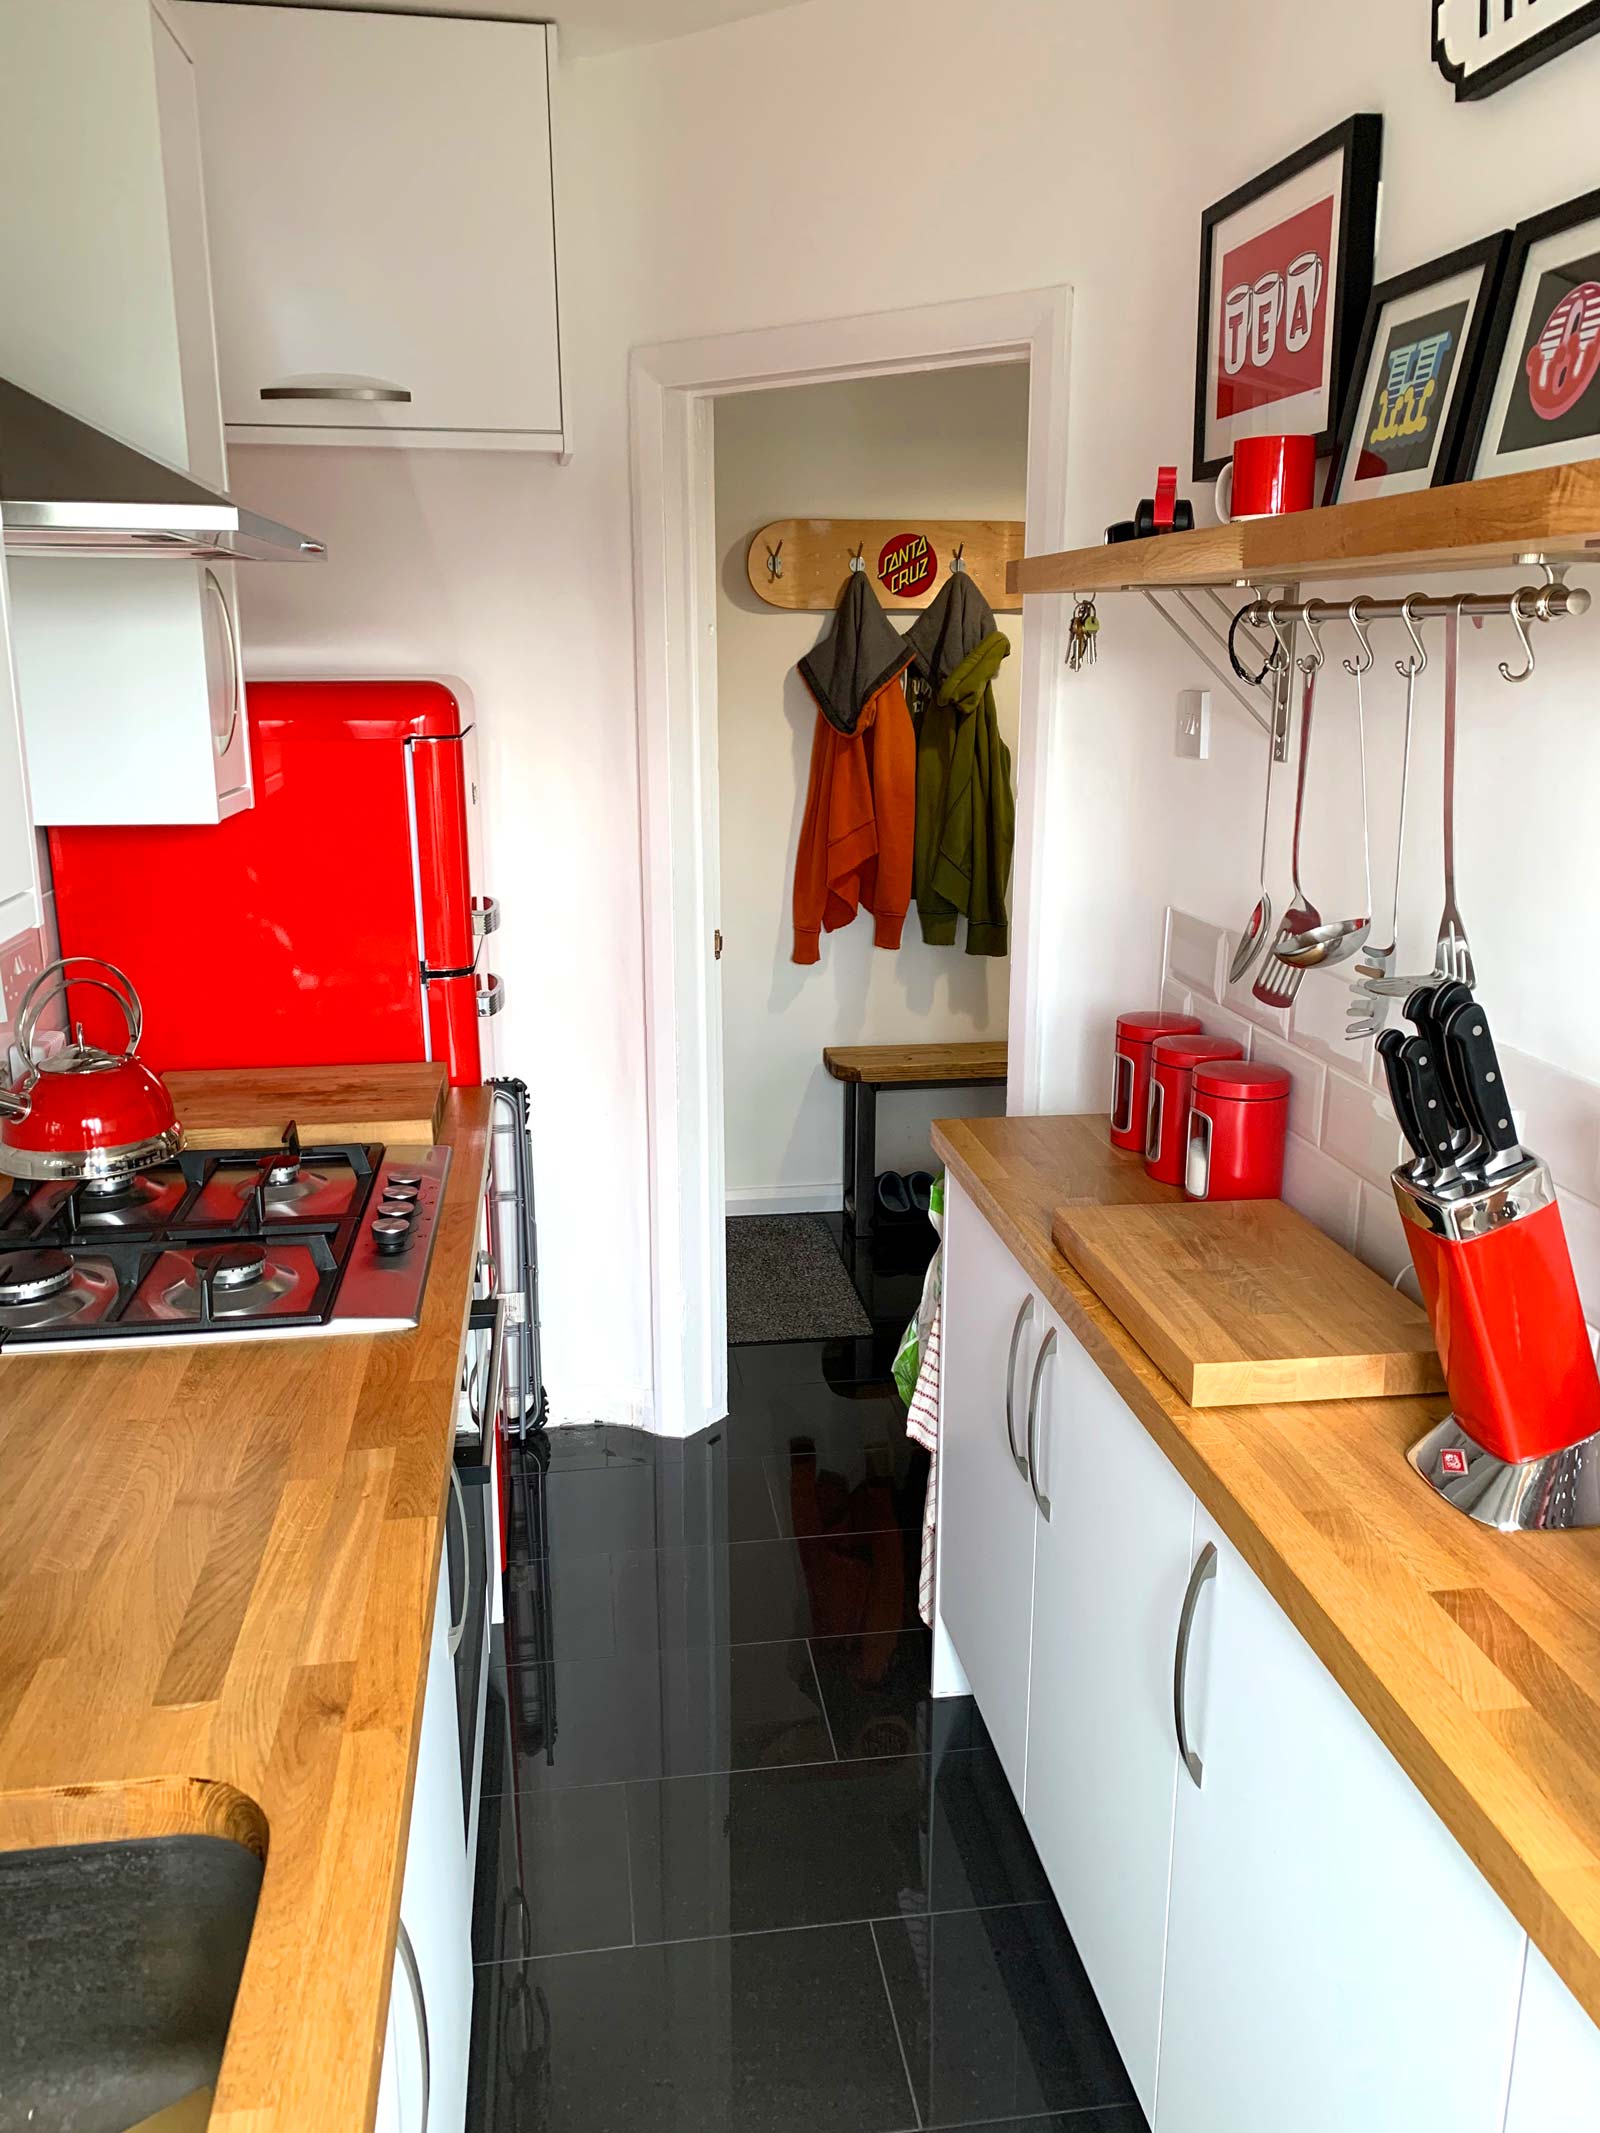
Bit of a red theme going on.

All ready to start cooking!