flat refurbishment – part 6
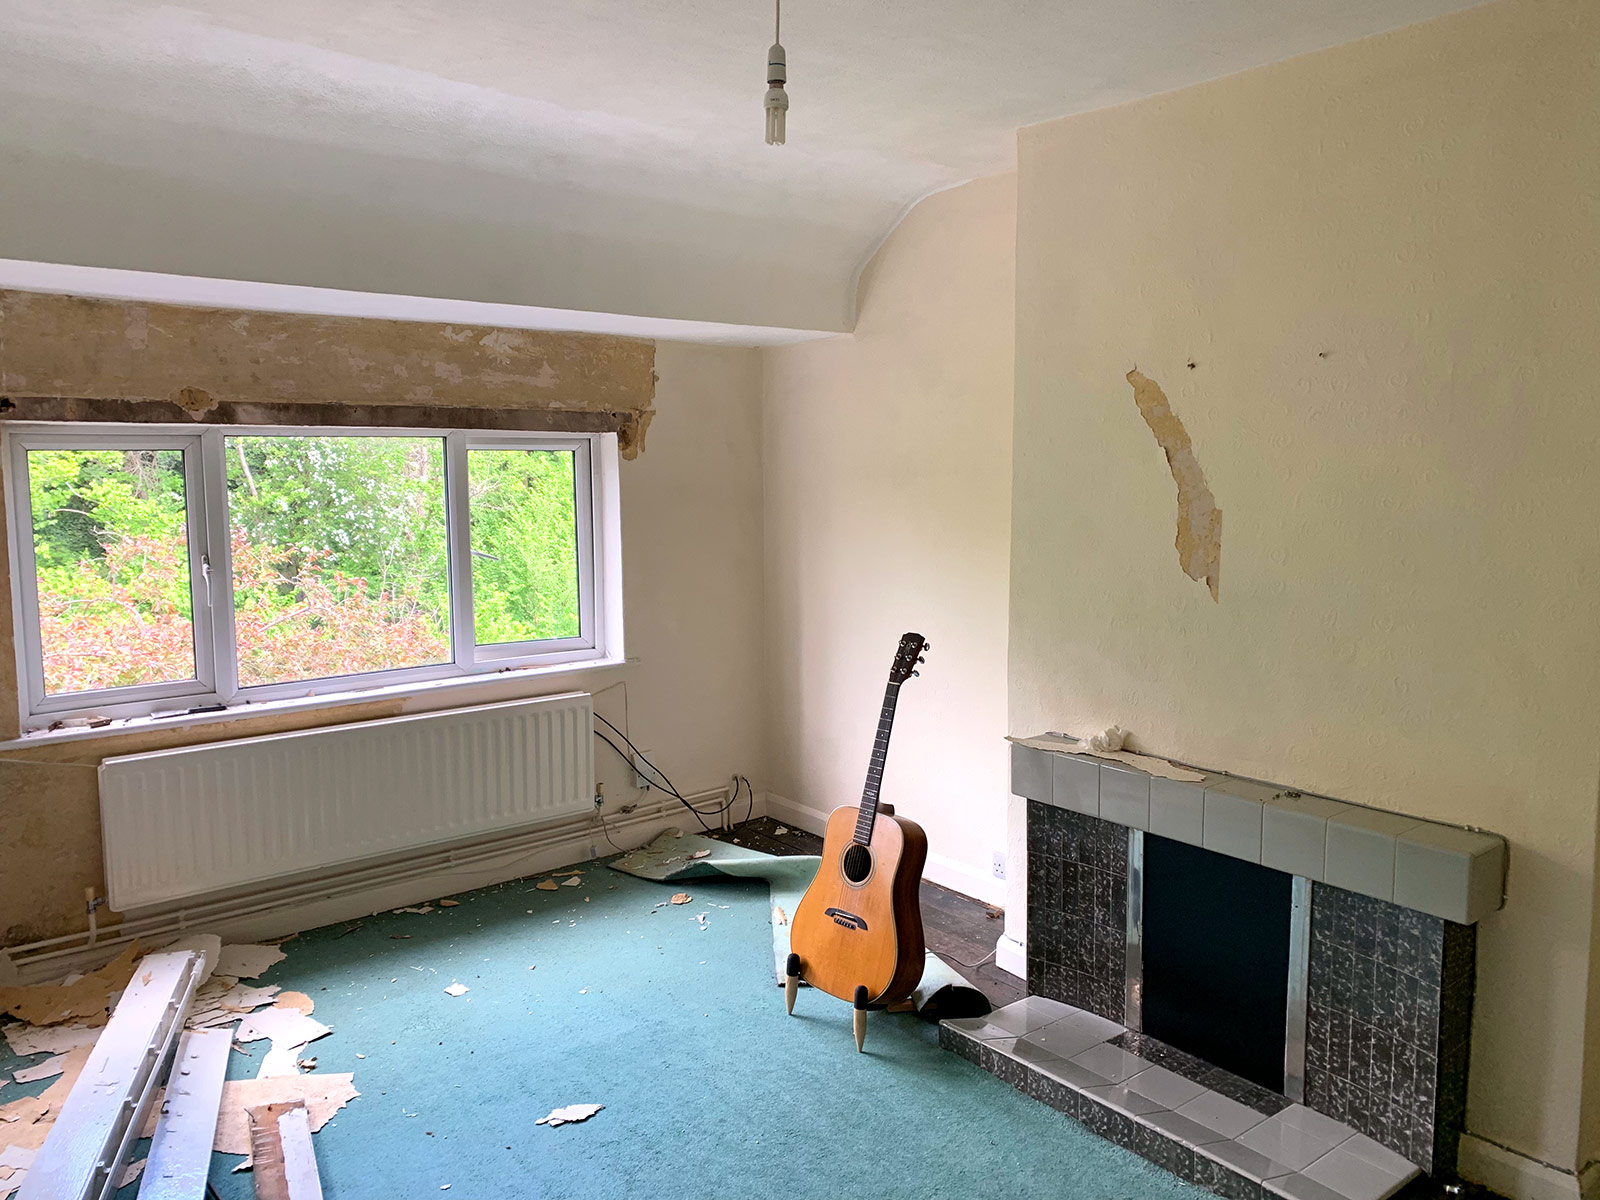
In my first blog about the flat I described sitting in the living room and feeling despair at the decision I had made to buy a place that needed complete renovation. It was a feeling that stuck with me for a few weeks but it started to subside once I could see that things were coming together and taking shape. The living room was going to be an important room to get right, after all it is where I would be spending most of my time.
Two things in the living room had to go which were the old enclosed wooden curtain rail and the bulky 1960’s gas fireplace surround. The curtain rail was easy to remove with a little help from a crow bar. The fireplace on the other hand needed a little more elbow grease and a hefty sledge hammer! The surround came away quite easily but it was made of solid concrete so it needed a little help from friends to get it out of the flat.
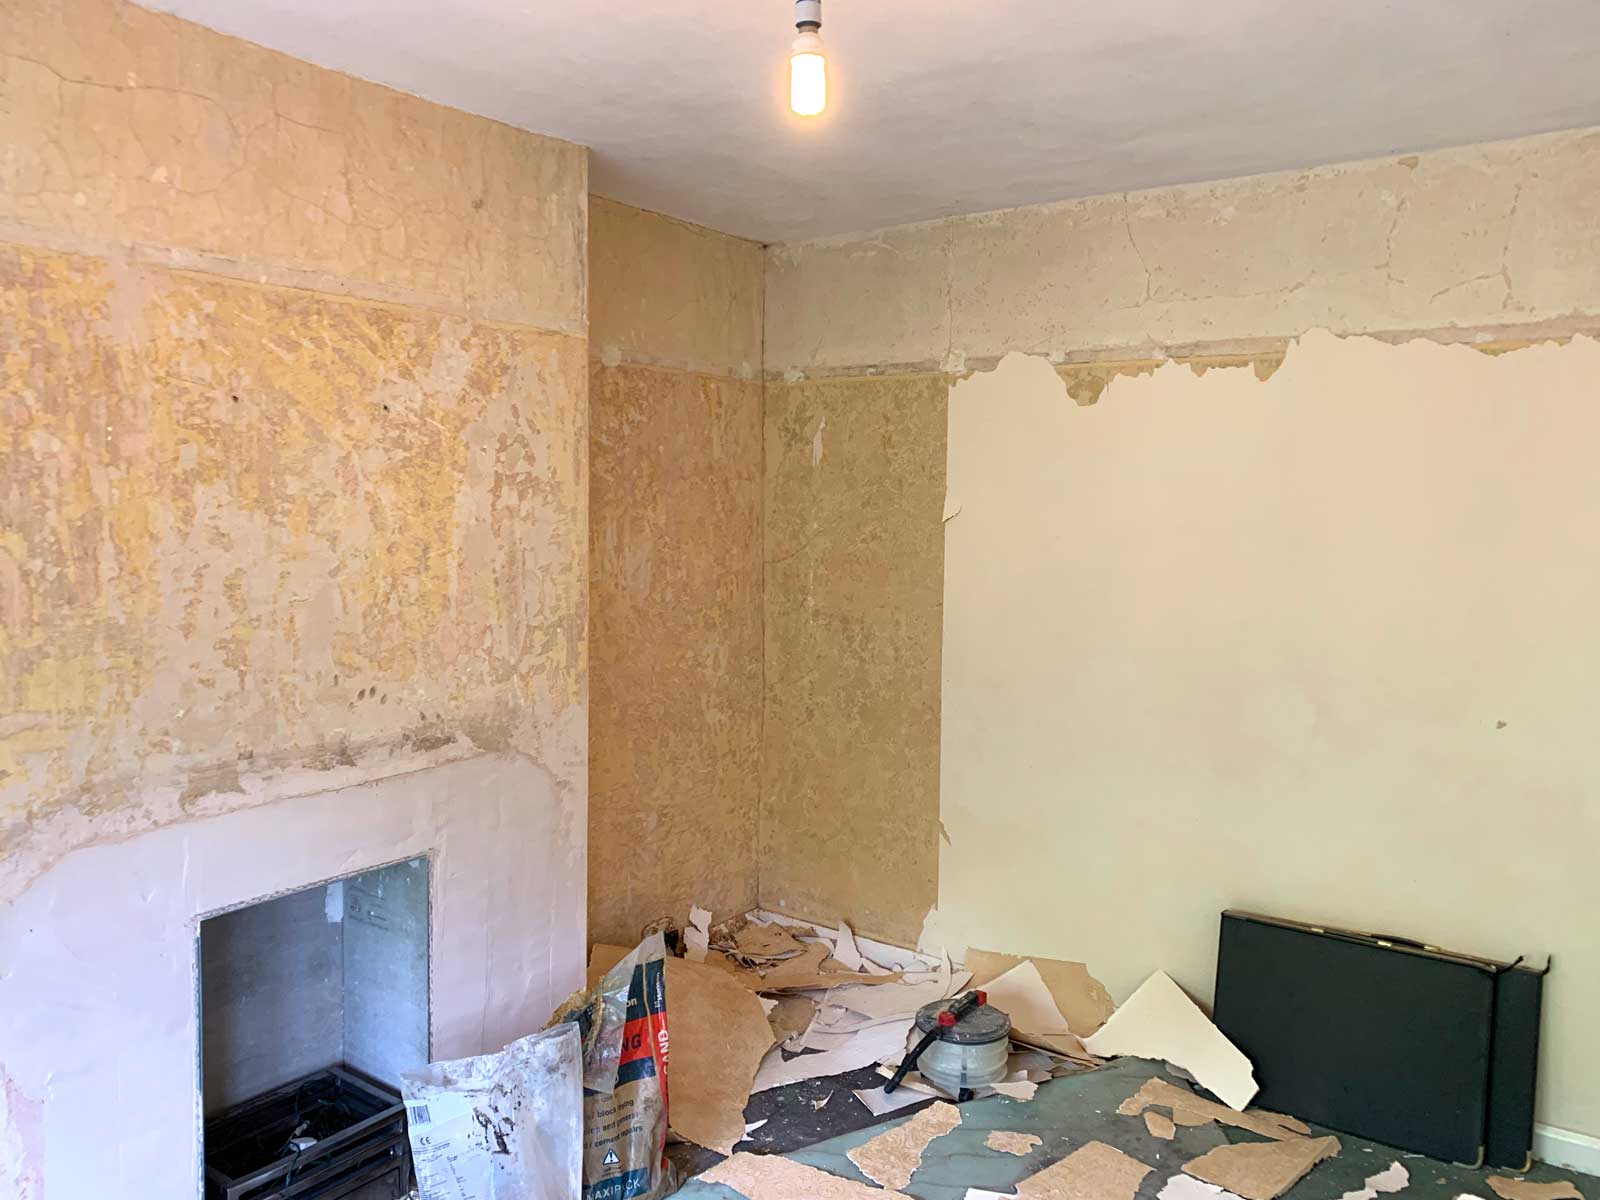
Removing the surround revealed the original brick fireplace which had been blocked up by the heat shield needed for the gas fire. This is where the sledge hammer came in handy, it took a while to smash it out and there was a lot of rubble filling up the gap behind it. Whilst clearing this out I also found an old newspaper from March 1966!
By the side of the fireplace was the old gas fitting which had been left showing above the floor. I hired a qualified gas plumber who soon cut it back and capped it off under the floor boards.
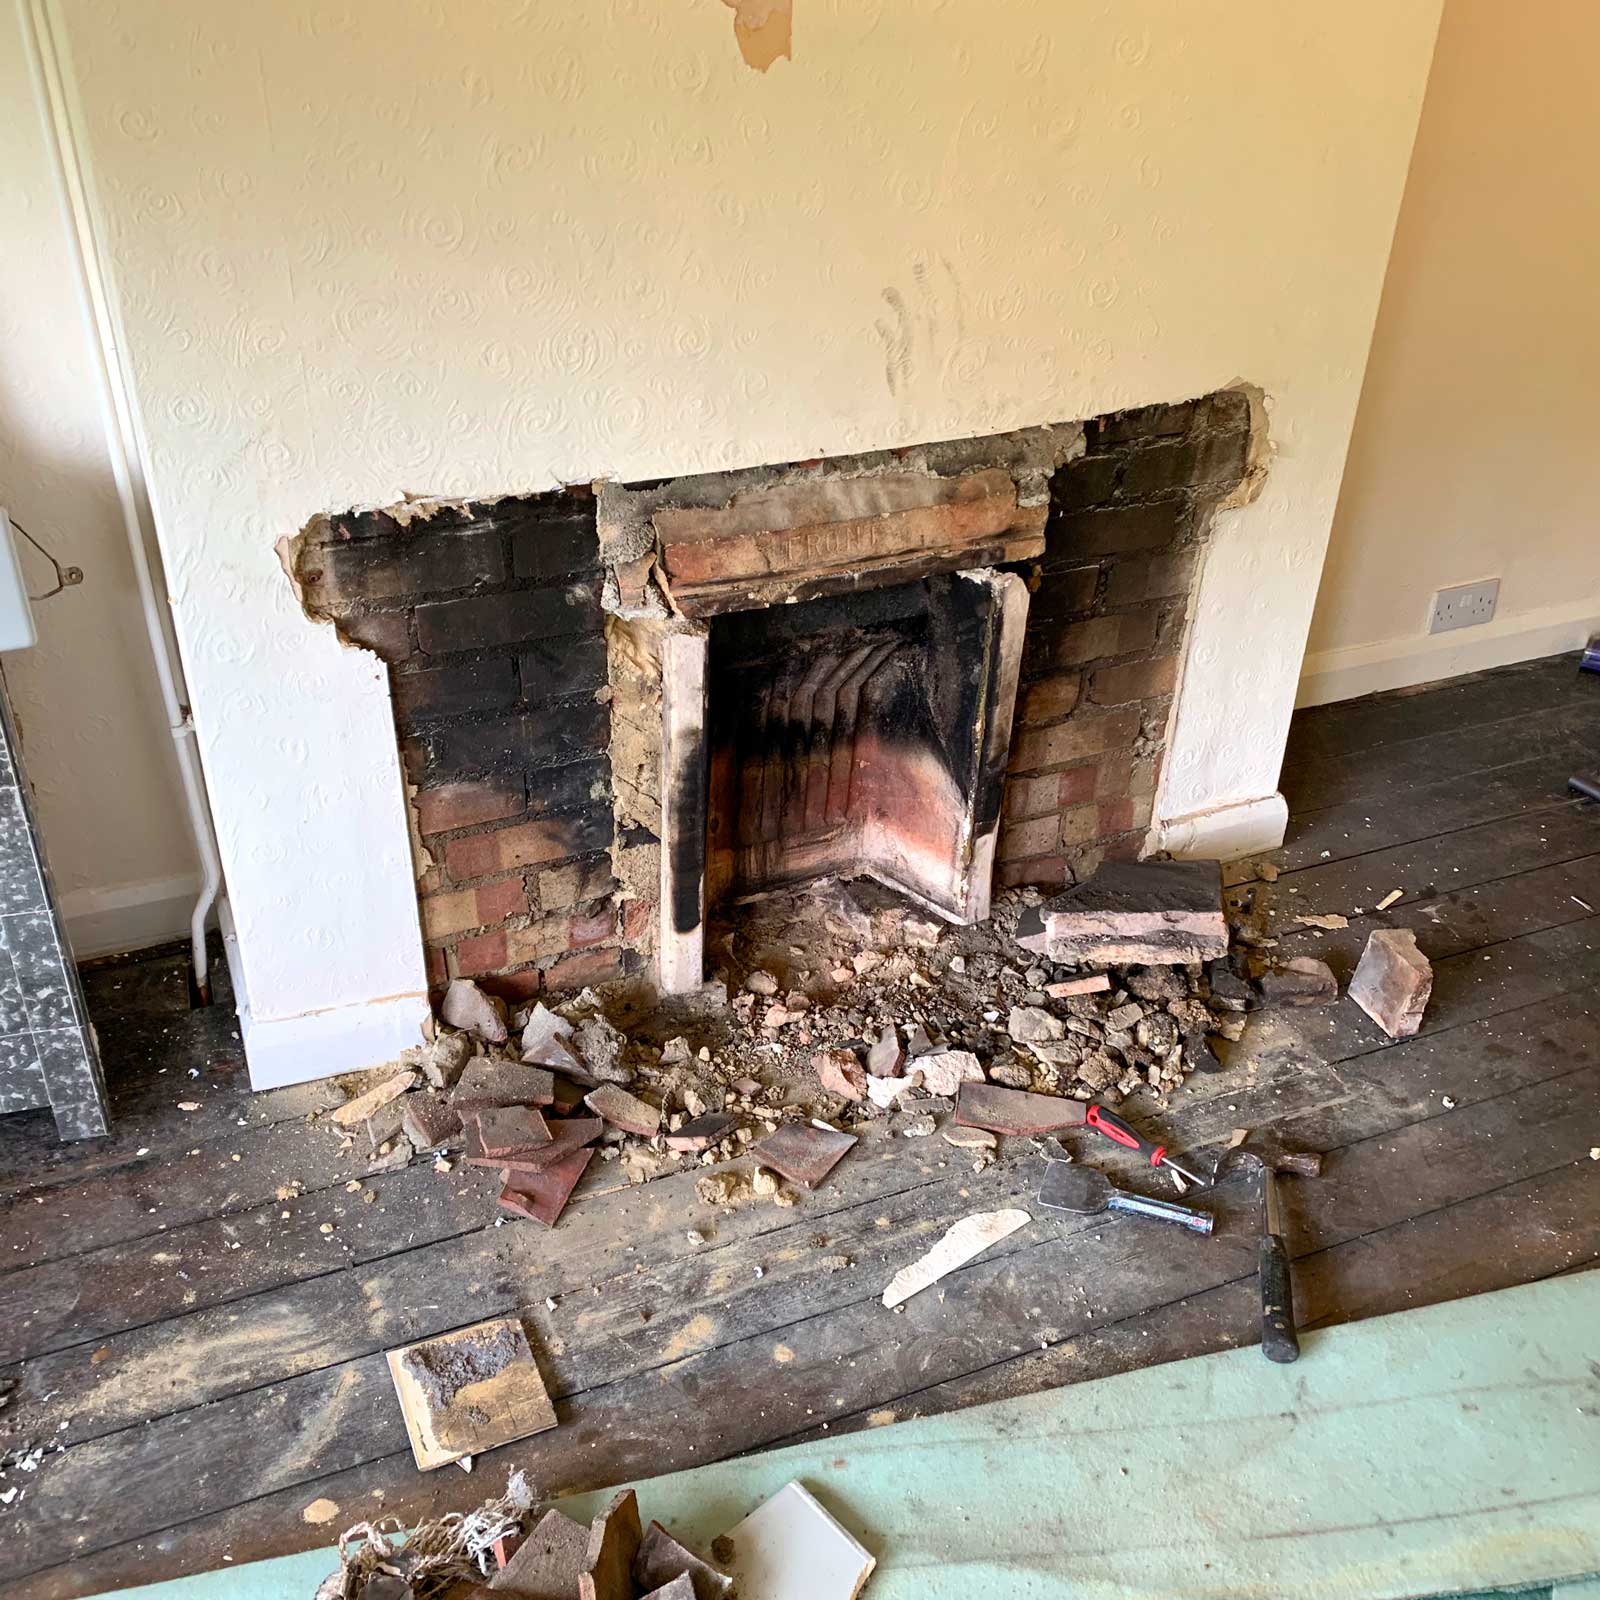
Old fire surround gone!
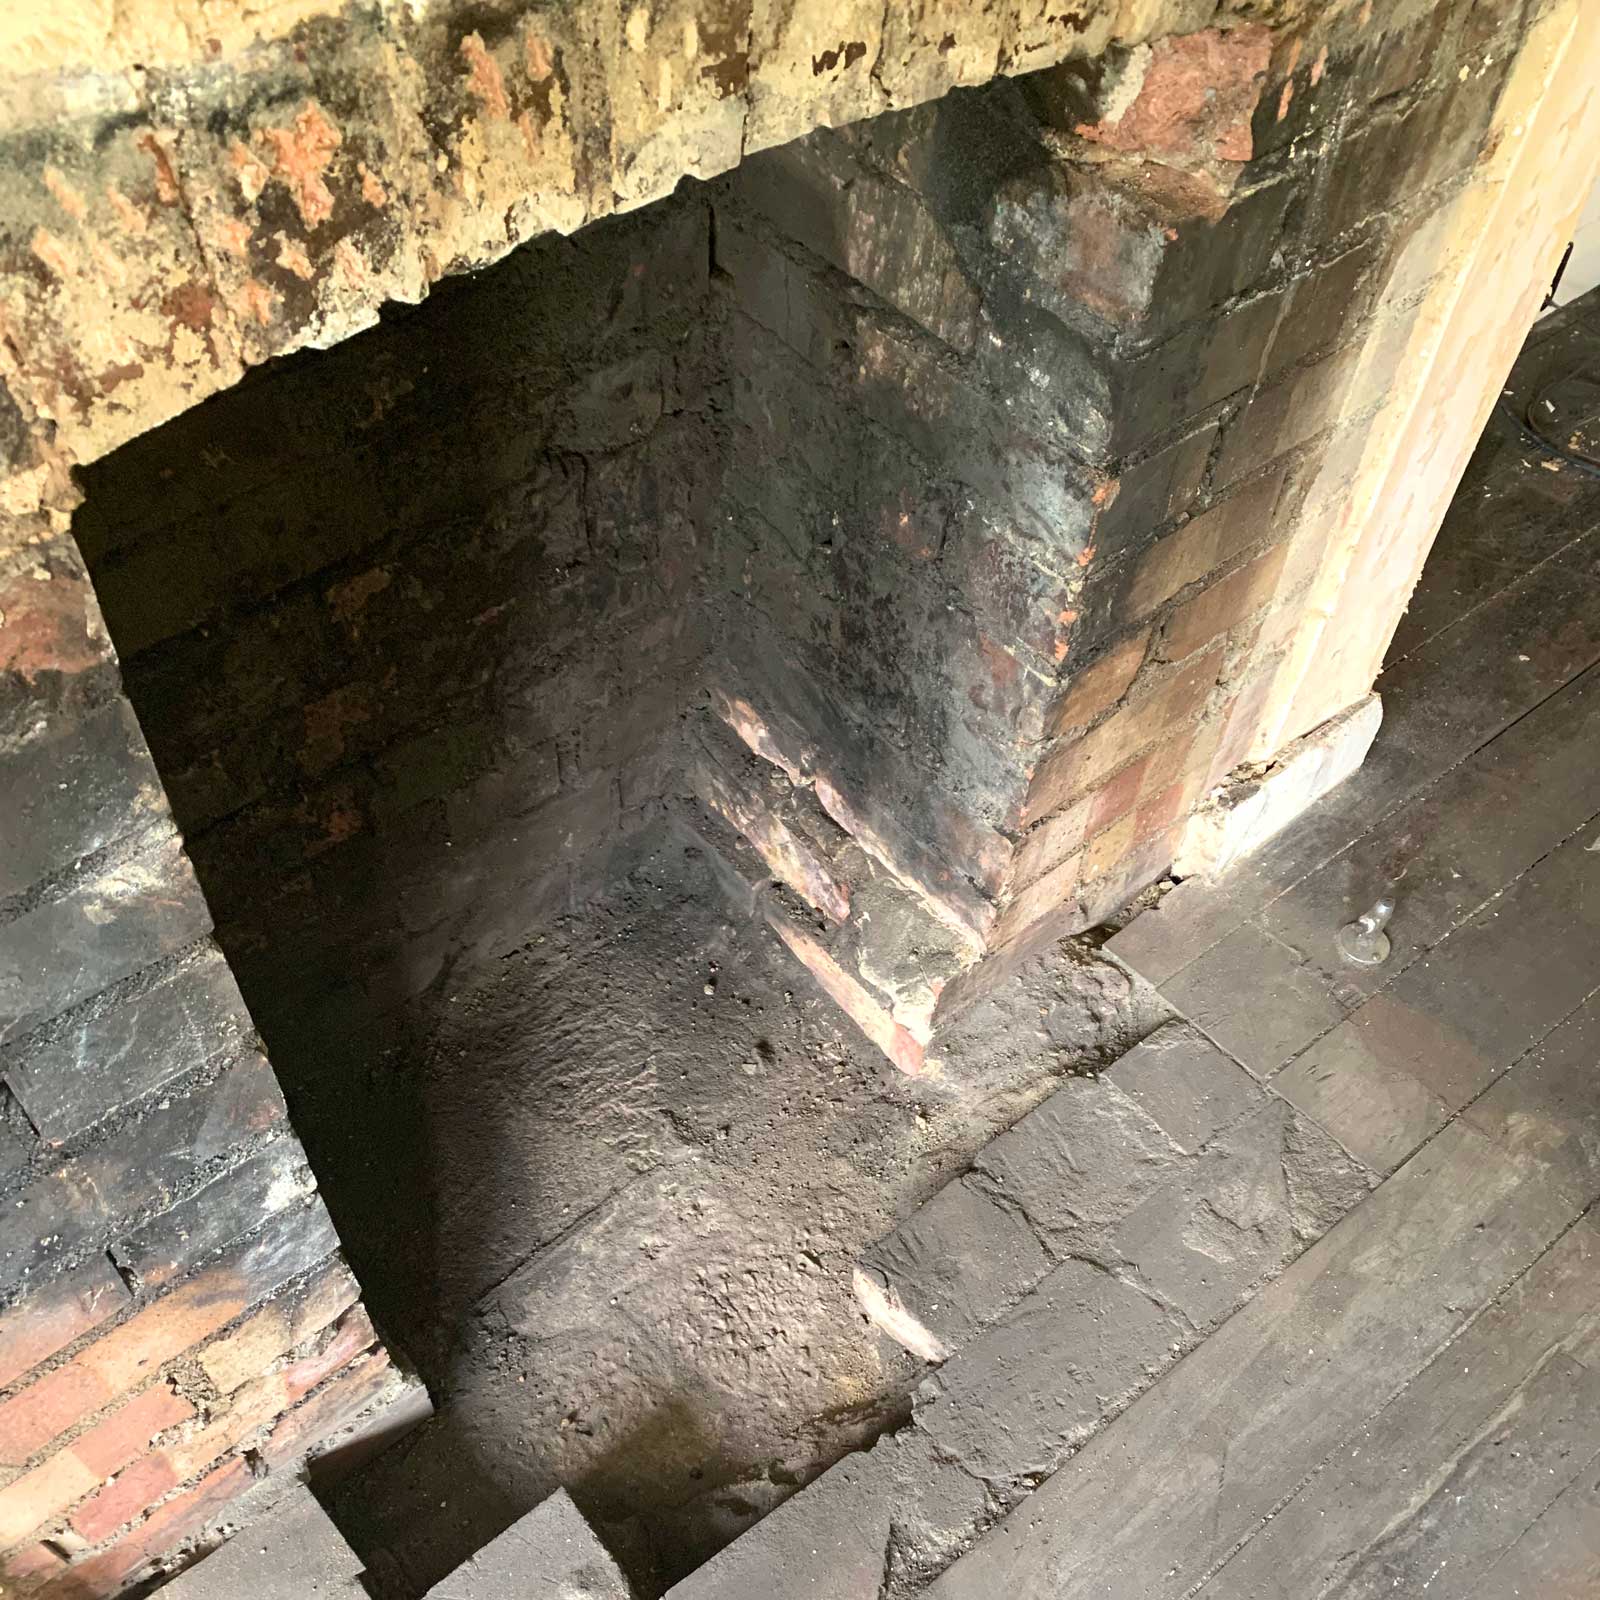
Old brick work revealed.
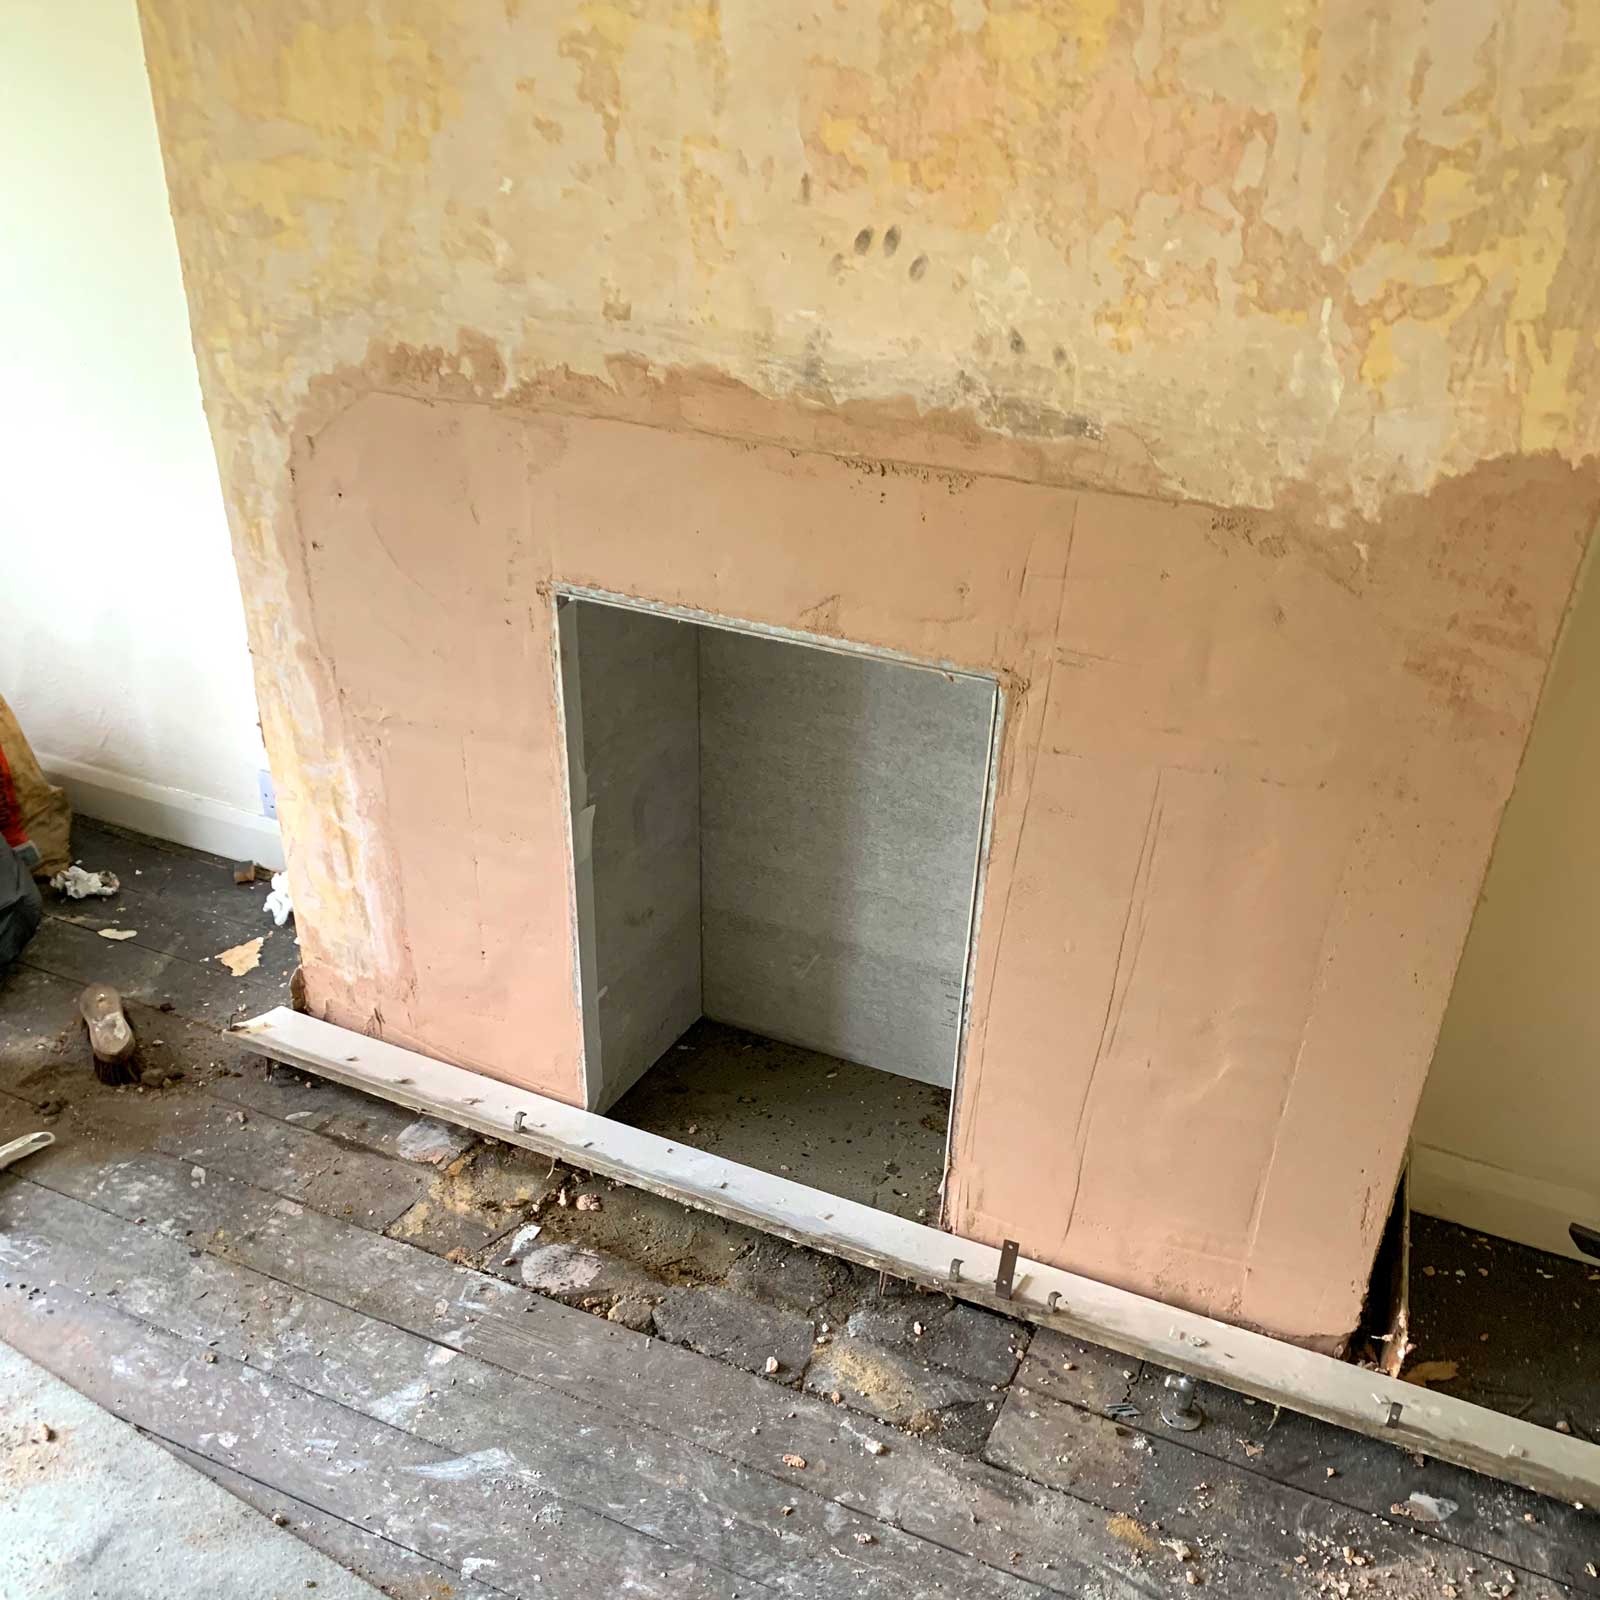
Boxed and re-plastered.
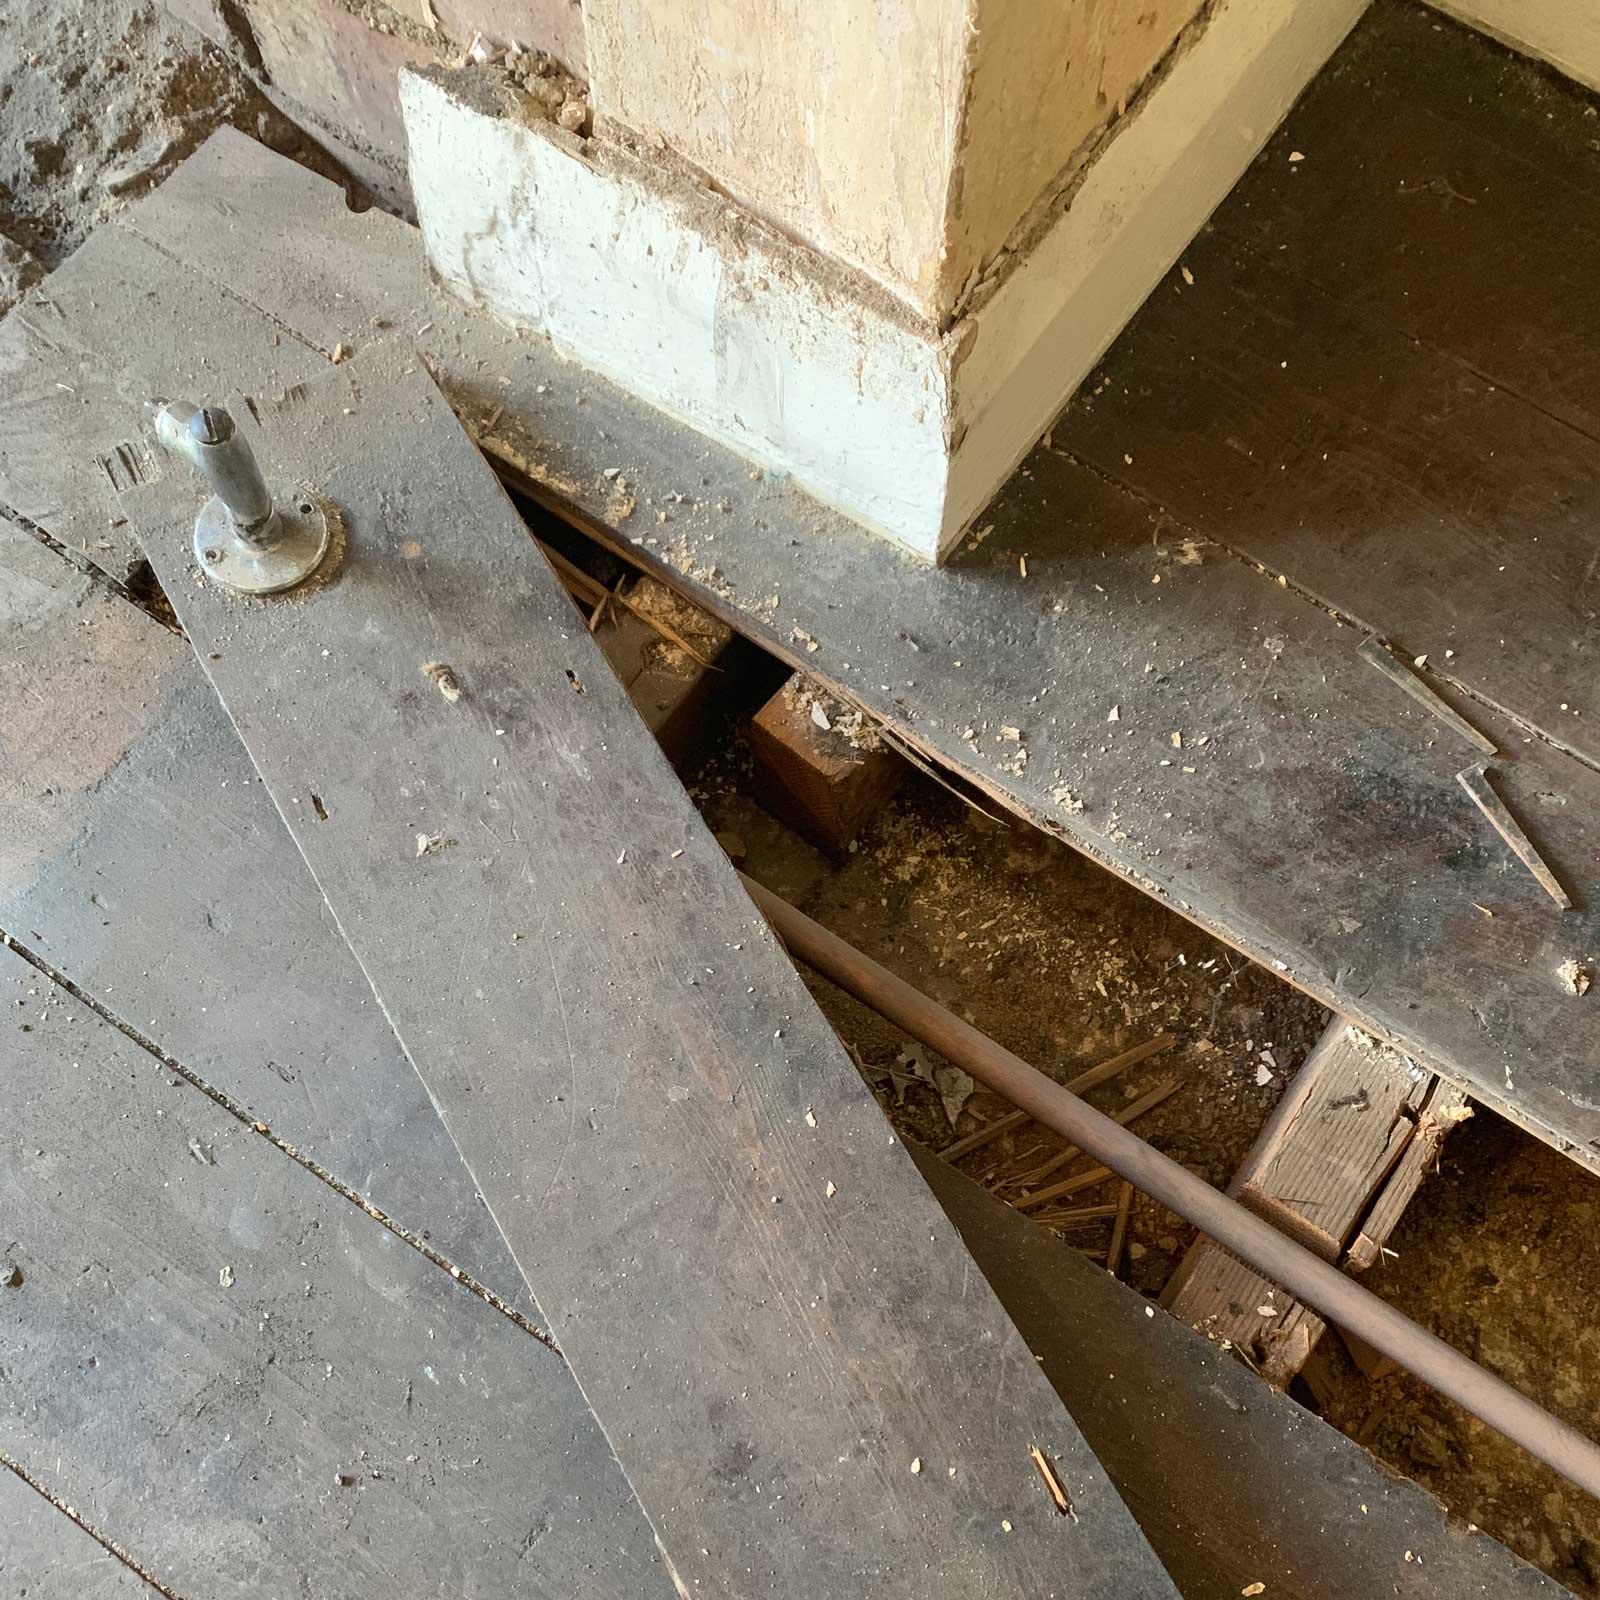
The old gas pipe.
Once the fireplace was open I needed to make a decision on what to do with it. I could have left it open for a real fire but I didn’t want the hassle that comes with looking after it. So I decided to box it in and make a feature of it with a new granite hearth and a fantastic iron fire grate that I picked up on eBay for £30!
The friend of mine who did the bathroom also took care of the fireplace for me. He did a great job of boxing in, fitting the hearth and re-plastering the bare brick wall. The living room in my previous home had an old fireplace which I filled with fairy lights to make a feature of, so I did the same here and it’s worked out really well!
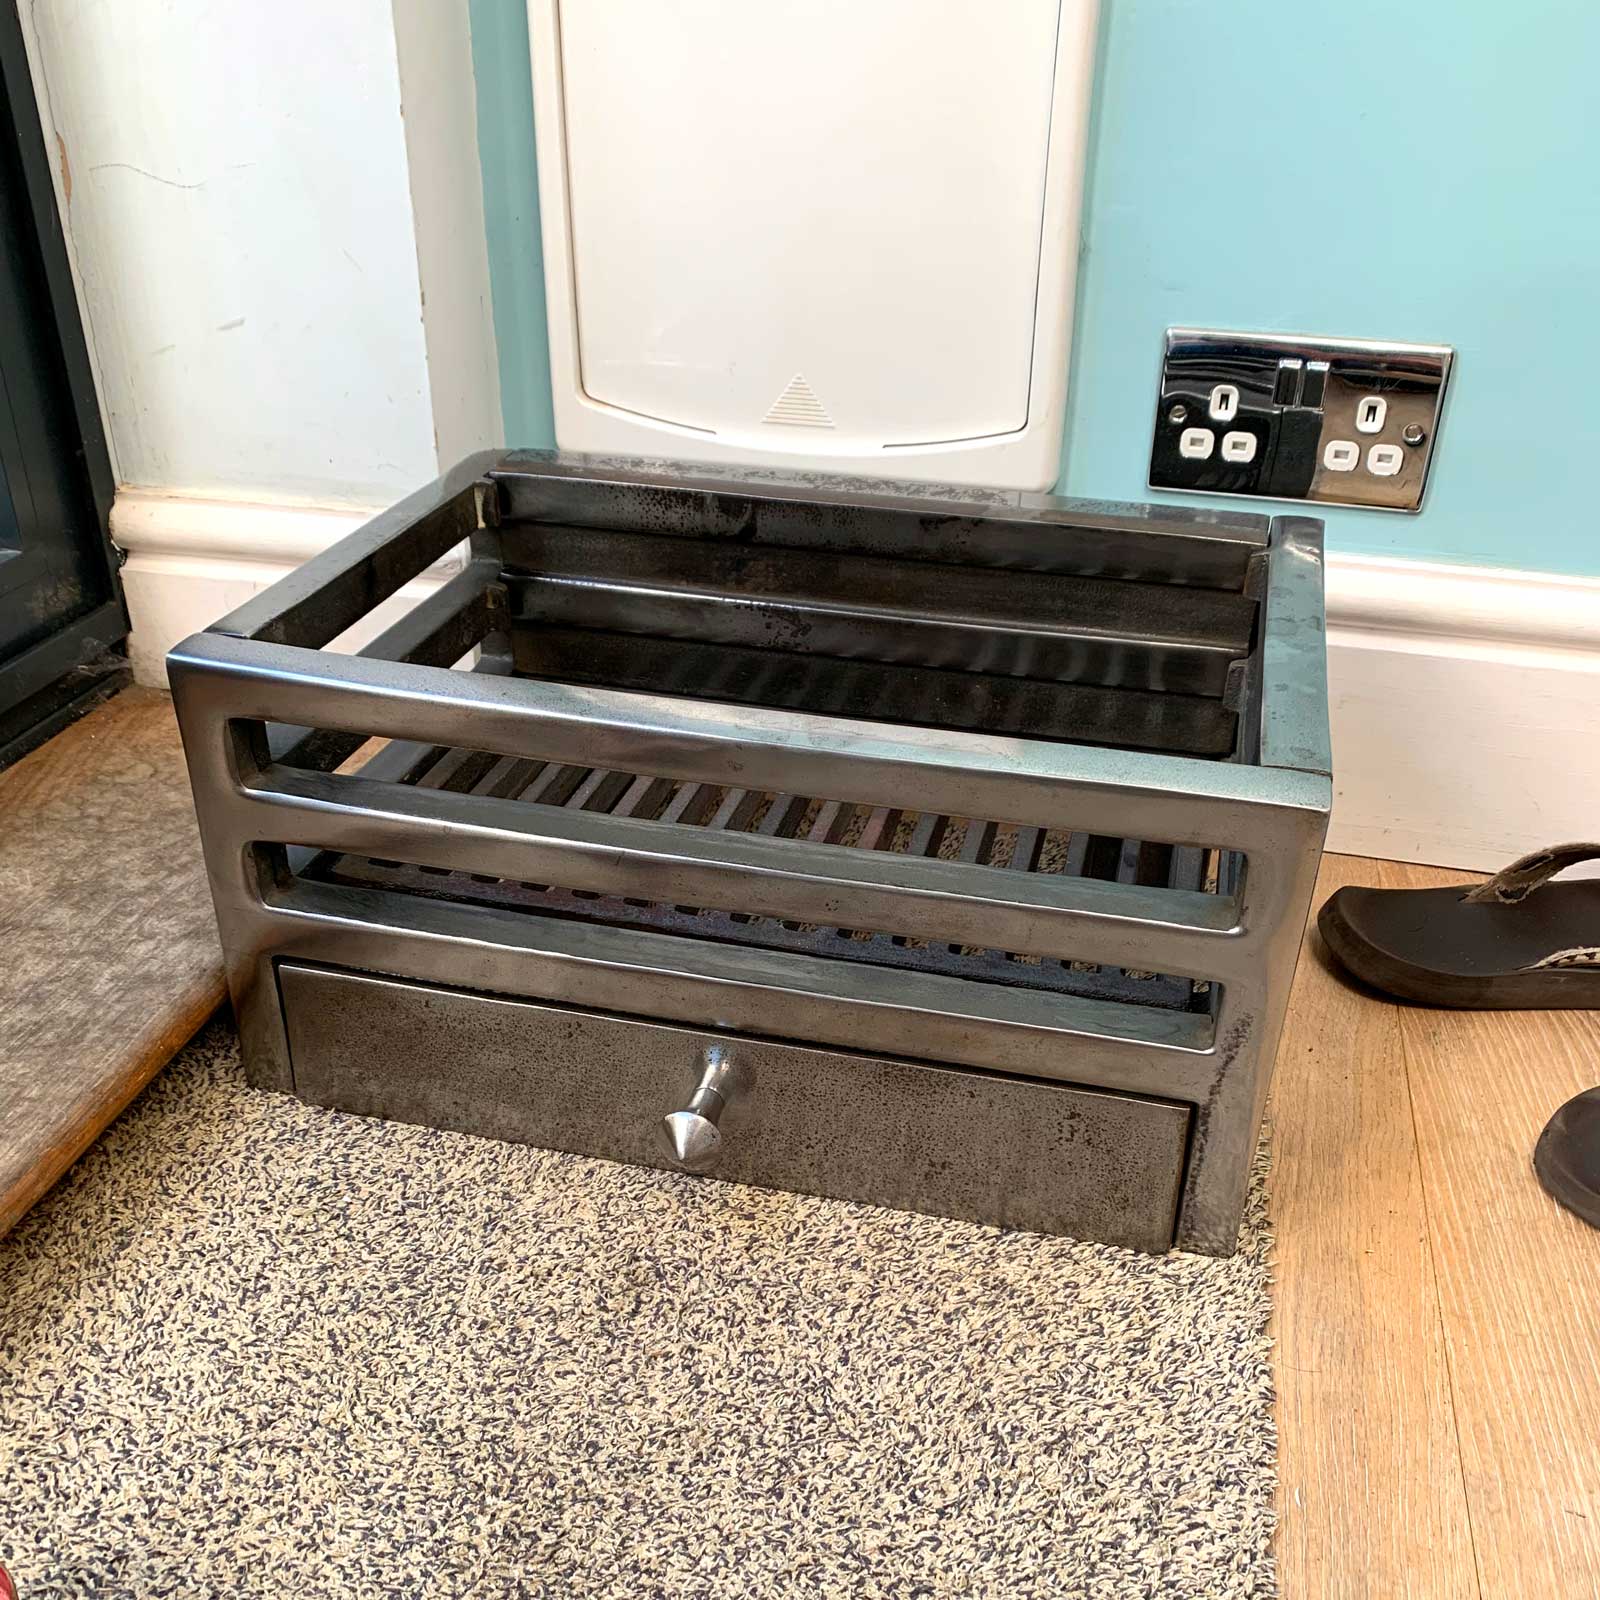
What an ebay bargin!
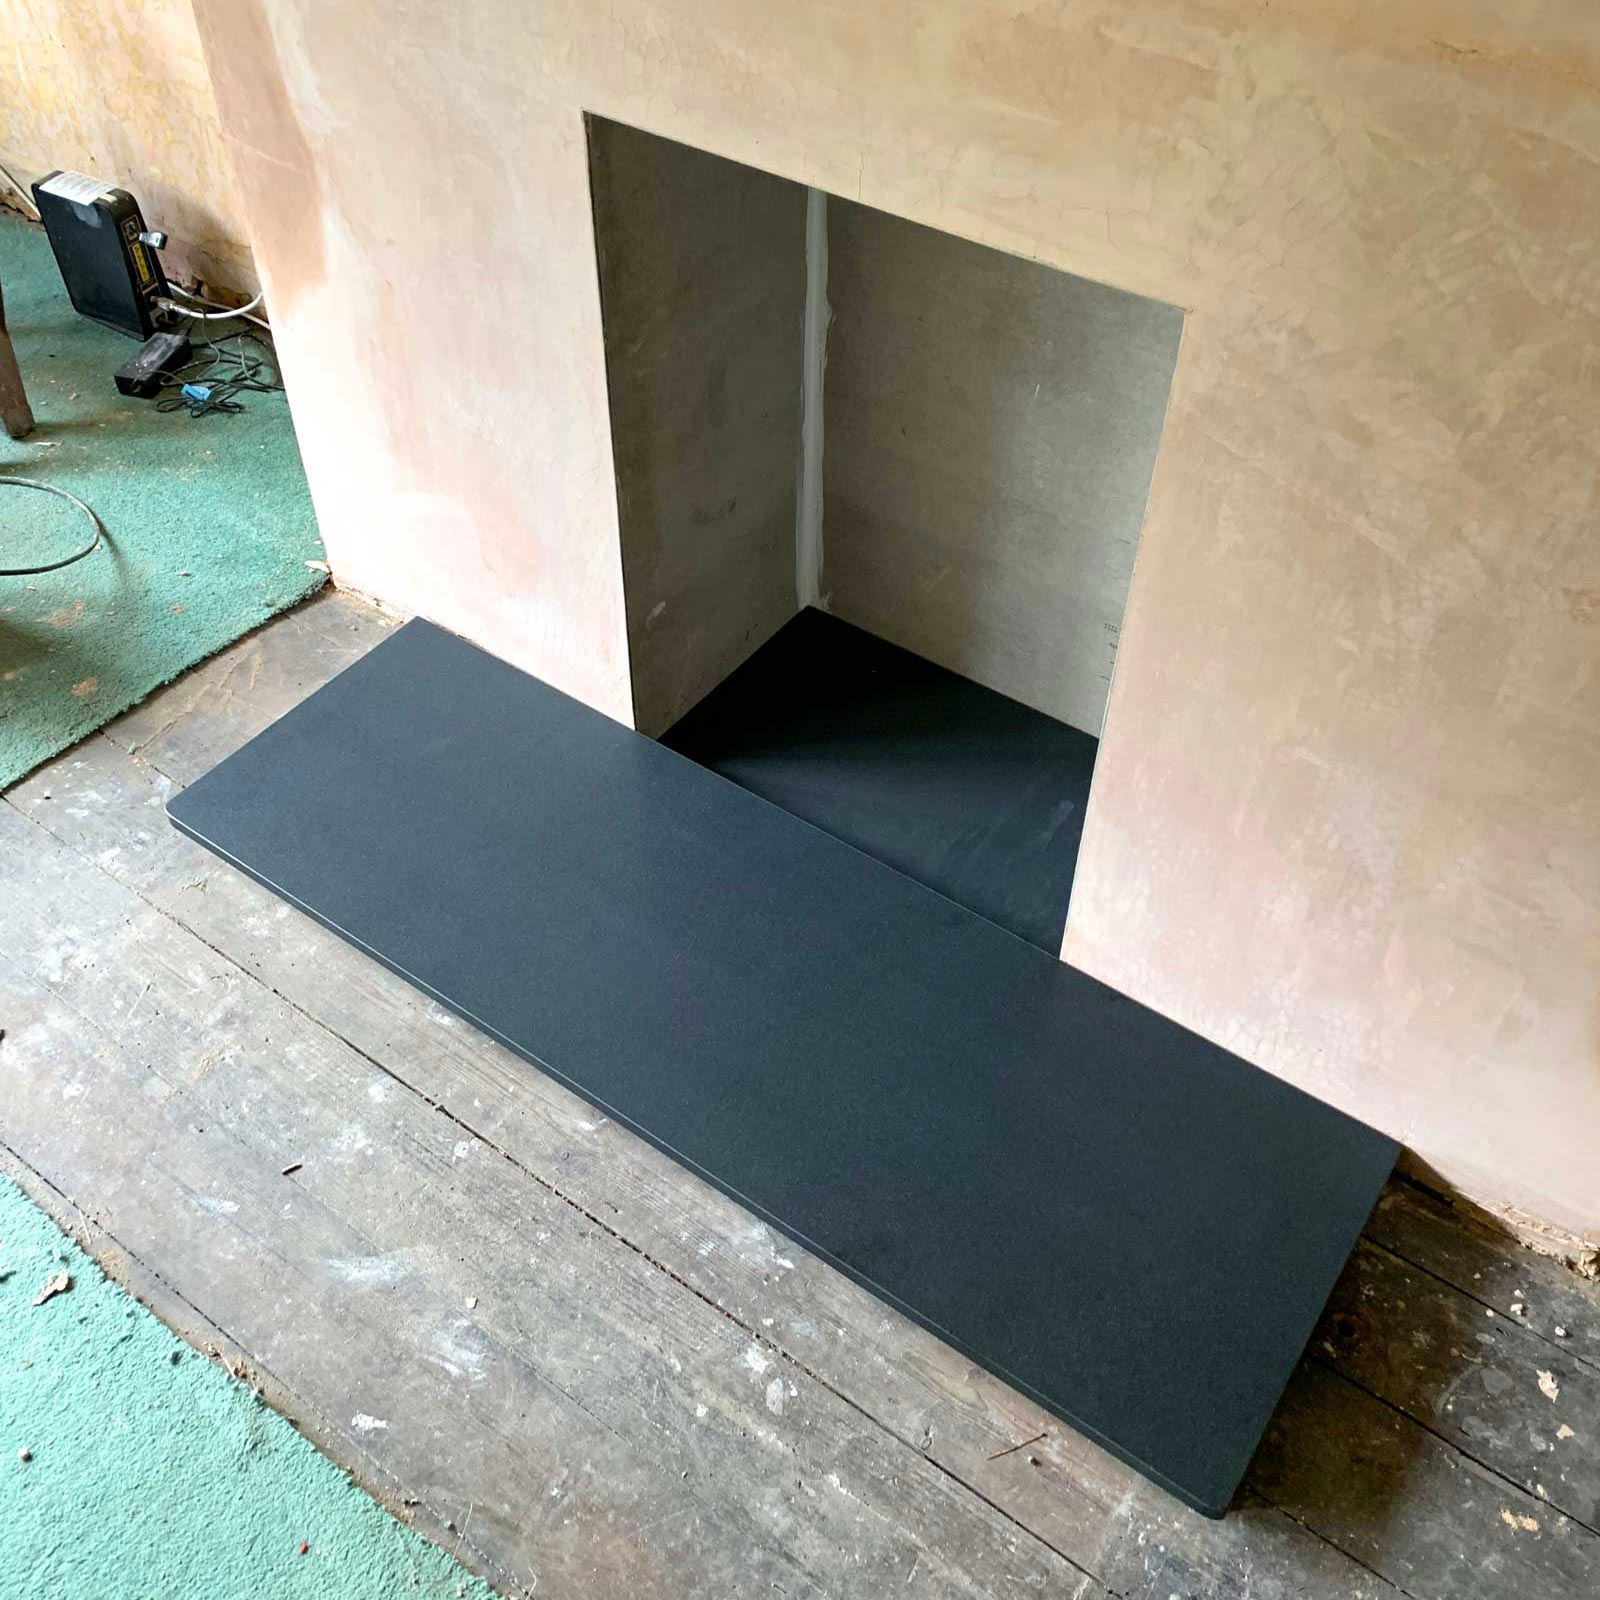
Honed black granite hearth.
As with all the other rooms there was wood chip everywhere and an artex ceiling to deal with, so it was more stripping shenanigans for me! The windowsill was again covered in layers of gloss paint so I stripped this back to bare wood to prepare it for a fresh new coat of white satin. During this time I also had the electrics in the room checked out just incase anything needed replacing, thankfully all was OK. After a week of preparation the room was ready to be skimmed, this process took just two days to complete and another three to four days to dry.
Like the rest of the flat the living room needed three coats of bright white matt on the walls and ceiling and two coats of white satin on the woodwork which took another three days. Now it was really starting to feel like home. All that was left to complete it was a decision on the floor.
More stripping than one man can bare.
I had agonised over this for quite some time, do I sand back the original floor boards or do I use carpet? My boy made the decision for me as he always complained about getting splinters from the floor boards at his mums house, so carpet it was. Luckily I know a local self employed carpet fitter who did a fantastic job laying the carpet in just a few hours.
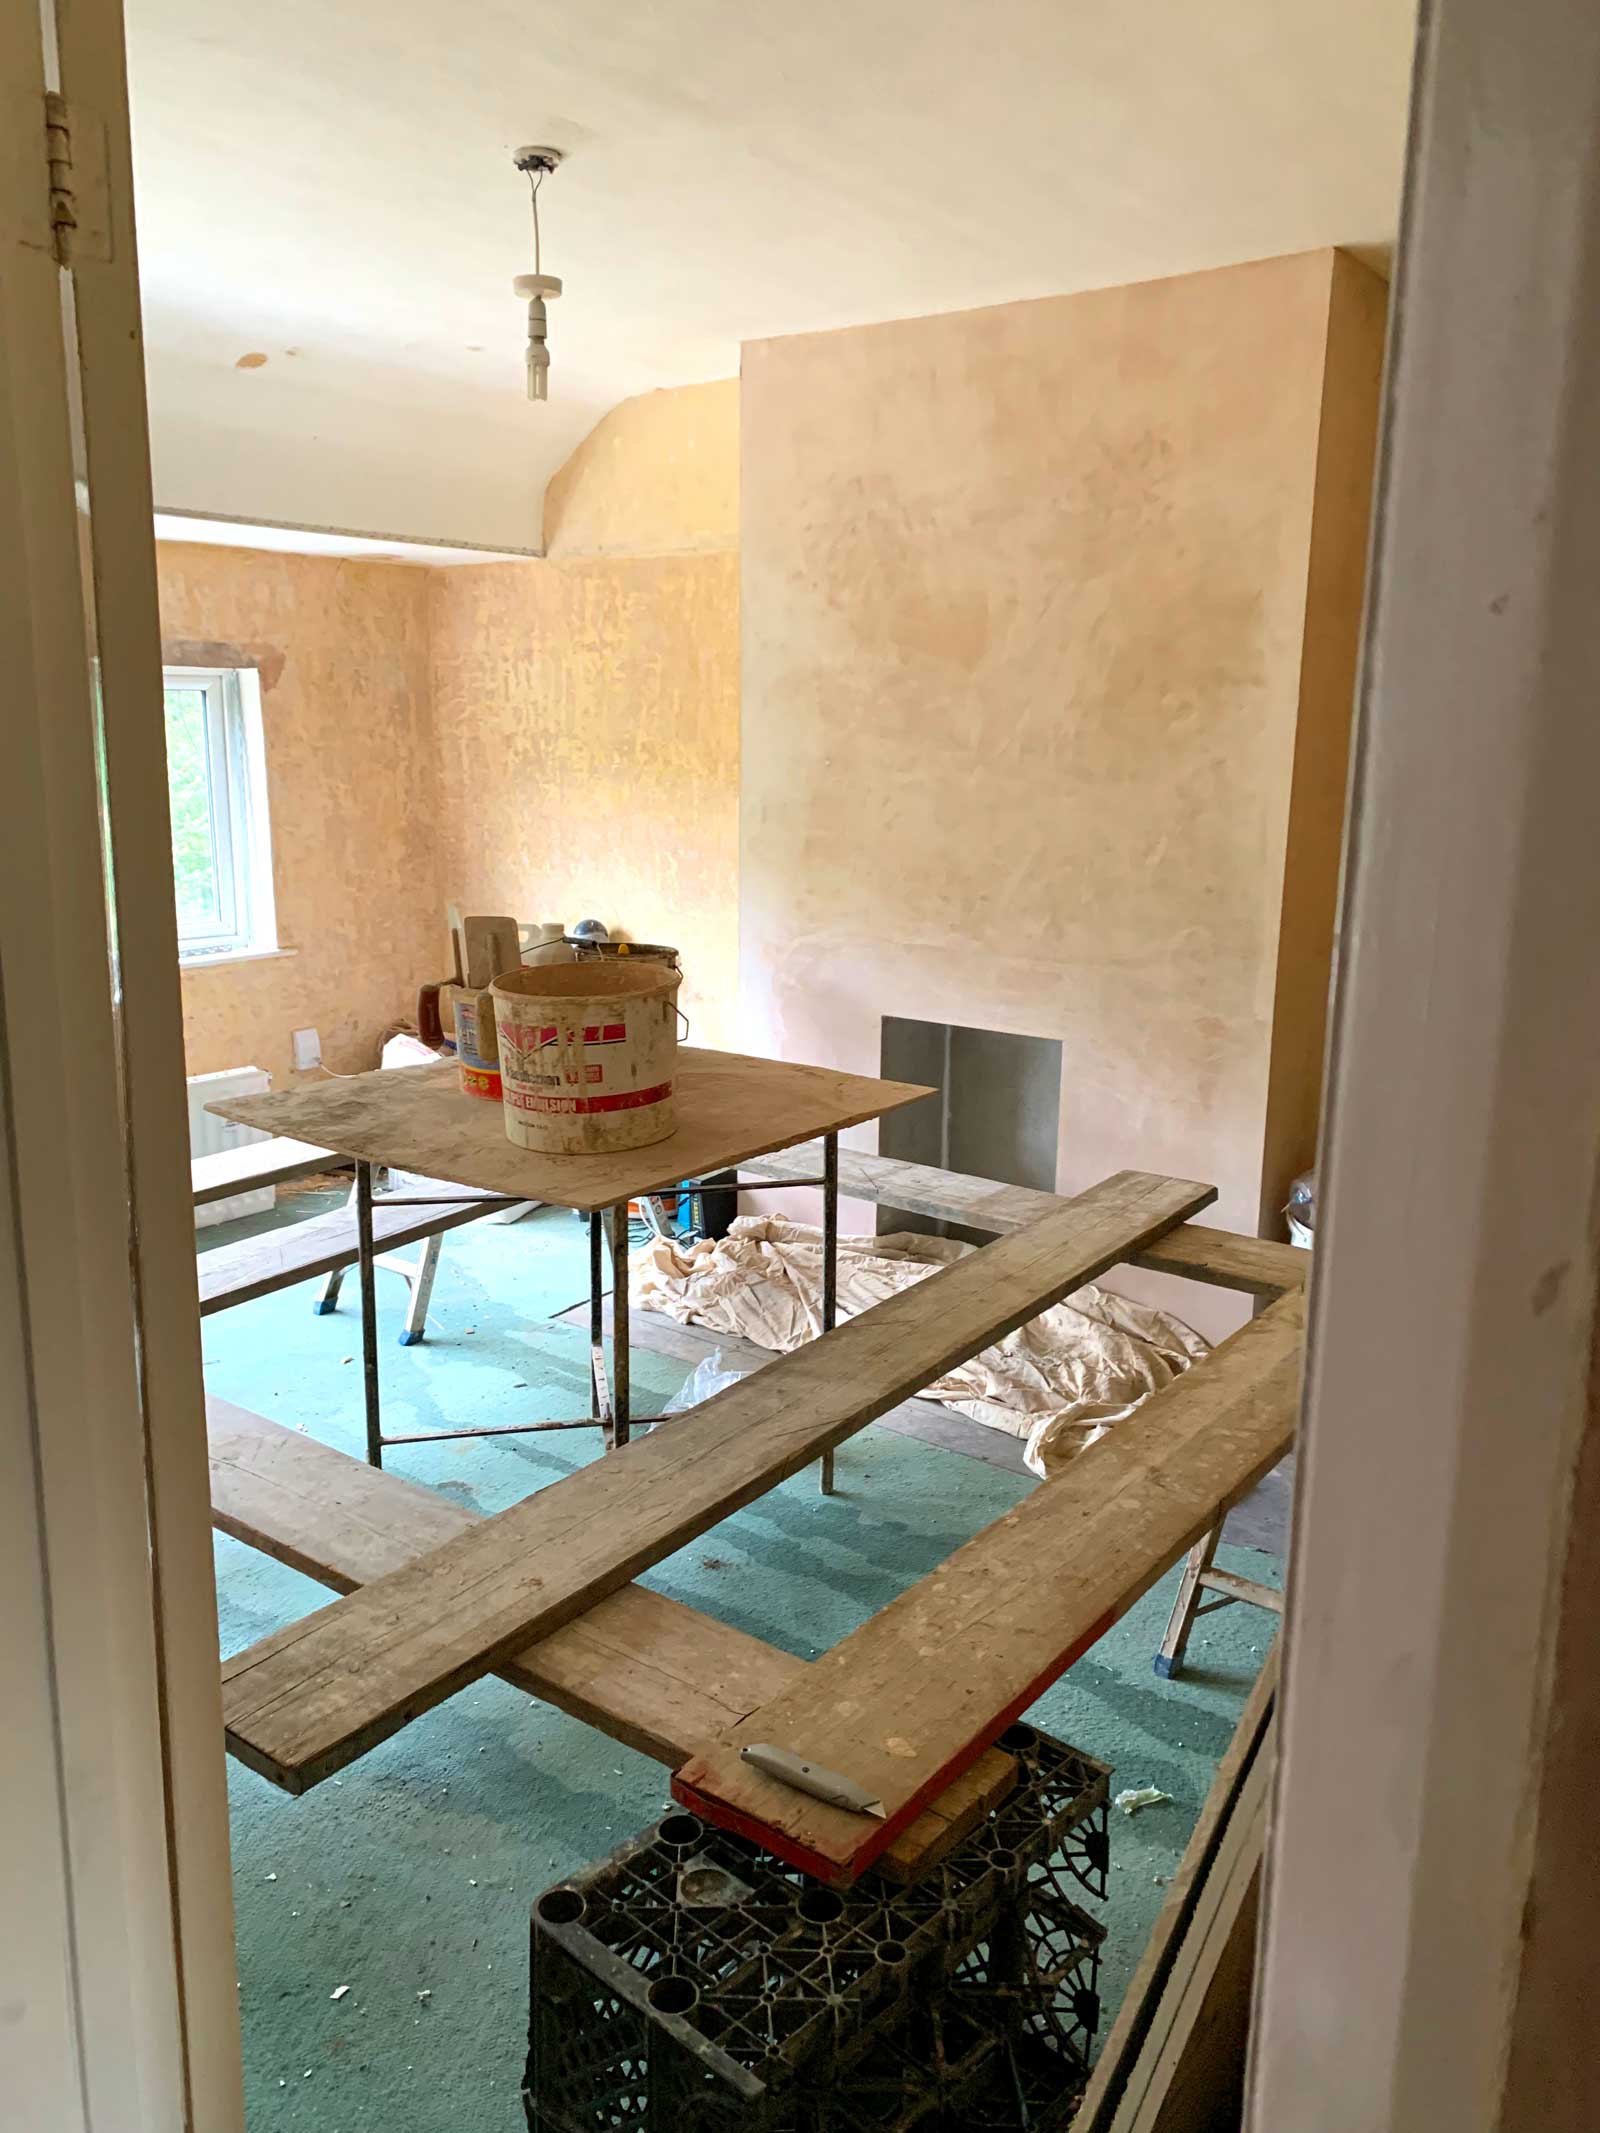
Let the skimming begin.

All ready to move in.
Once I had fitted the new blinds for the windows the living room was finished and looking great. All it needed now was my furnishings and pictures which had all been in storage in the main bedroom. It didn’t take long to get everything set up as I had already decided where things were going to go throughout the renovations. It was an amazing feeling to finally sit down on the sofa when it was all complete and think back to the time a few months previous when I was sat in this same living room in tears.
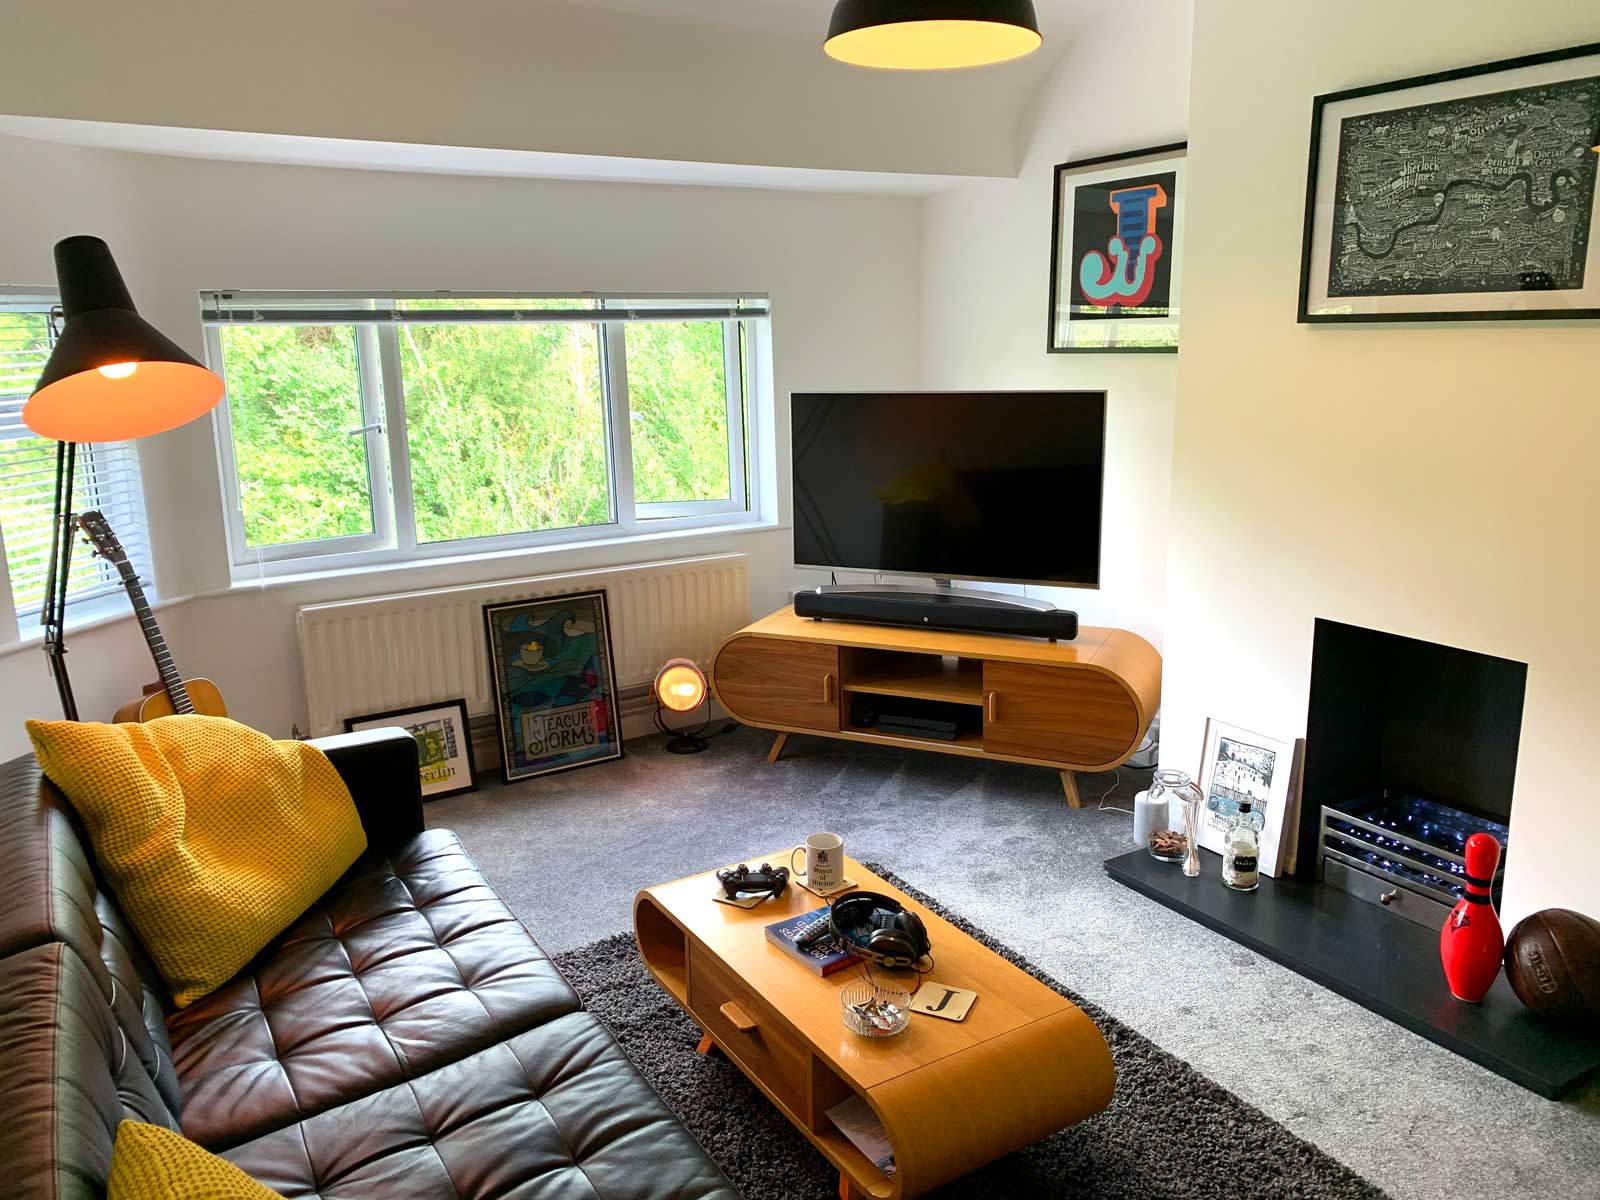
Loving how it’s all come together.
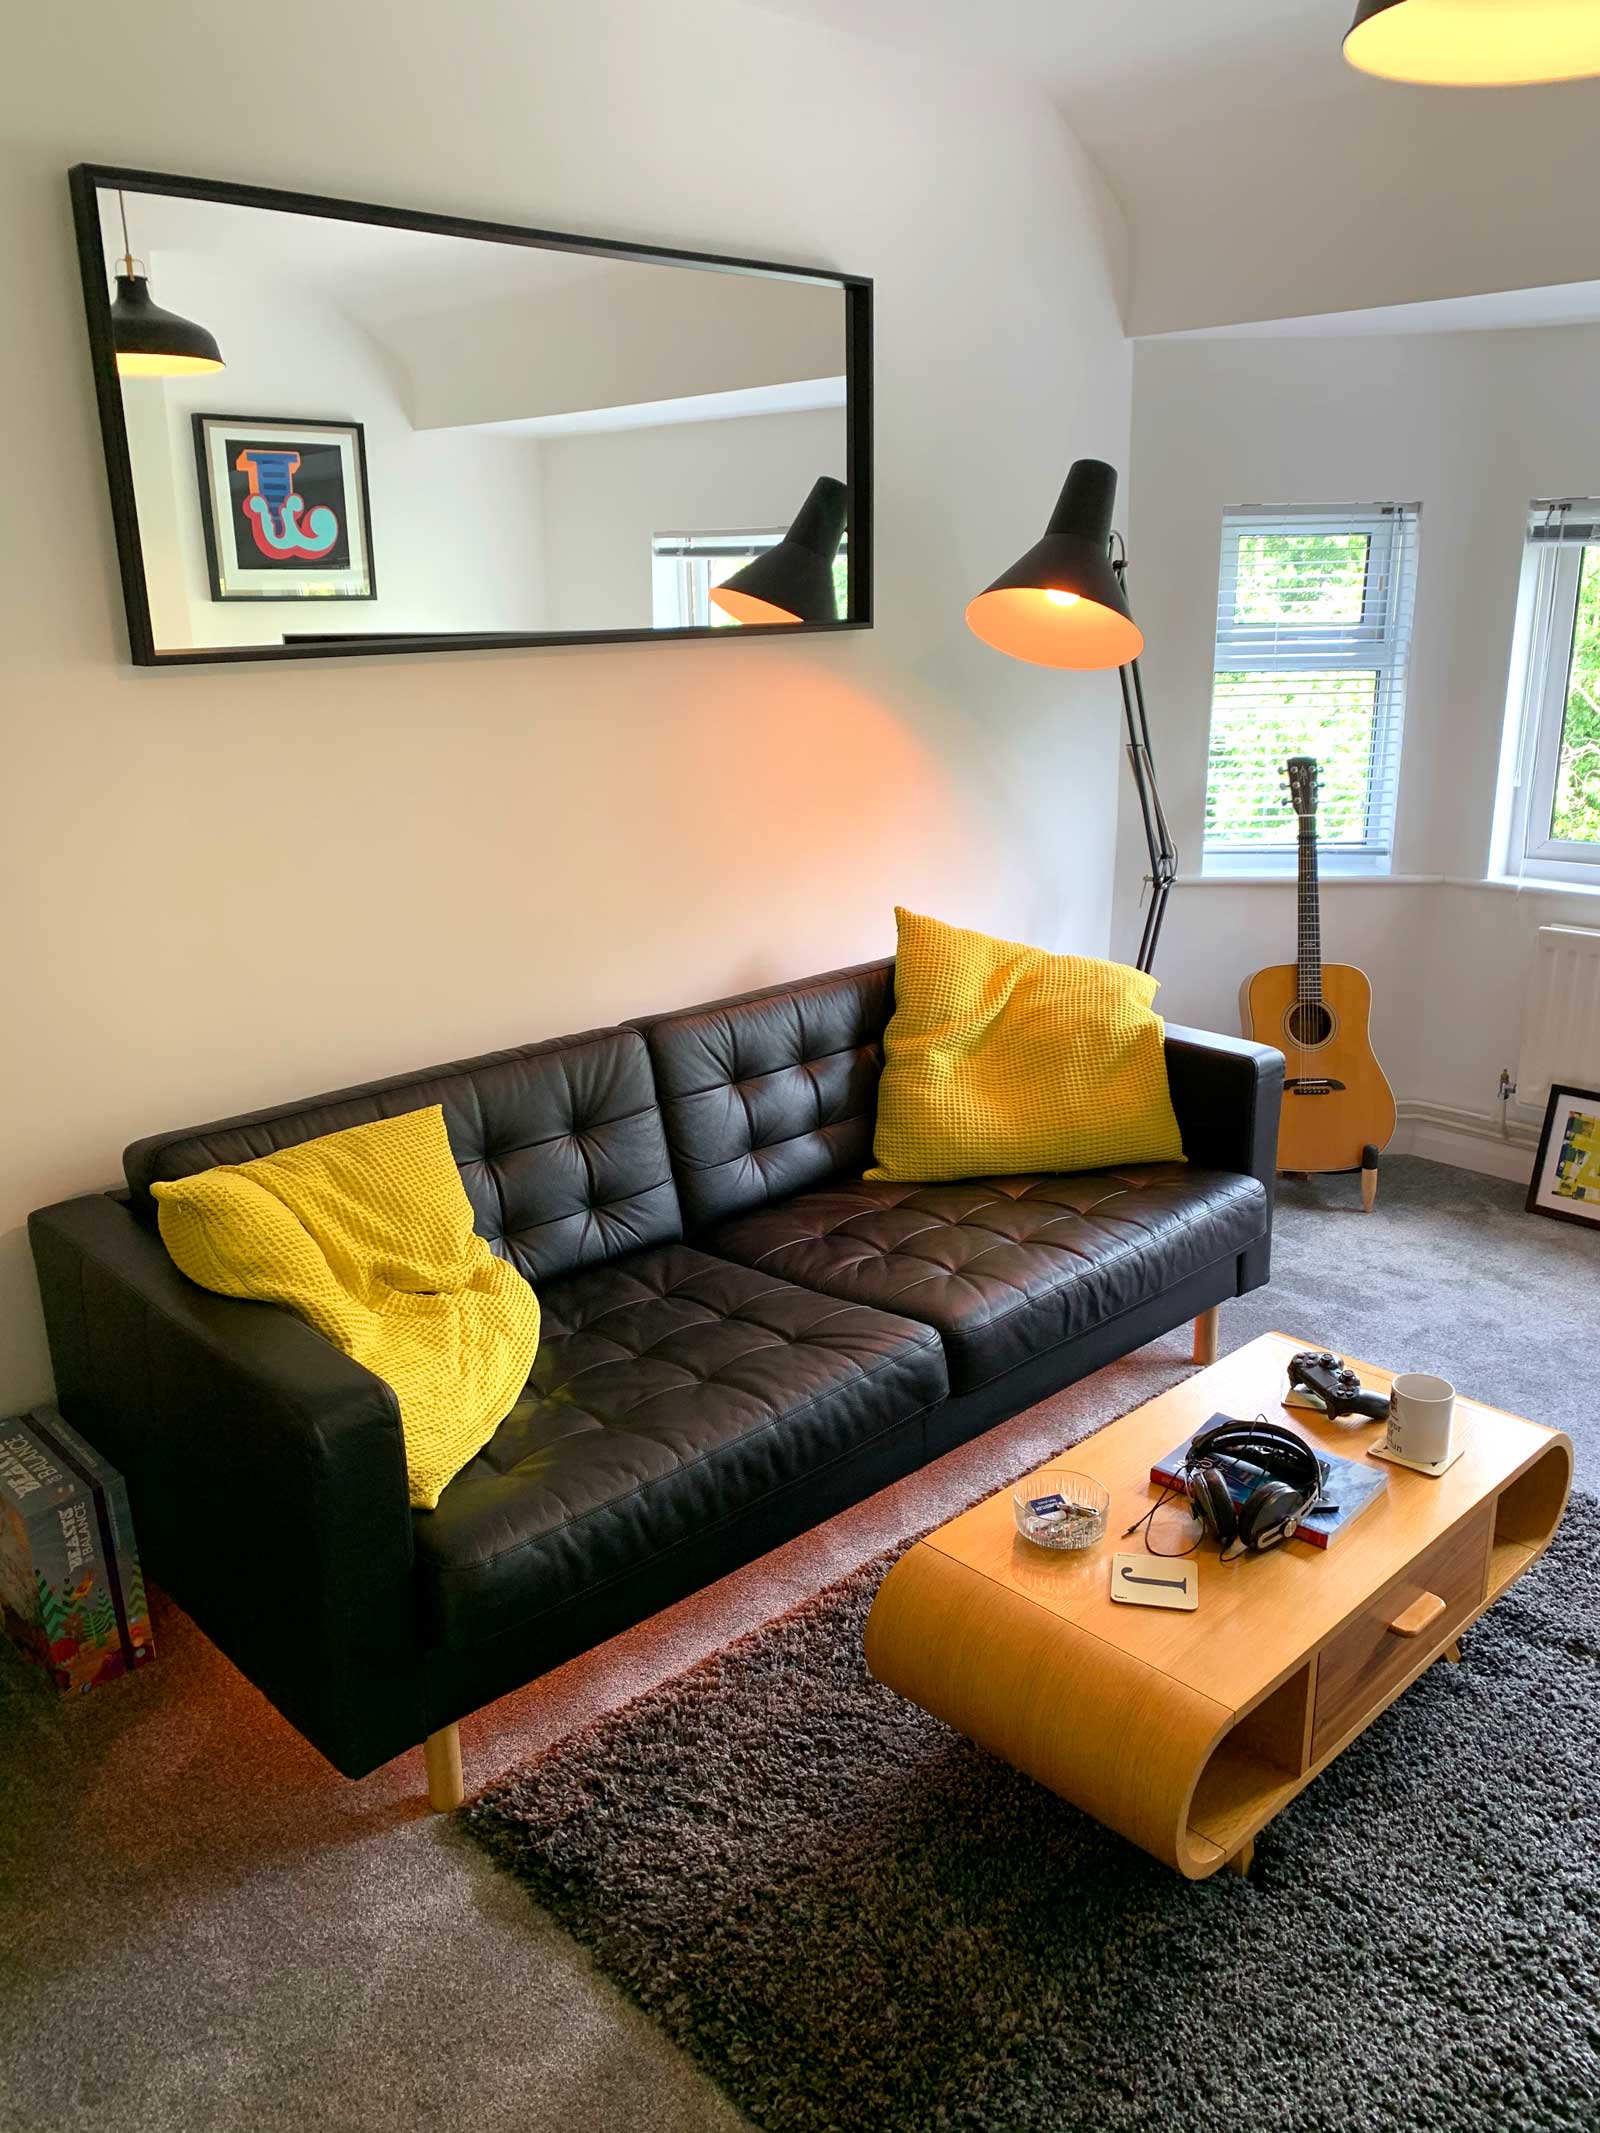
Mirror, mirror on the wall…
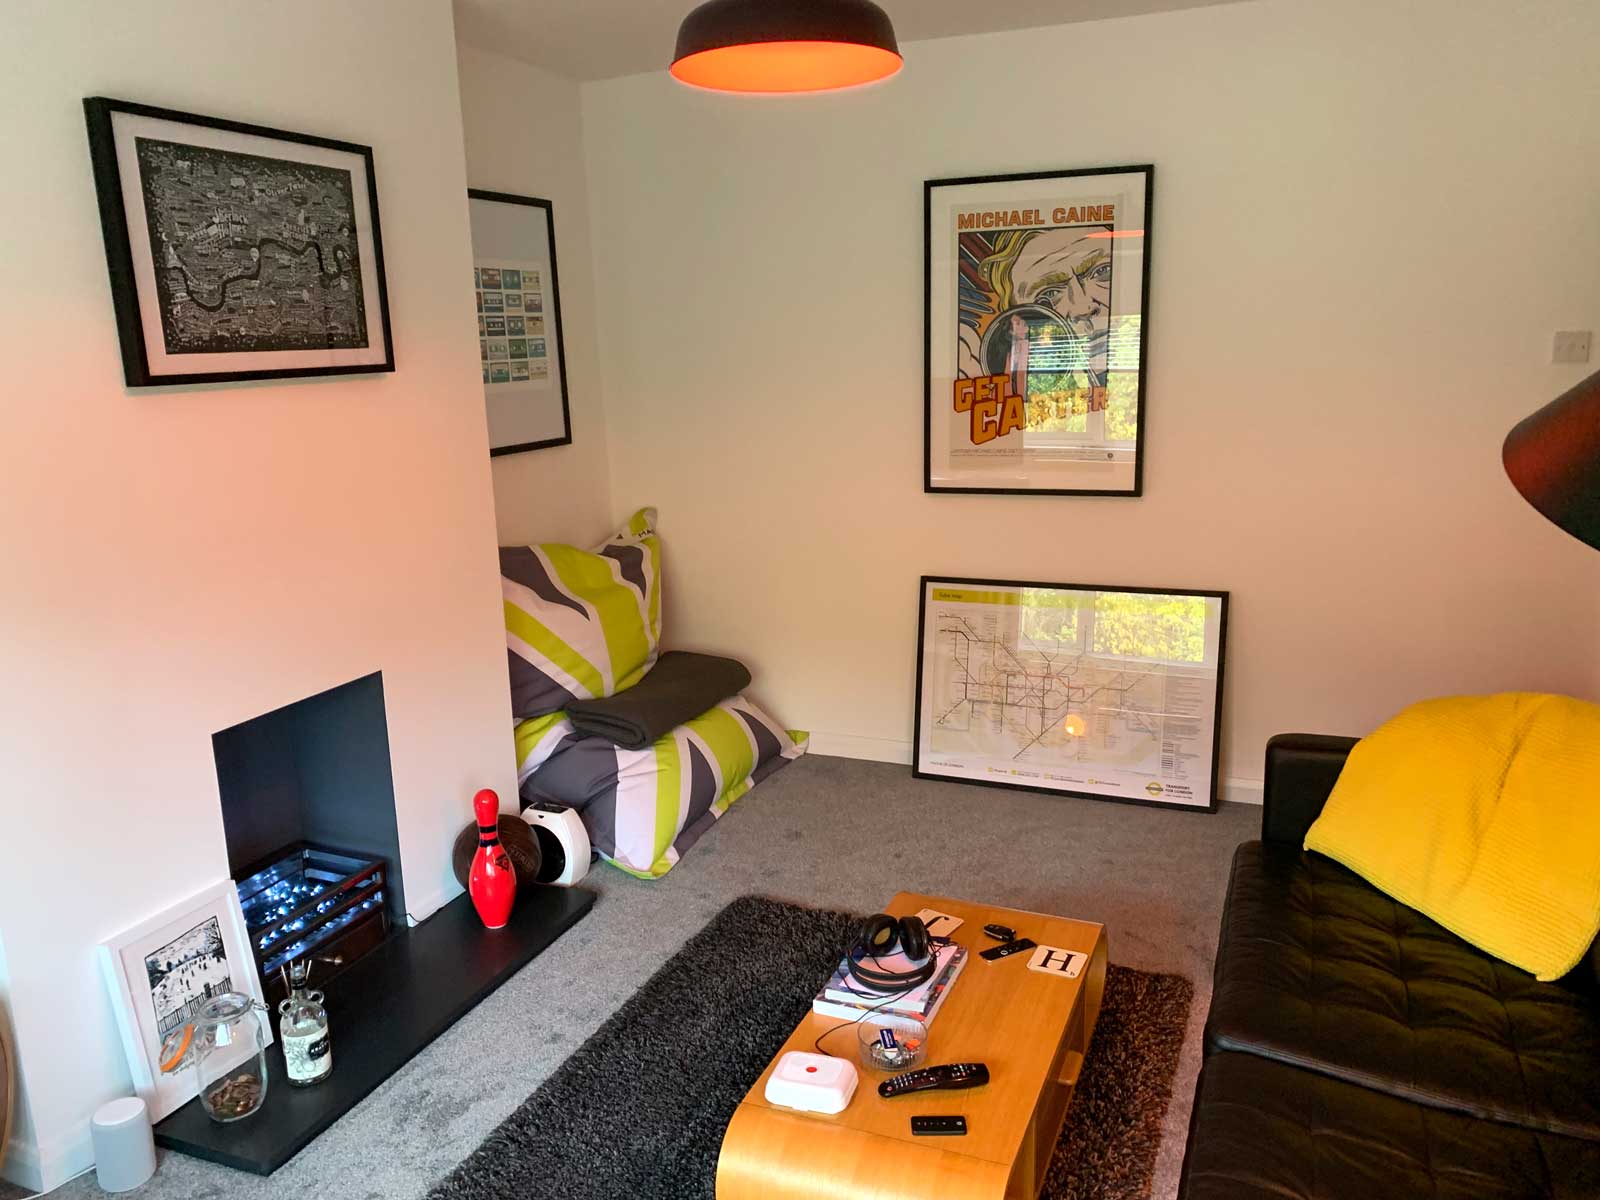
Where to put all my artwork?

Feet up and relax. 🙂
When this journey began I had an idea of how I wanted things to look and feel. but I had no idea they would turn out so mach better than I envisaged. Now the living room was complete the boy was able to stay over for the first time. As we sat on the sofa together looking at photos of the flat in it’s original state we both felt it was a job well done. He was obviously very happy with the place as he immediately asked when could he have friends over! The only room left to do now is my bedroom and finally find out what is in the box in the corner…